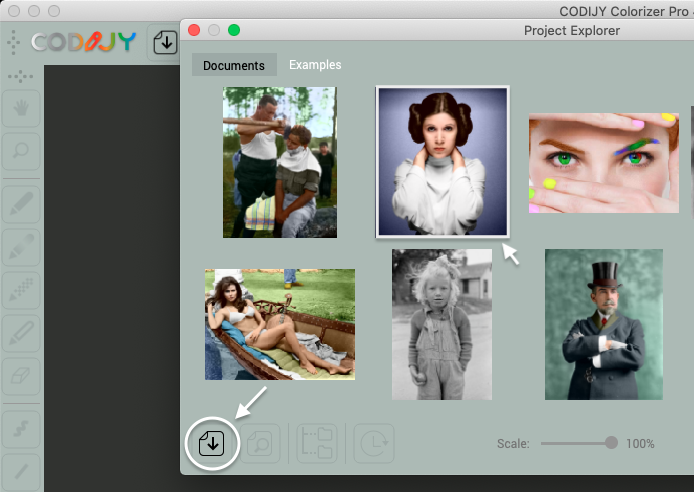
To call the Project Explorer from the main window click ![]()
Click the Open icon ![]() in the the Project Explorer
in the the Project Explorer
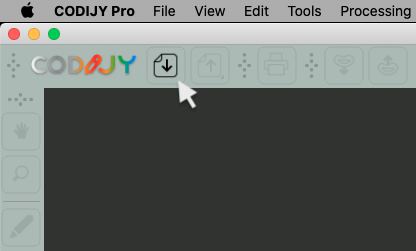
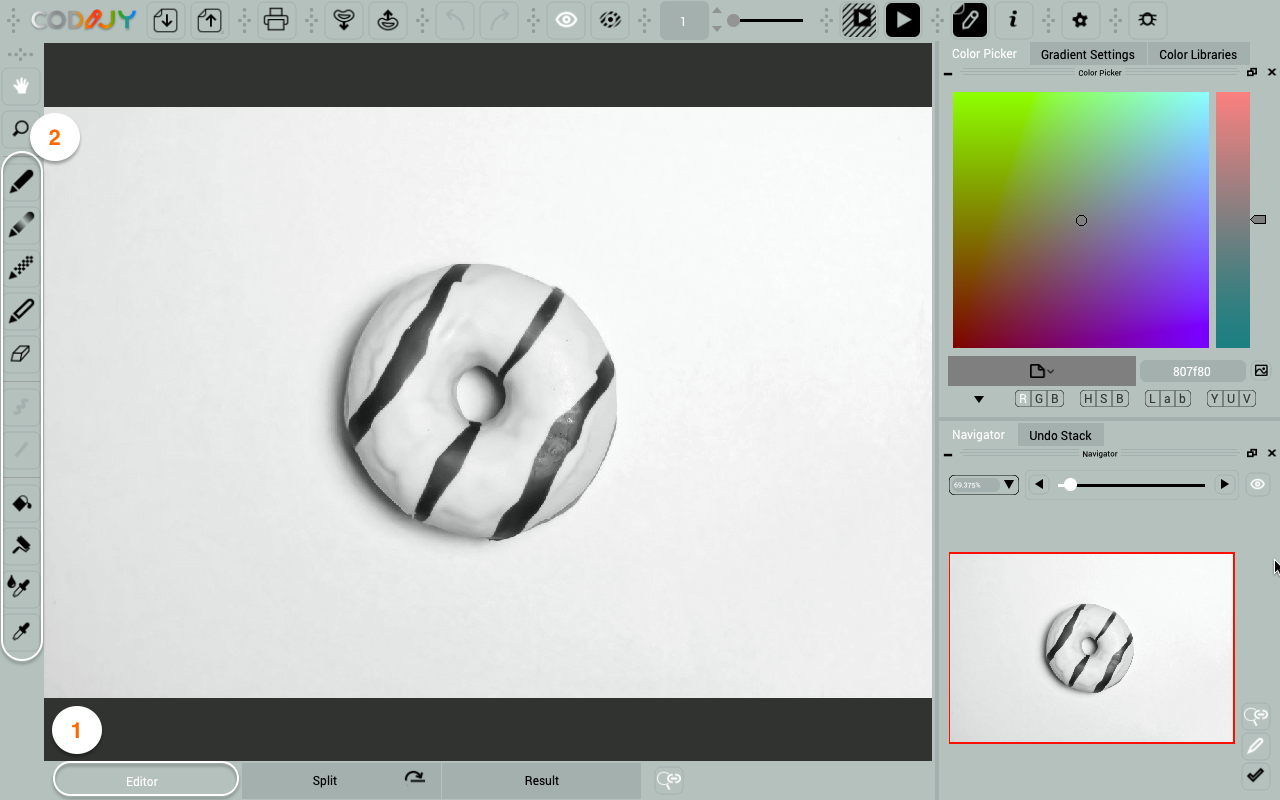
Option 1. Click the Open icon ![]() on toolbar
on toolbar
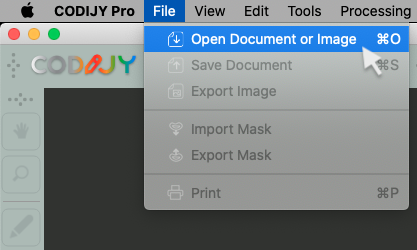
Option 2. Navigate to File-> Open Document or Image
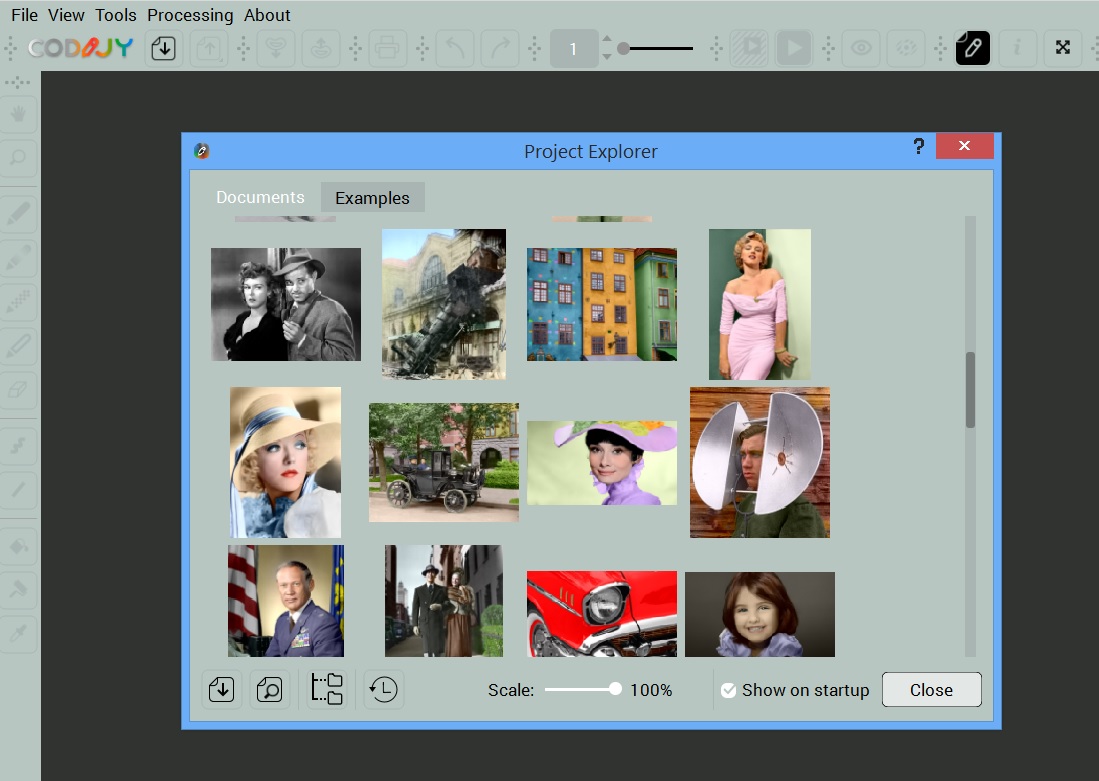
To call the Project Explorer from the main window click ![]()
Click the Open icon ![]() in the the Project Explorer
in the the Project Explorer
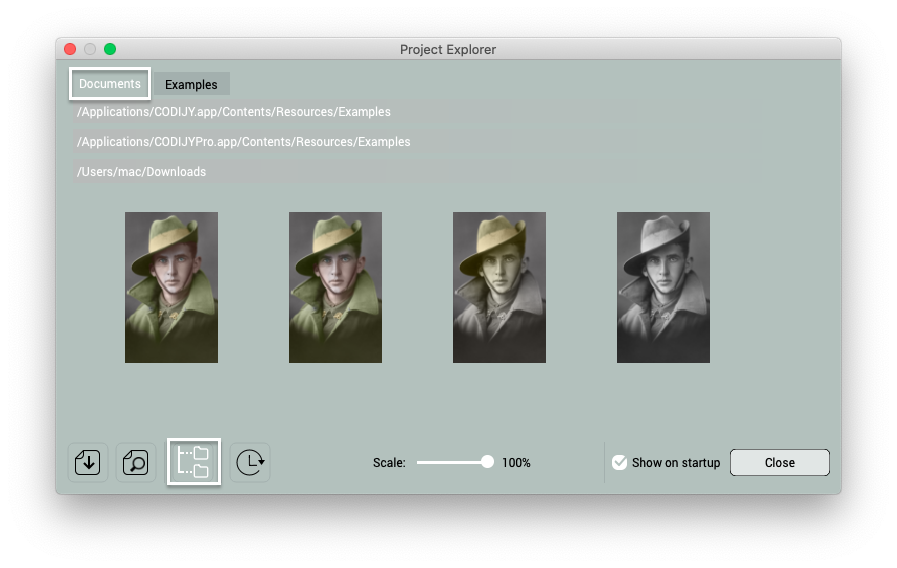
Option 1. Click the Open icon ![]() on toolbar
on toolbar
Option 2. Navigate to File-> Open Document or Image