Once the colorization is complete and the desired result is obtained, it can be exported to any of the supported image formats.
The Export to Image function lets you share a recolored version of the image outside of the CODIJY program.
Once you have generated the color preview that appears in the Result tab, you can export it to an image file of your choice.
The Export to Image function remains inactive until a preview is generated.
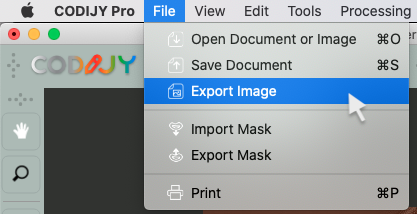
To call the Export Image dialog in CODIJY, either go under File-> Export image or:
Step 1. Call the drop-down menu by holding down the Save icon.Step 2. Click Export Image
Next, name the file, choose the image format and file location.
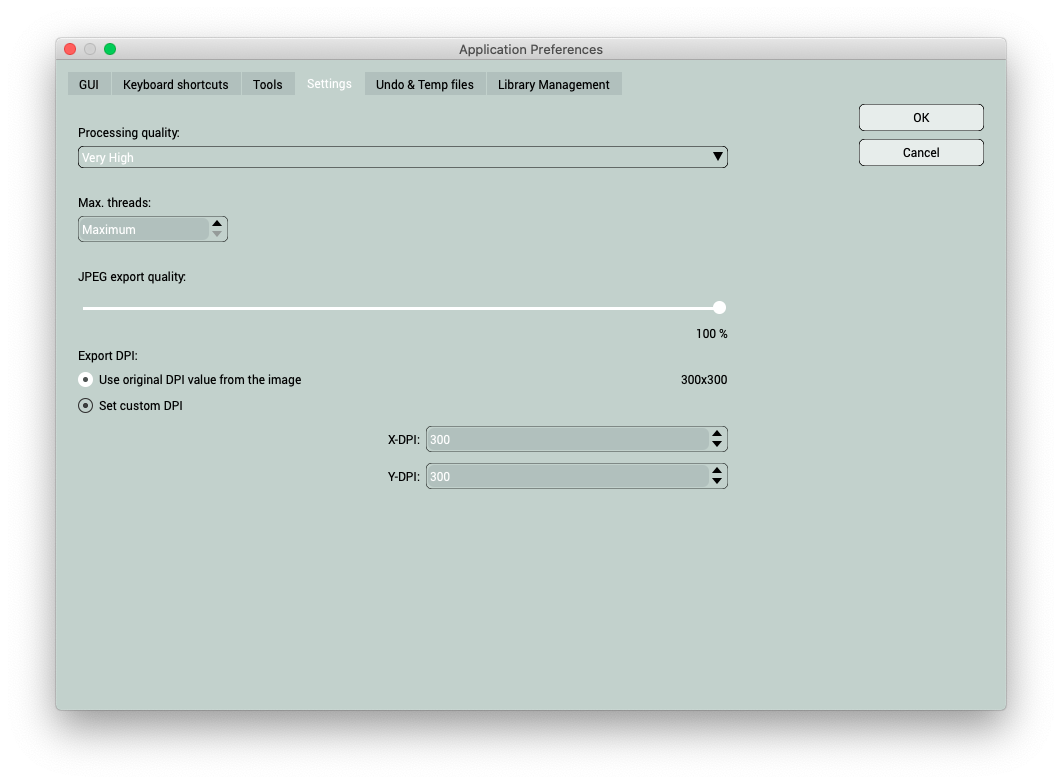
CODIJY allows you to change the quality and the DPI value of the resulting image. To make the related adjustments:
Call the Preferences and open the Settings tab.
There you may increase/decrease processing quality, JPEG quality and DPI Value.
You can export the preview to any of the supported image formats: