
Part 1
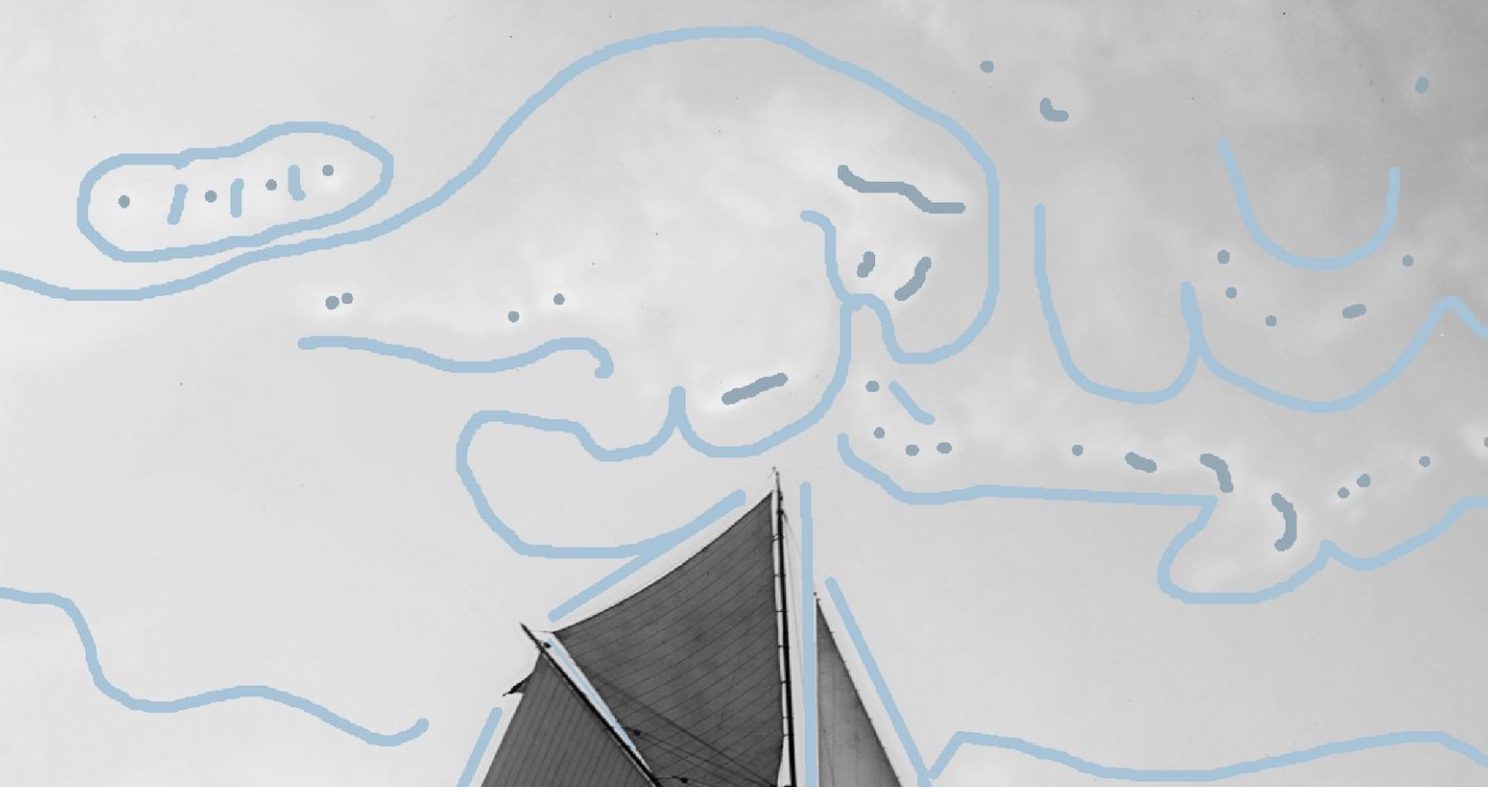
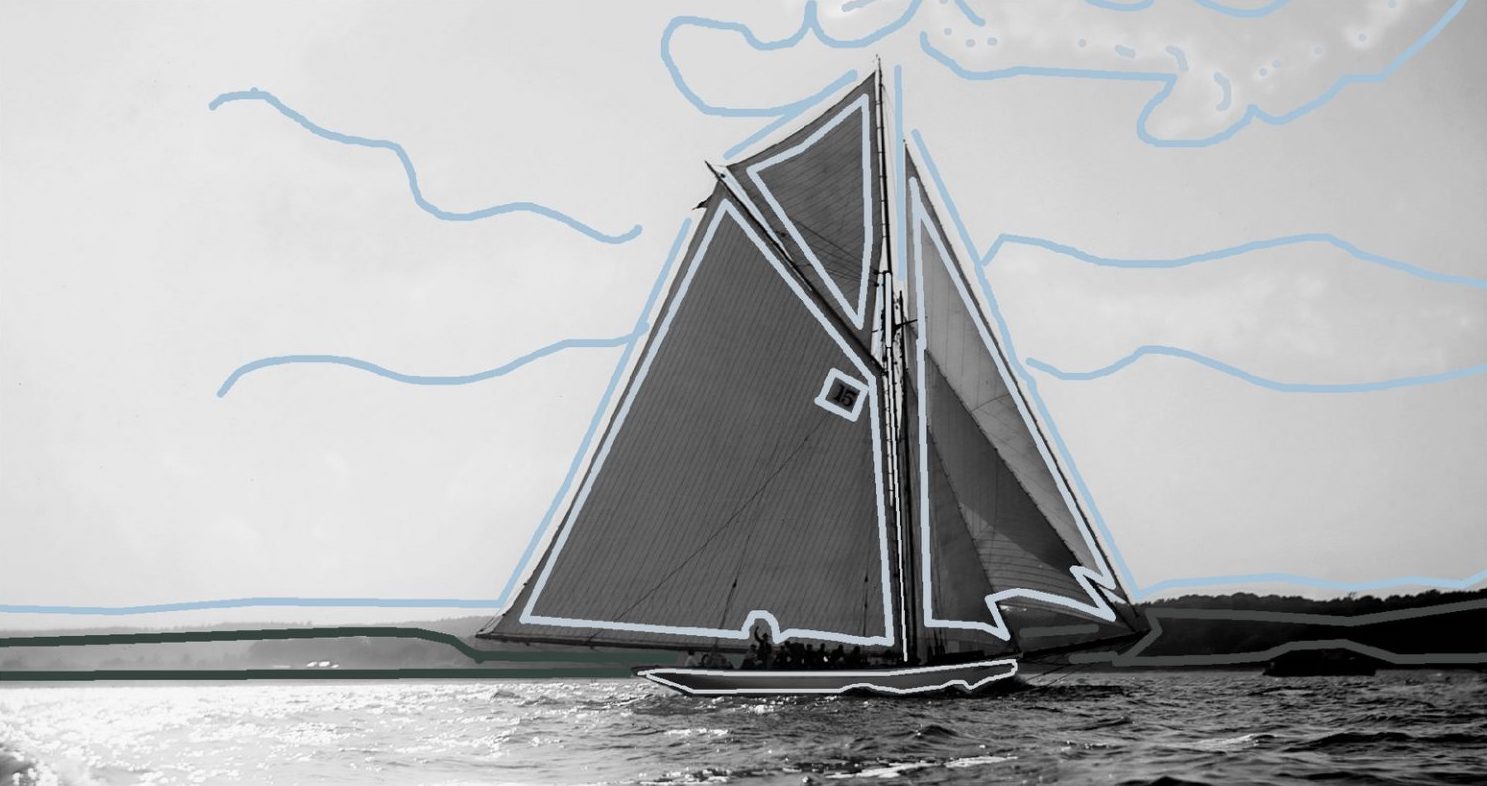
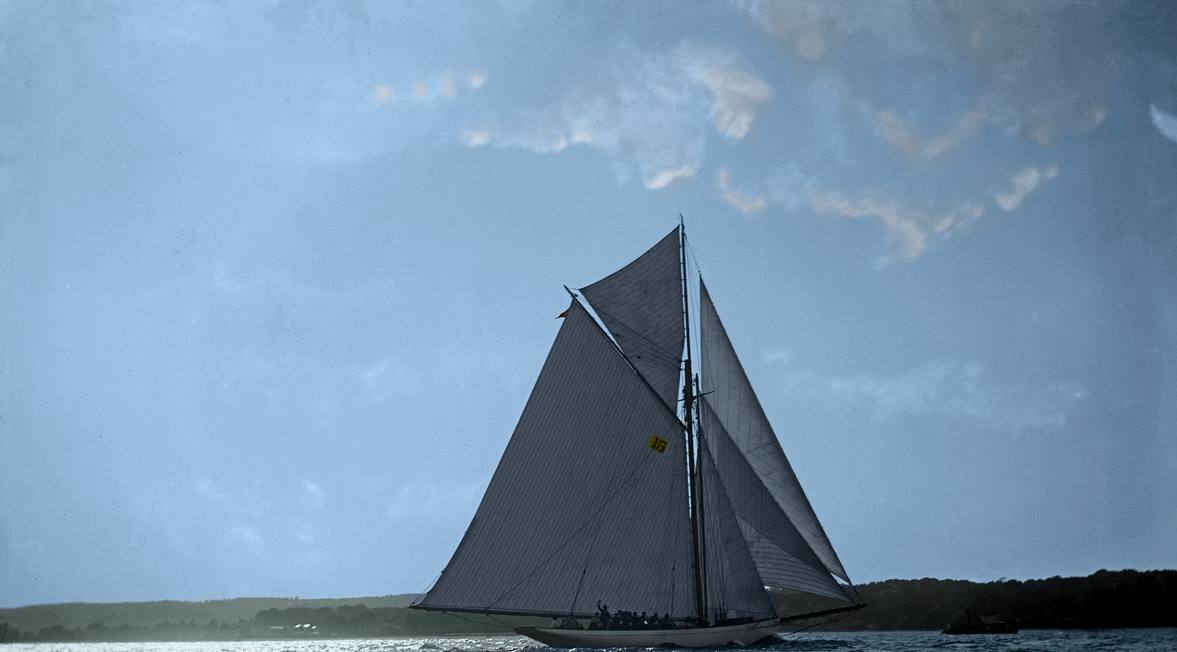
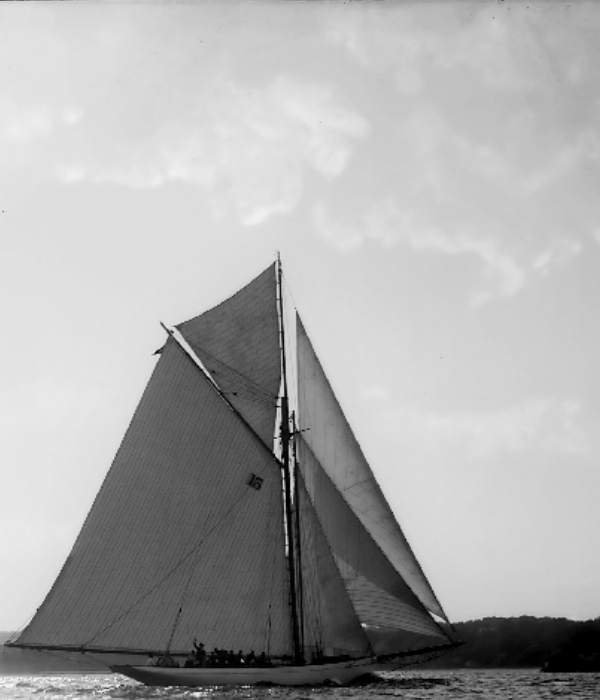
Sky & Yacht


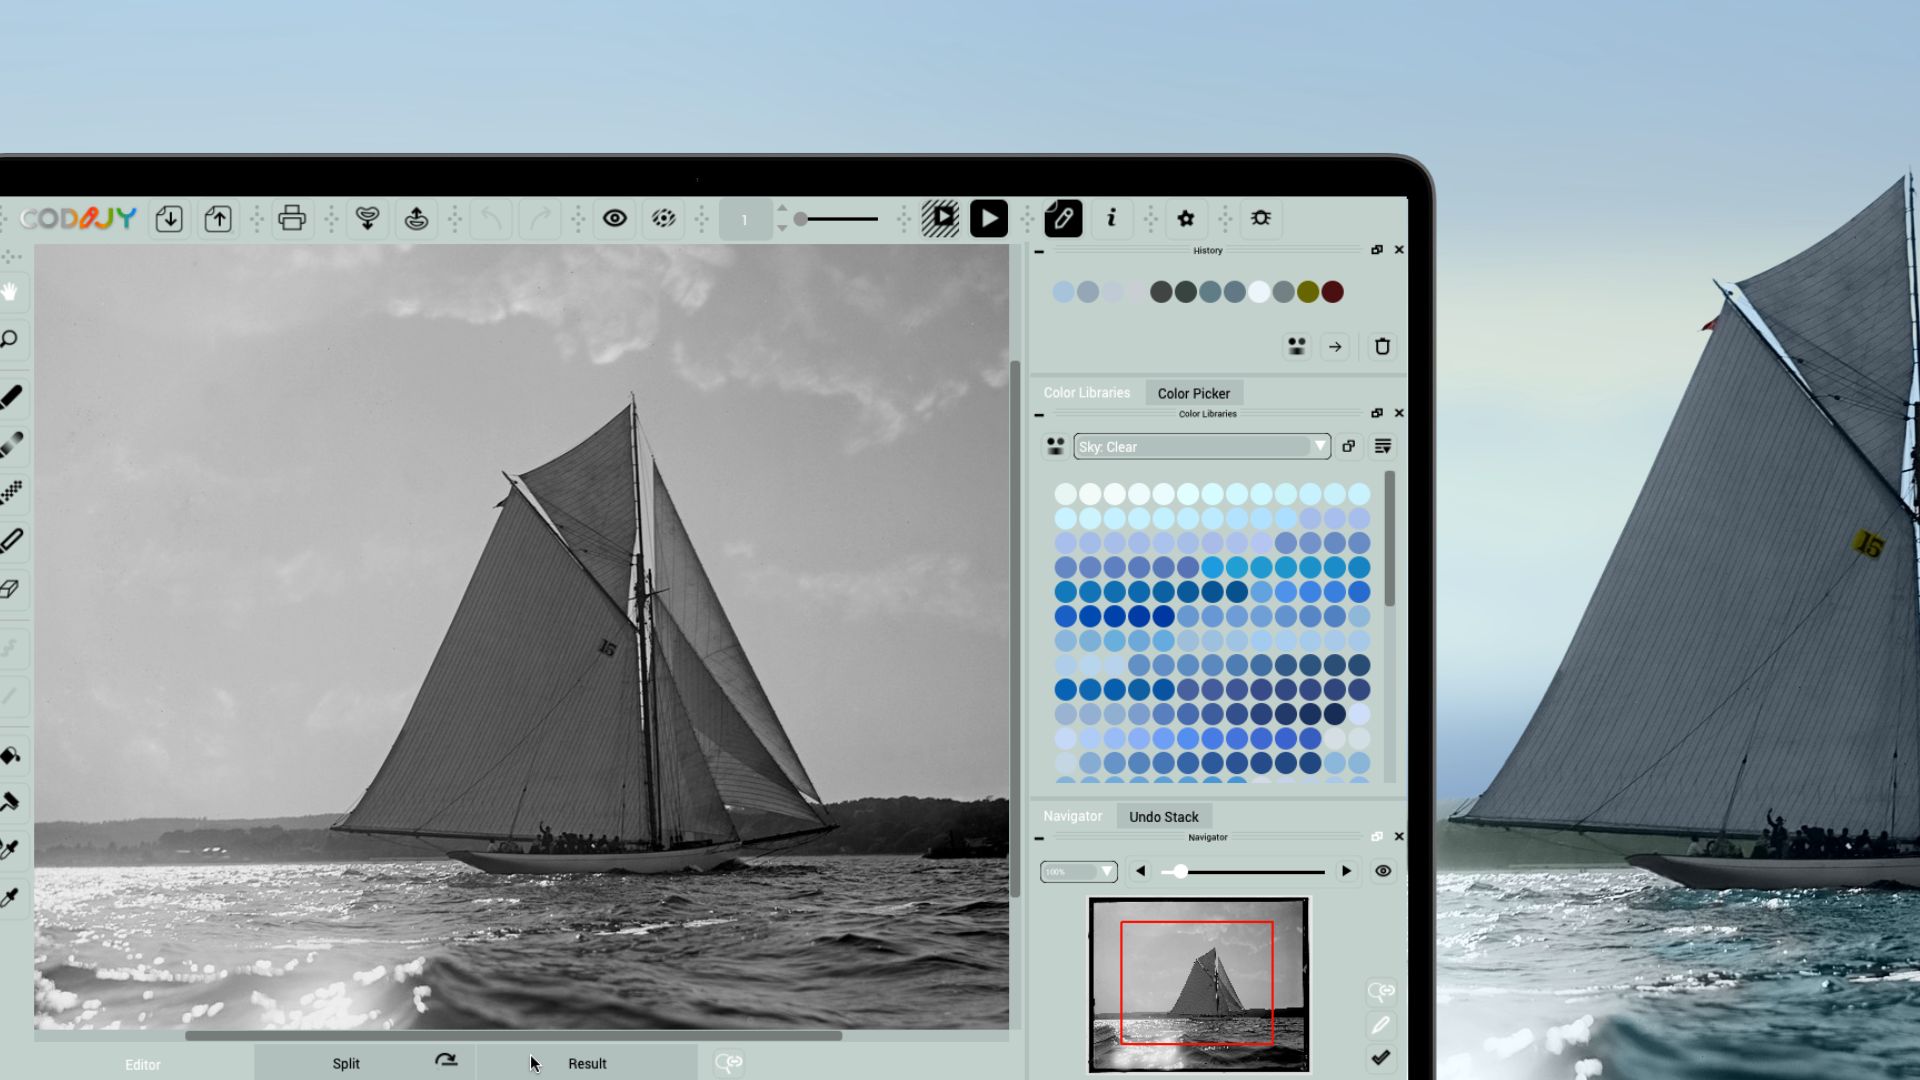


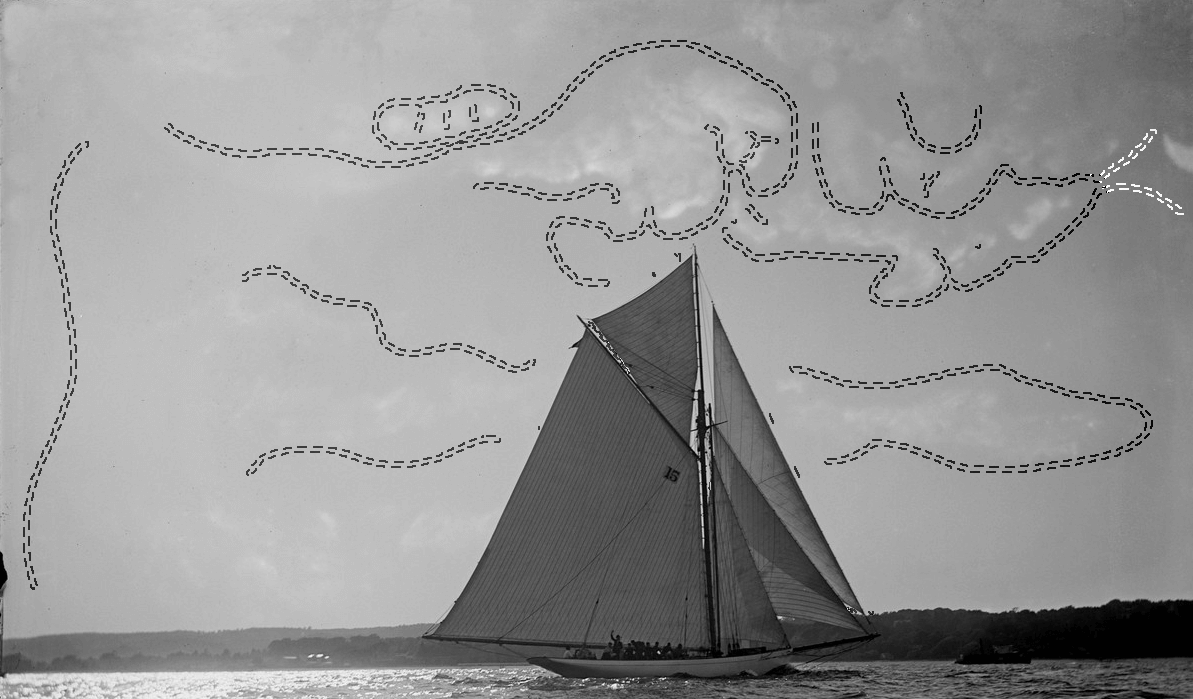


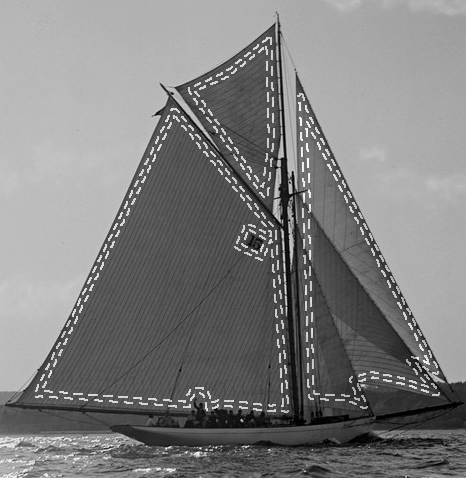
Select the top area in the Partial Processing dialog ![]() (Alt R/⌥R). Check the Instant Preview check box.
(Alt R/⌥R). Check the Instant Preview check box.
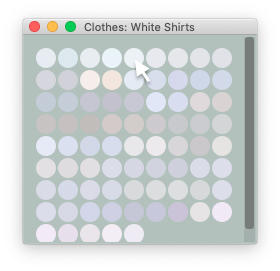
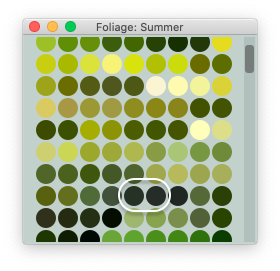
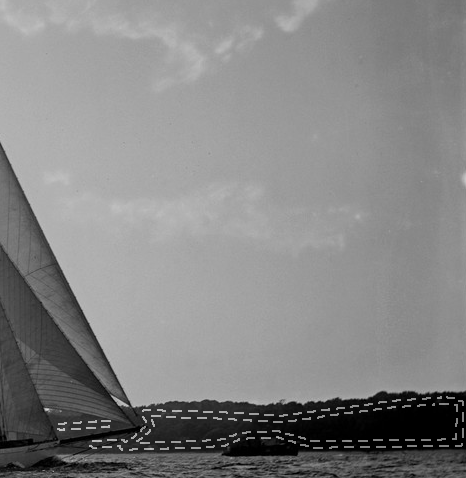
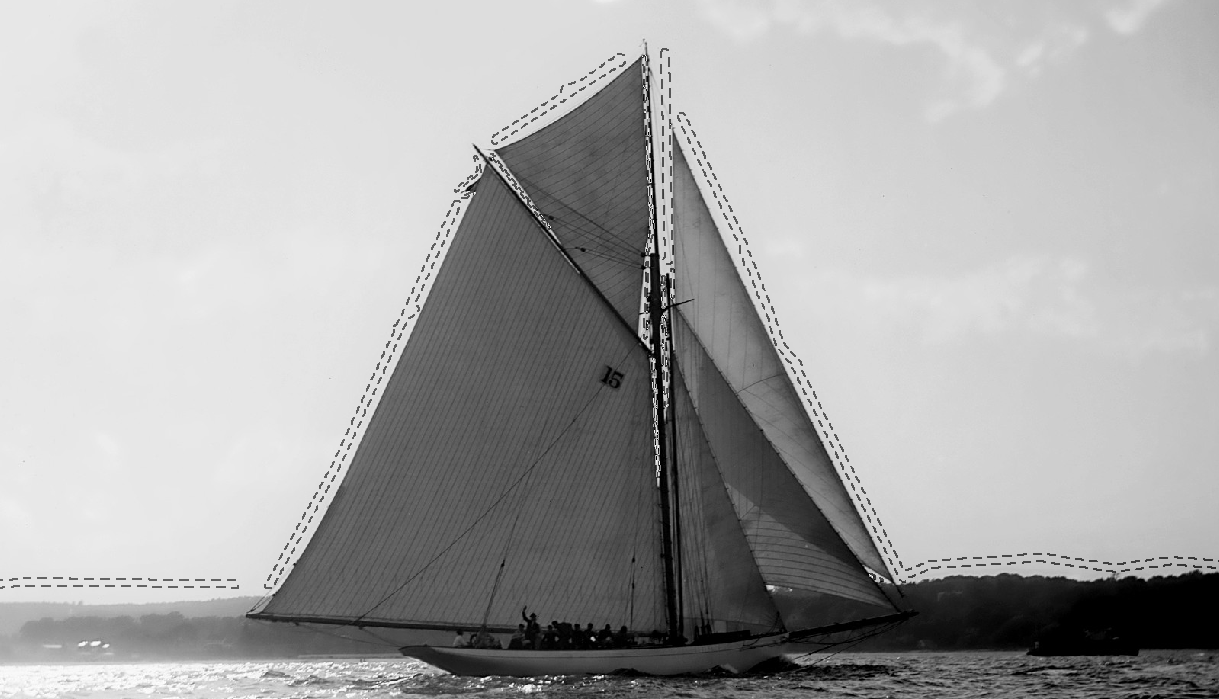
Step 1. Click the Roller icon ![]() . Then click the stroke.
. Then click the stroke.
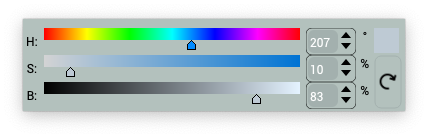
Step 2. Reduce: (S) 23 -> 10 and (B) 85 -> 83
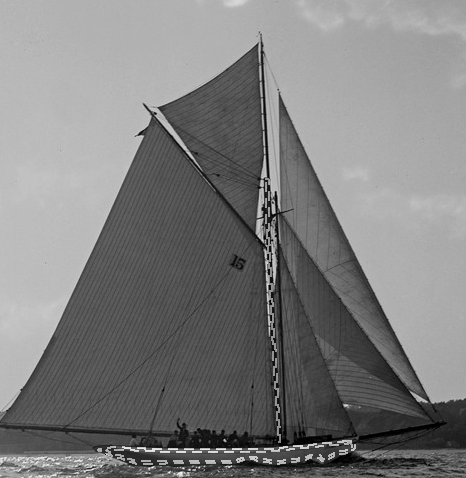
Select the Pipette ![]() and click the just repainted stroke.
and click the just repainted stroke.