A key feature of CODIJY programs is how easy they make adding colors of your choice to individual/all objects in an image. In this article, you will learn about:
the way the CODIJY colorization technology works
functions of color masks
methods and rules of applying a mask
At the end, we’ll look at how to avoid the most common mistakes associated with mask drawing process.
Table of Contents
Let’s first talk about colorization technology. It’s crucial for your future color choices, as well as your ability to fix some of the problems.
Applying colors the smart way
The CODIJY color application technique is based on a simple concept:
Outline or stroke areas of the image with selected shades.
We also refer to this process as applying masks. It’s important to understand that unlike strokes in a drawing program, which simply overlay the area below them, masks work differently.
A mask is a visual command with its own set of functions!
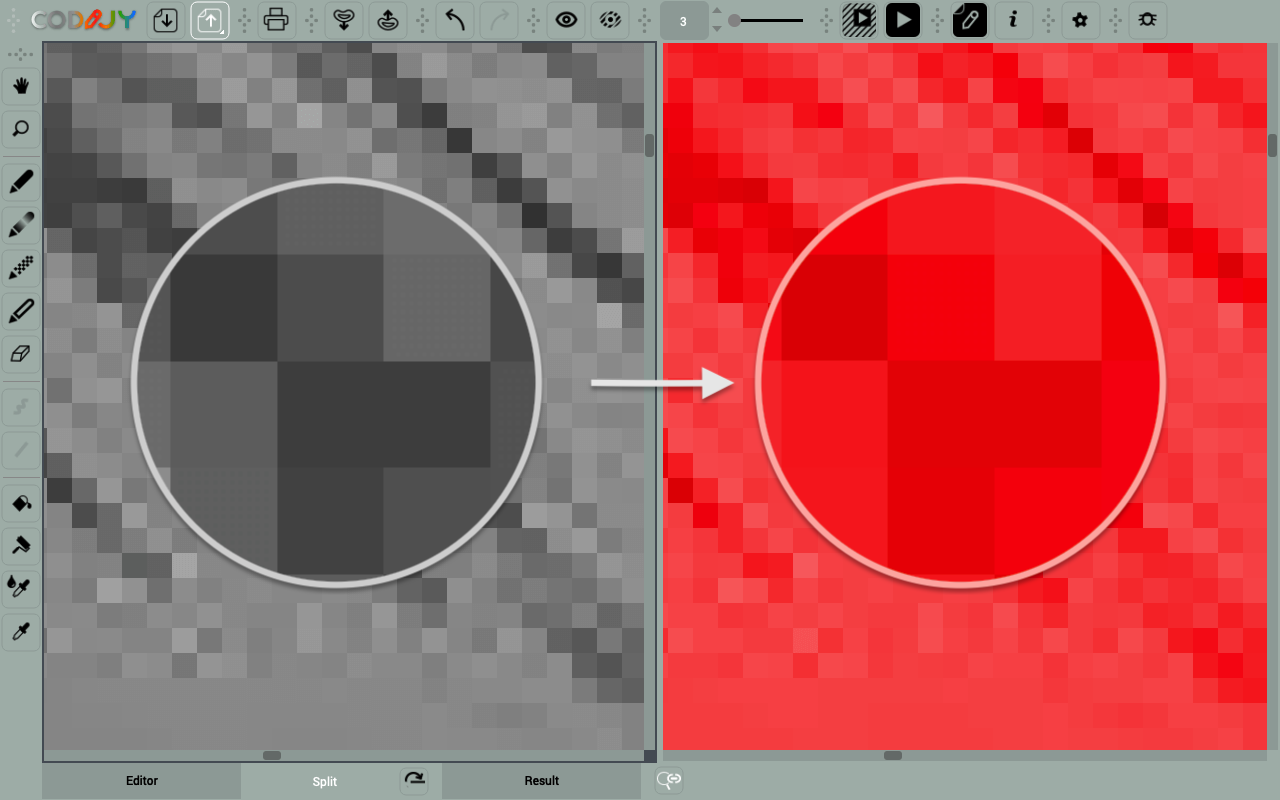
To look at color masks (1) from the right perspective, let’s compare them to protective masks (2) and discoloration masks (3) at CODIJY.
Note how CODIJY uses these stroke to perform respective operations on image areas.
In this respect the color masks do not apply color as such. Instead they tell CODIJY algorithms about:
the approximate position of the area boundary,
the shade CODIJY must use for colorization.
Besides colors, you can also apply protection and discoloration masks.
In images with a lot of detail, masks may form a complex pattern of lines and contours.
Still, if you put aside the extra challenging subjects, coloring most photos will prove to be an enjoyable drawing exercise!
In sum, the neater the mask, the cleaner the result. Now let’s see how this affects the color result.
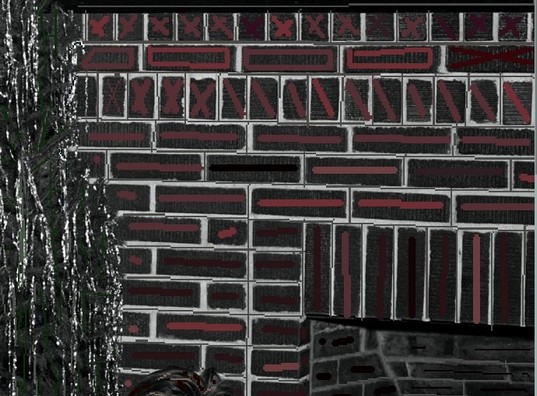
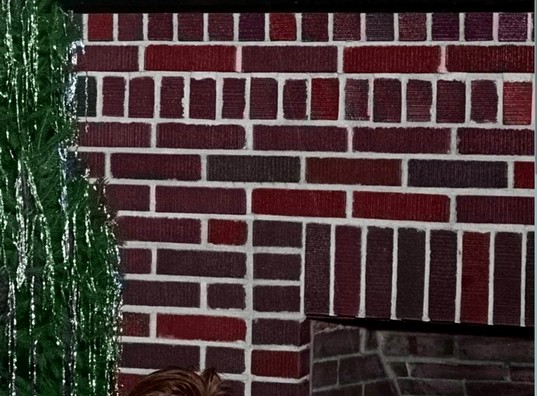
How color masks work
To see how CODIJY deals with color masks, let’s run the image processing:
Image colorization in CODIJY is done in the order of the following steps:
1
CODIJY converts the image to grayscale.
2
Automatic Boundary Detection uses position of each mask to determine the area boundary.
3
CODIJY algorithms calculate the shade of the selected color for each gray pixel of this area.
The program then replaces the gray pixels with colored ones. Thus CODIJY:
Realistically reproduces surfaces and textures in new colors
Colors do not blend with the original shades
The result looks neat no matter how carefully you draw the edges
Note how significantly brighter the colored pixels look versus the gray originals.
How to draw masks
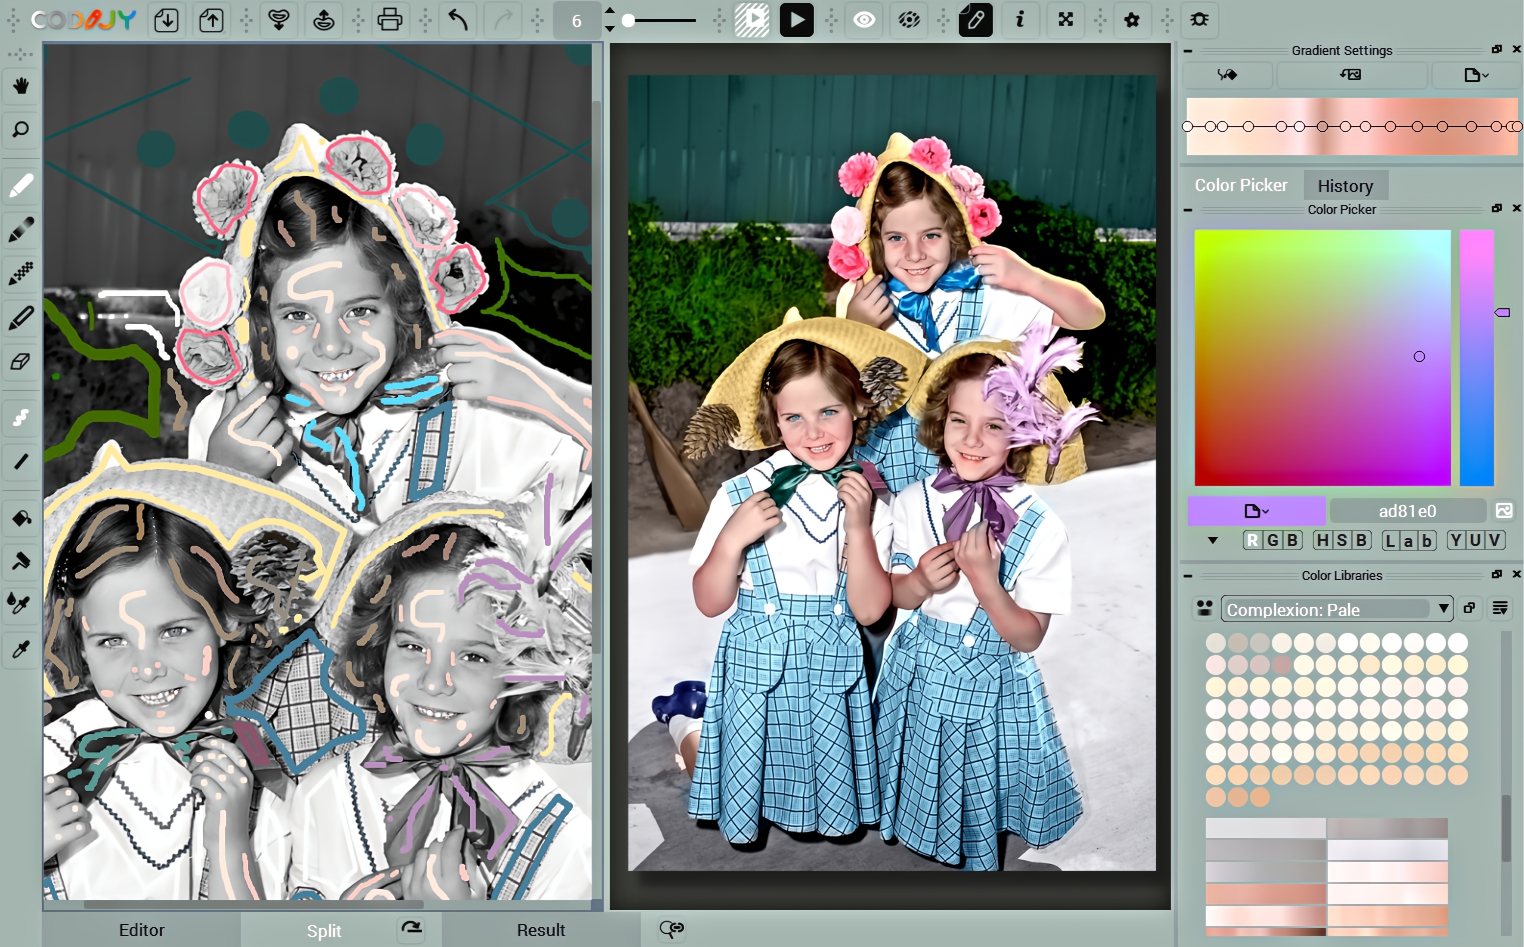
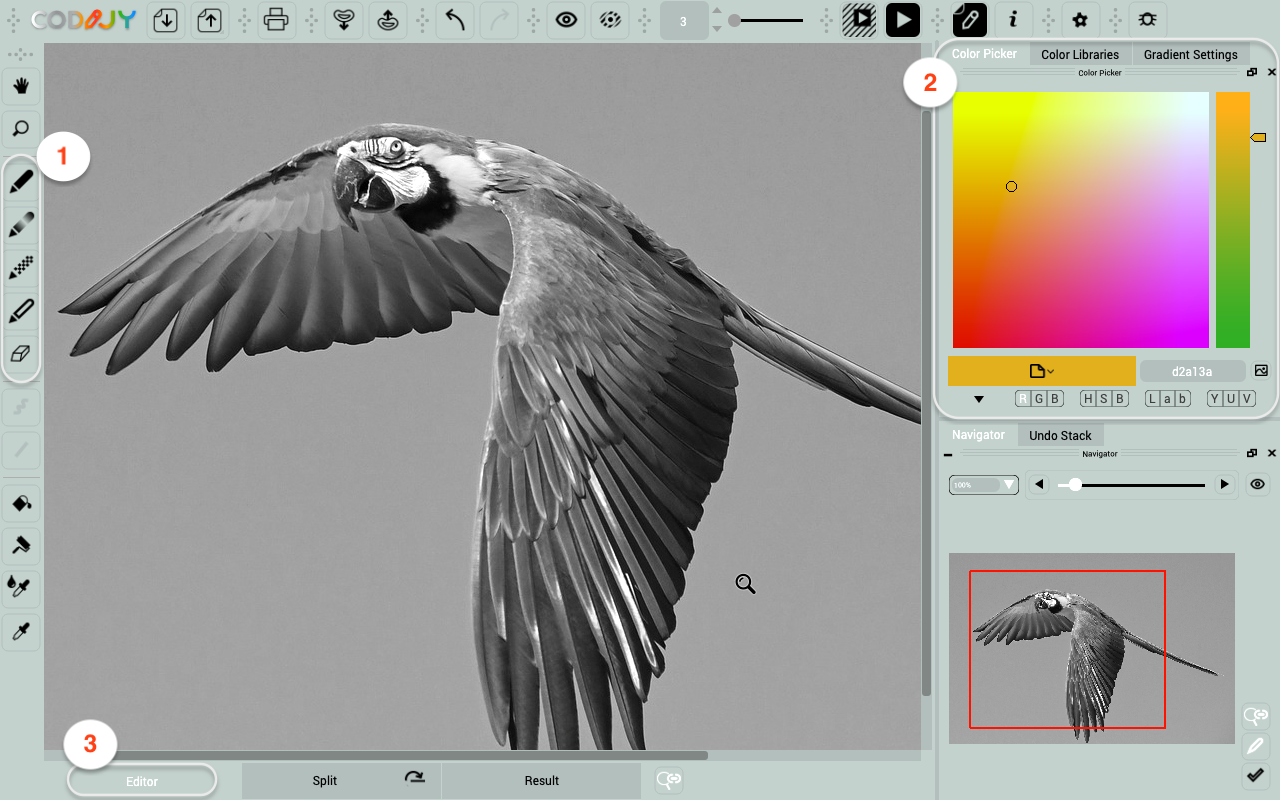
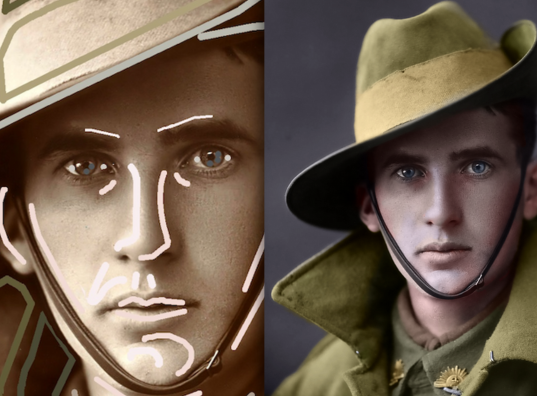
You can apply masks in the Editor view. For this, we use the set of Pens (1) and various color options (2).
Enable and set up the pen tool
To draw a mask of a certain shape and color, select and set up the Pen tool.
Step 1. Select the Pen tool.
Step 2. Depending on the shape of the area, set the Pen to Line (L) or Freehand (F).
Step 3. Set the brush width. It should make strokes visible and let you fit them into resessions.
Select a color
Select a color using any of the color selection tools:
To quickly create your first color draft, use the Color Library on the corresponding theme.
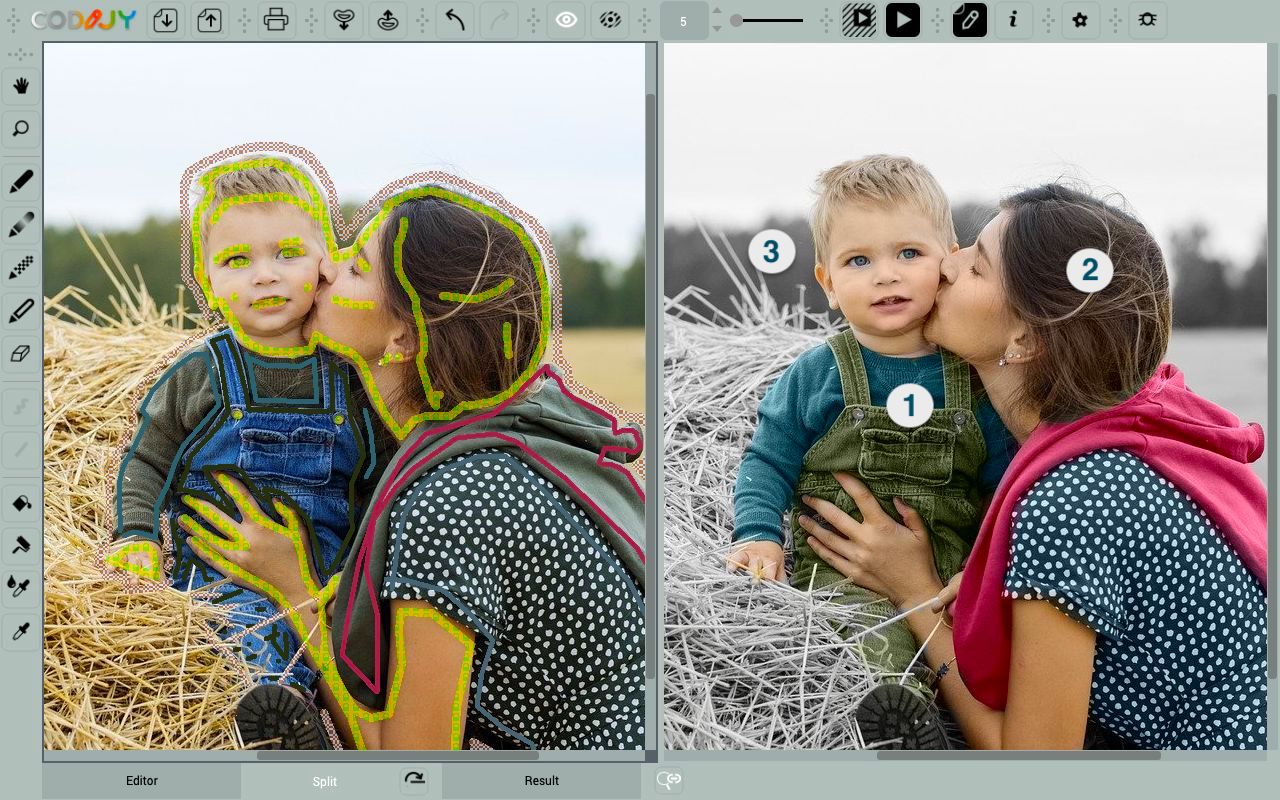
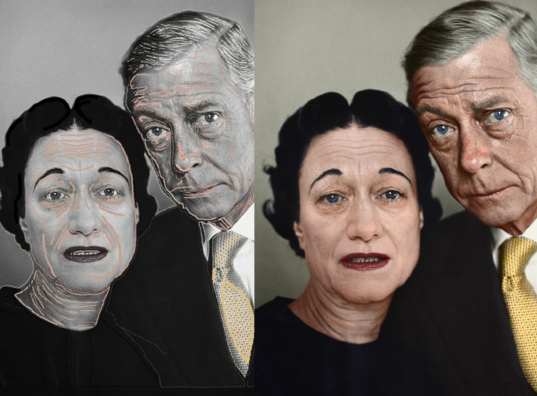
Apply masks to large areas
Draw the first mask. To keep the borders neat, the color stroke should not stray too far from the edge.
So, it is recommended to carefully trace large objects and the background along the border.
Step a few pixels aside from the boundary. Add masks on both sides of the border.
As this mask has a sophisticates shape with multiple curves, you can draw it using Quick Draw shortcuts.
Similarly, add masks of corresponding colors to the adjacent areas.
Note that CODIJY defines the boundary between two adjacent areas when masks are applied to both of them.
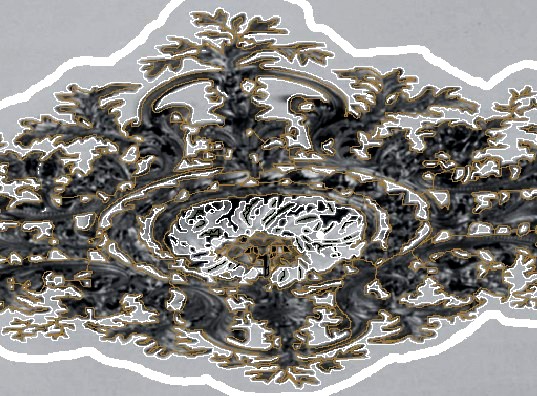
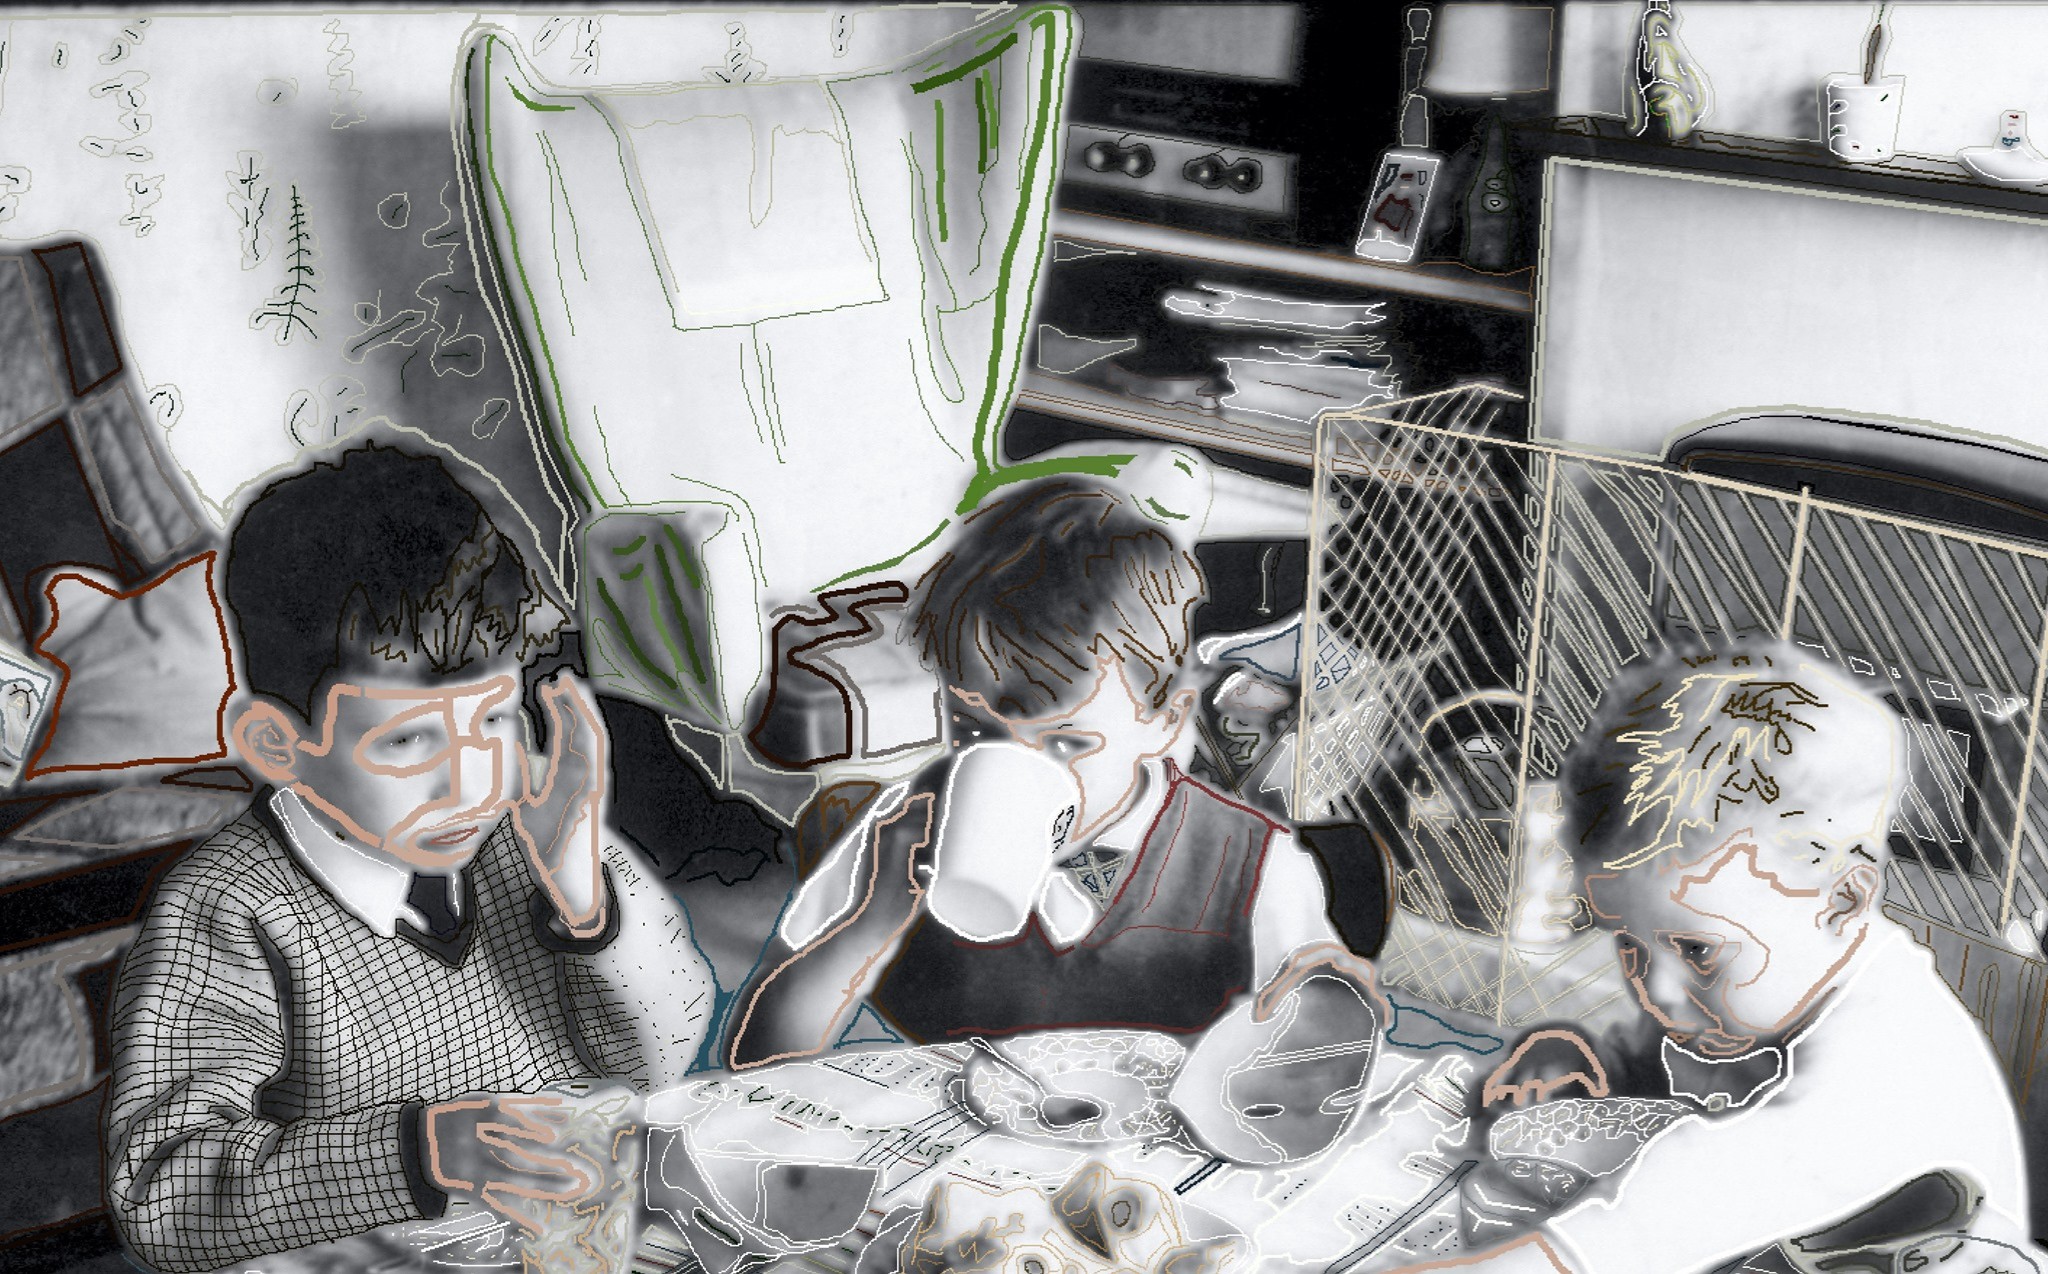
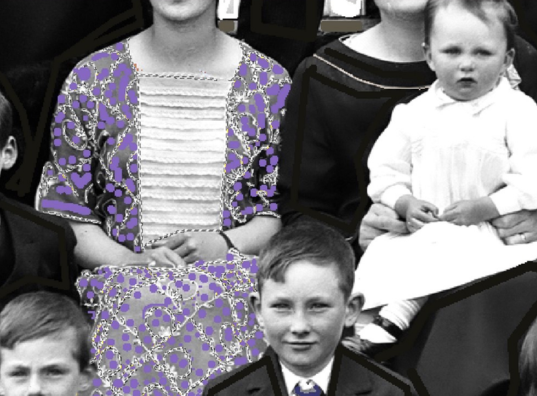
Shapes of the masks
The mask pattern may vary from image to image.
Previous image
Next image
Generally, it depends on the size and shape of each area.
Photo and masks by Phil Johnson, UK.
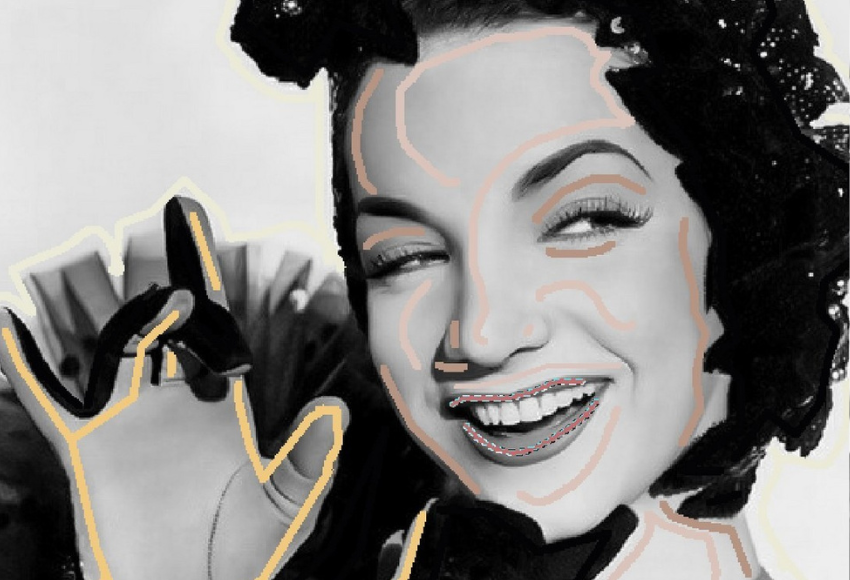
Freehand strokes for faces
Although the face is a single object, you may need to apply several shades in order to recreate shadows and blush.
You can do this with simple strokes and let CODIJY create a soft transition between these tones to make them look natural and realistic.
Fitting the mask into the small space
If the area is thin, you can make do with a simple line. This mask will be equally close to both edges, which is enough for CODIJY to interpret the border correctly.
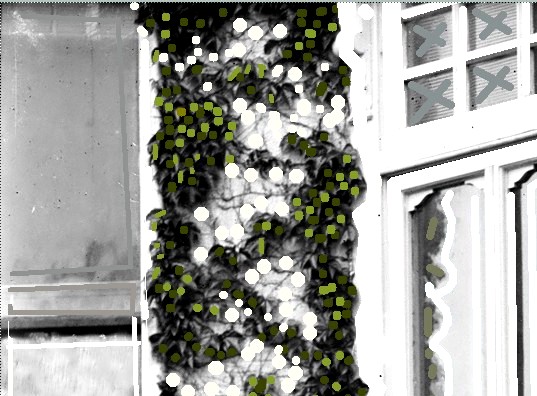
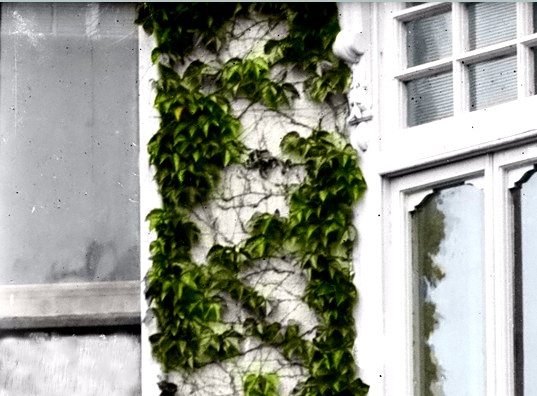
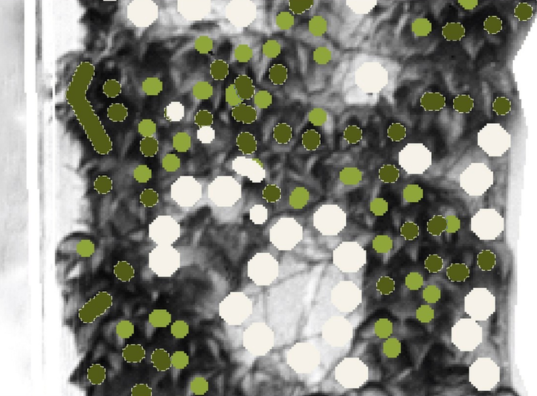
When coloring the foliage, you can get by with simple dots of a light/dark shade of green to accentuate the leaves.
Dots are also useful for small areas when you want to fit masks into the small space in-between other colors.