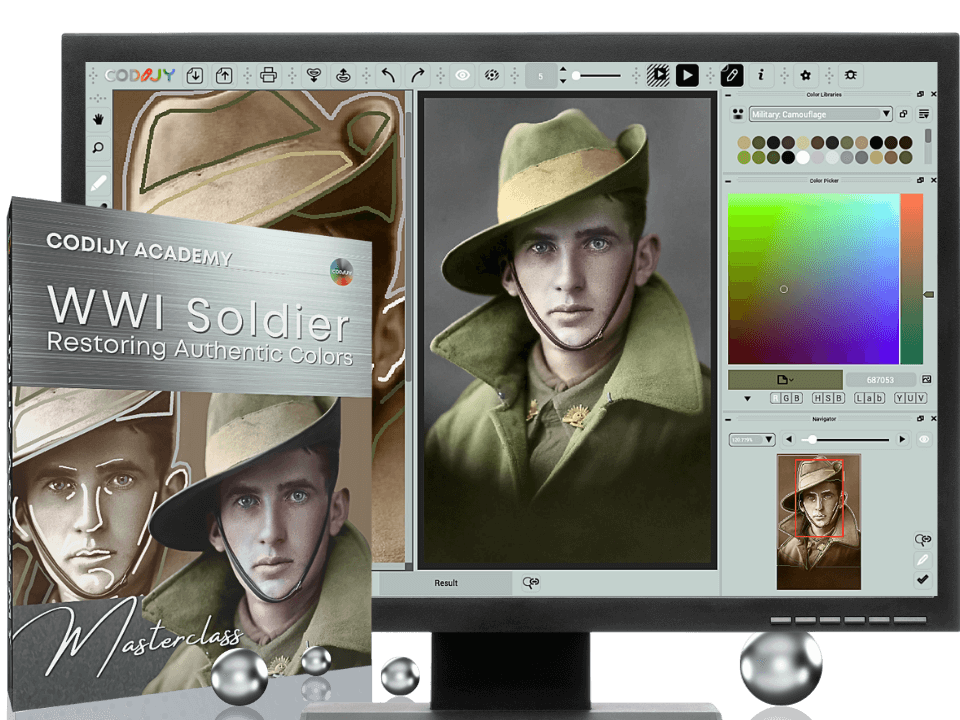
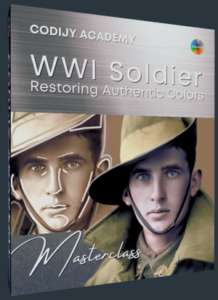
Welcome to the second session of the CODIJY course for aspiring photo colorists, in which we restore the colors of an iconic World War I portrait. Make sure you have:
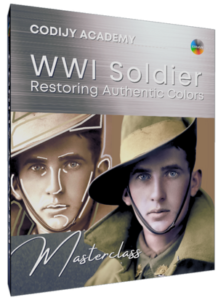
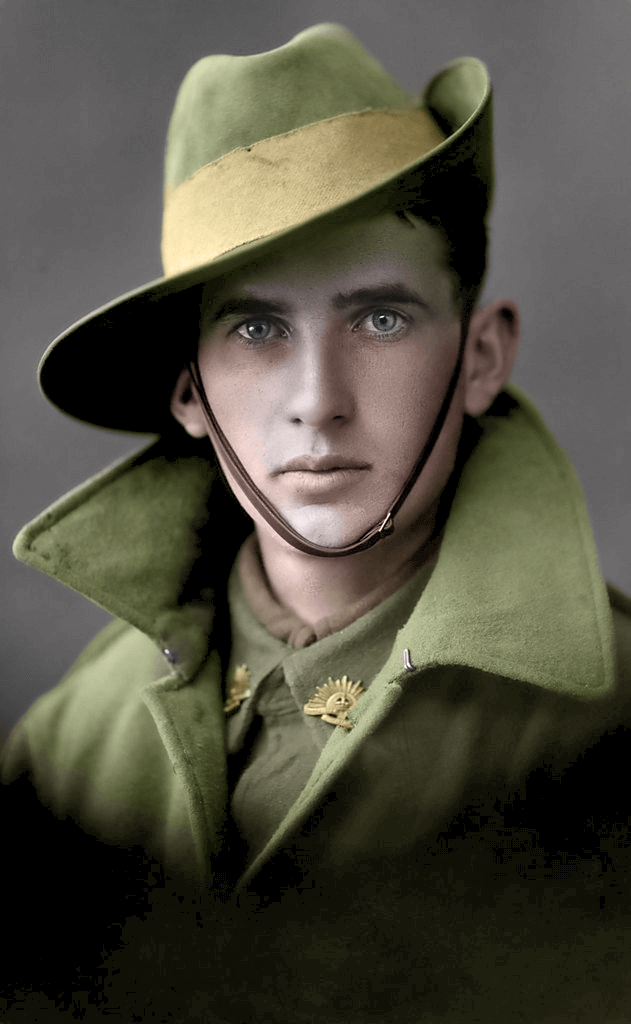
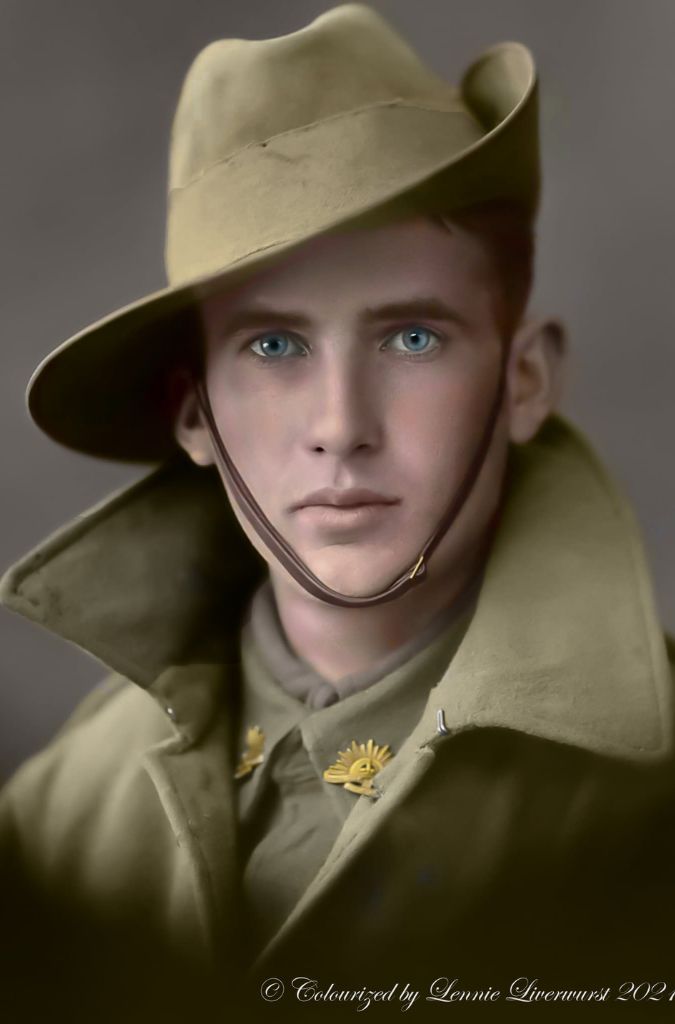
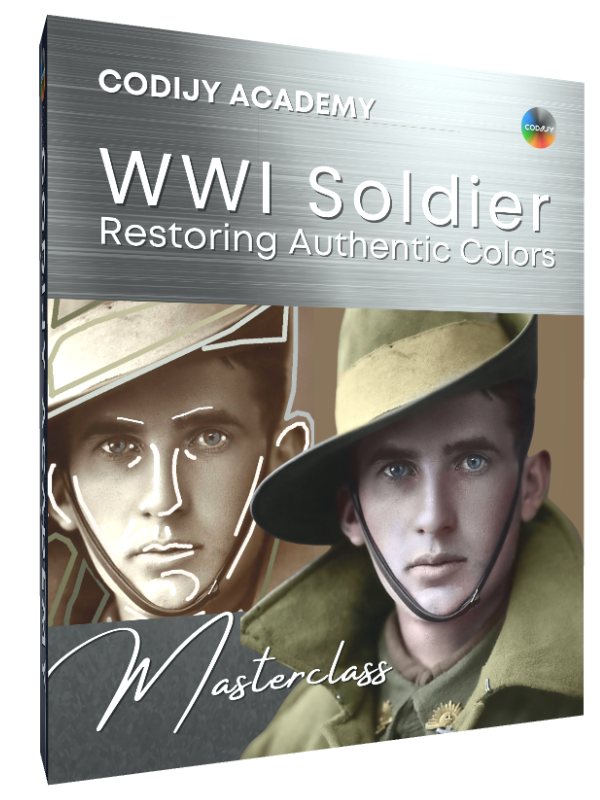
In this class, we will colorize one of the most iconic photographs of World War I, a portrait of an Australian infantryman.
You will see how to apply the facial colorization technique to a male portrait, and take your first steps in reconstructing historically accurate colors of an Australian infantry uniform.
About this photo
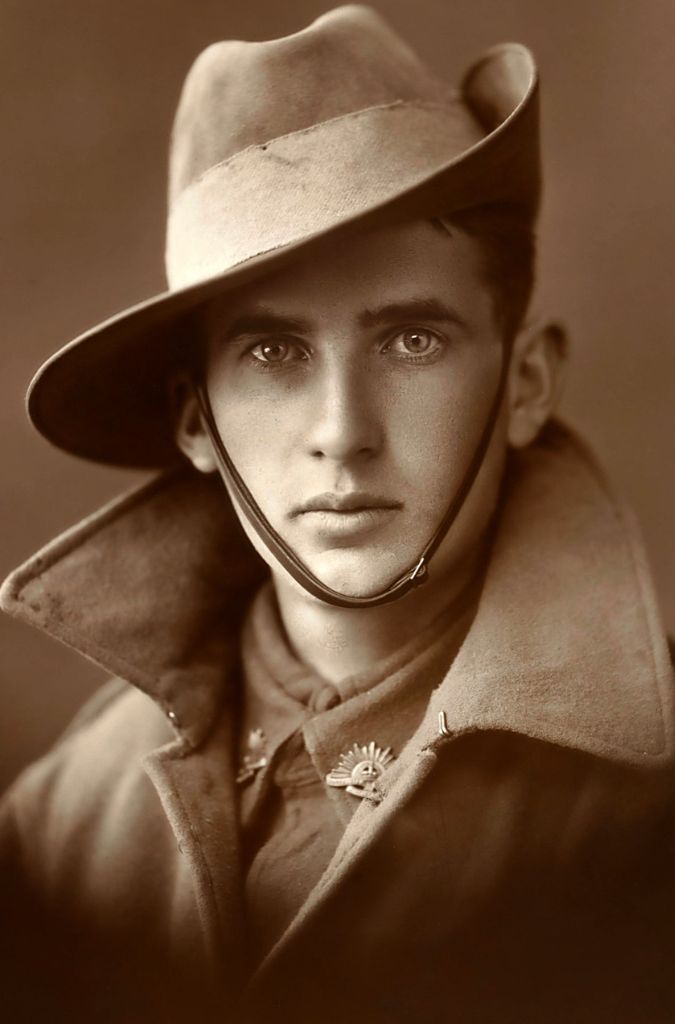
Today, the photo of a young man in the uniform of the Australian Infantry is undoubtedly one of the iconic images of the World War I era.
Unidentified First World War soldier in Australian service uniform. Source at Australian War Memorial.
With our colorization we tried to capture the beauty and emphasize the tragedy of this portrait.
Lennie Liverwurst and Dean Eau, CODIJY users from Australia and Germany, also decided to take up the challenge and shared their masterful versions of this colorization.
Colors by Lennie Liverwurst, Australia
Colors by Dean Eau, Germany
As you can see, despite their different styles, both colorists achieved stunning results in their own unique artistic manner.
About this class
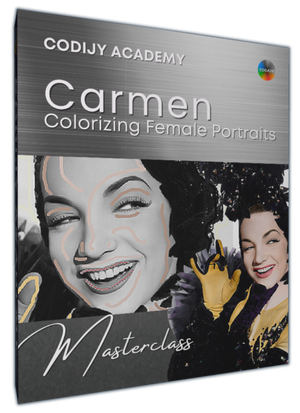
Assuming you’ve acquired basic colorization skills during the Carmen Miranda class, in the second tutorial we focus on explaining the new tools and techniques.
Note: This class uses color libraries from Pro edition!
You can also use the ready-made color palette included with the tutorial file, or copy/paste the suggested color numbers.
Table of Contents
Let’s get started. In this part we download and open the example, ready palette and choose the color picking tools.
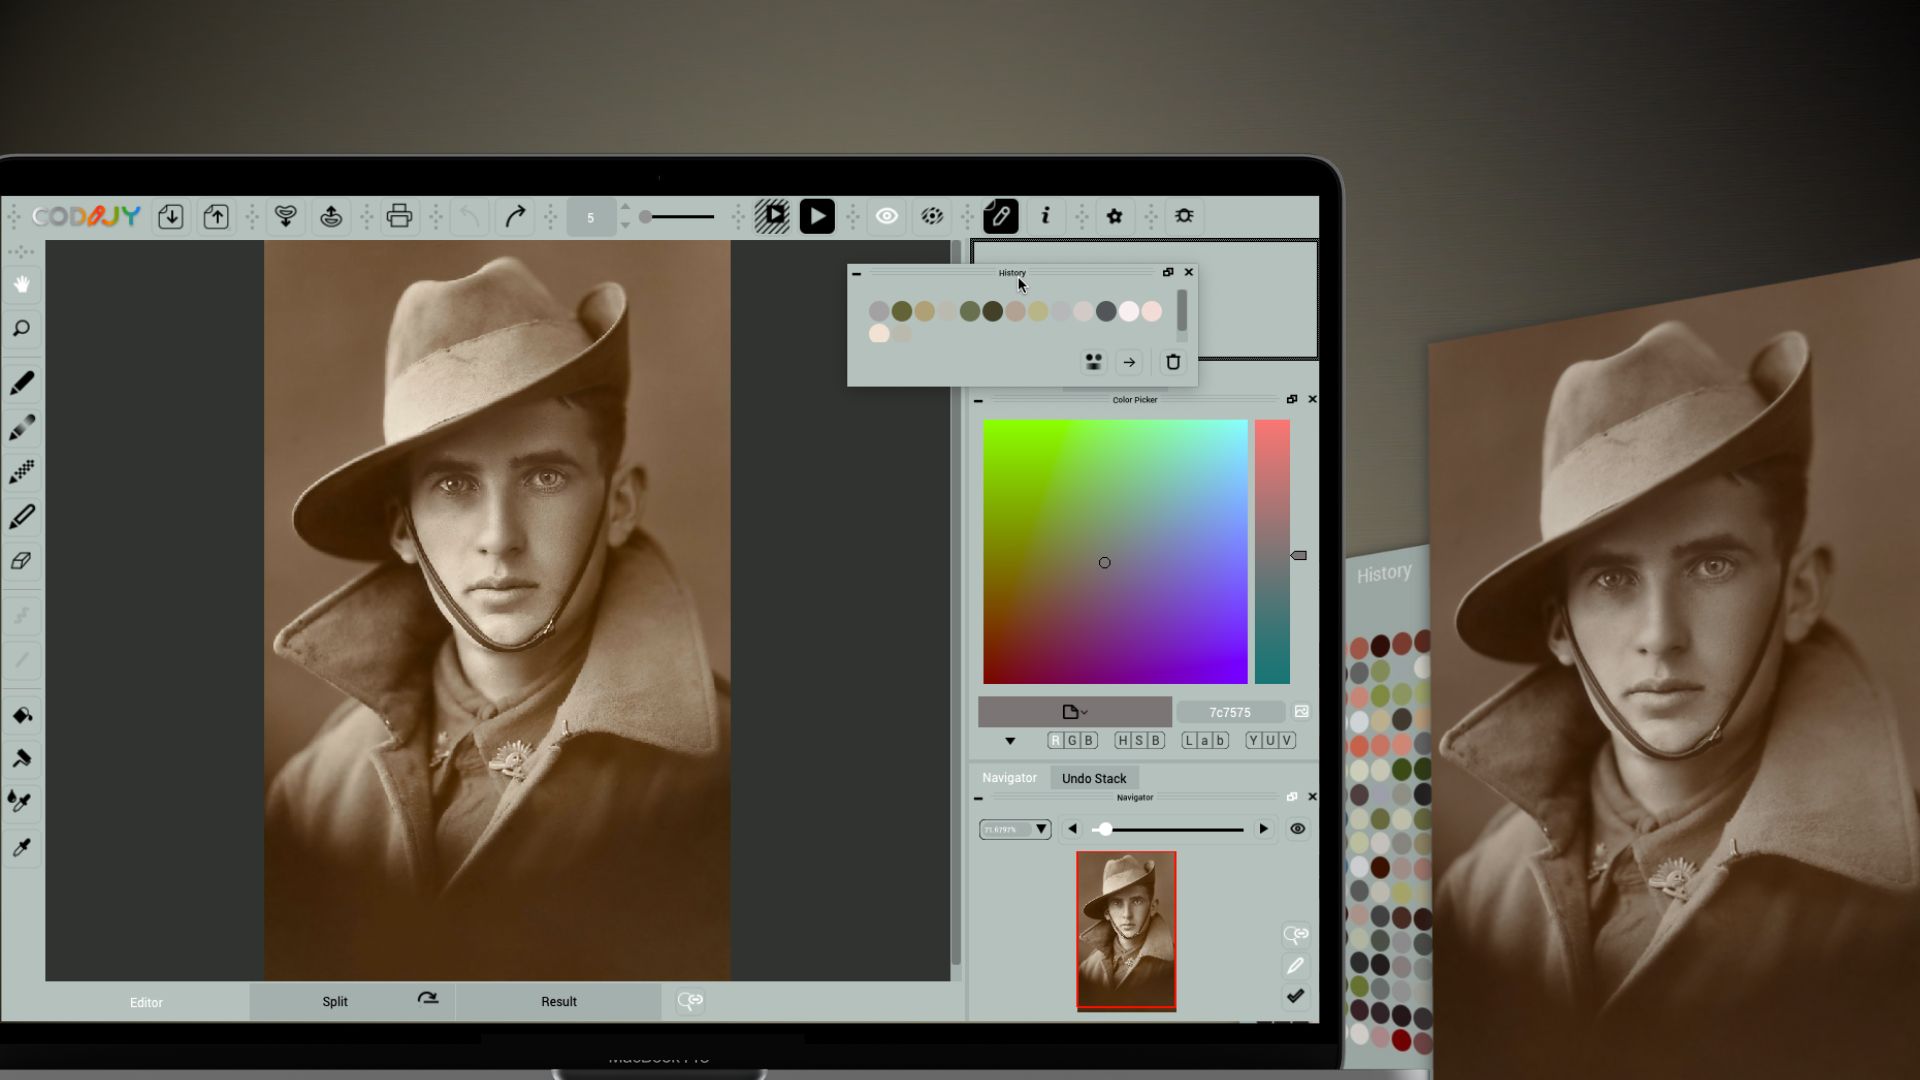
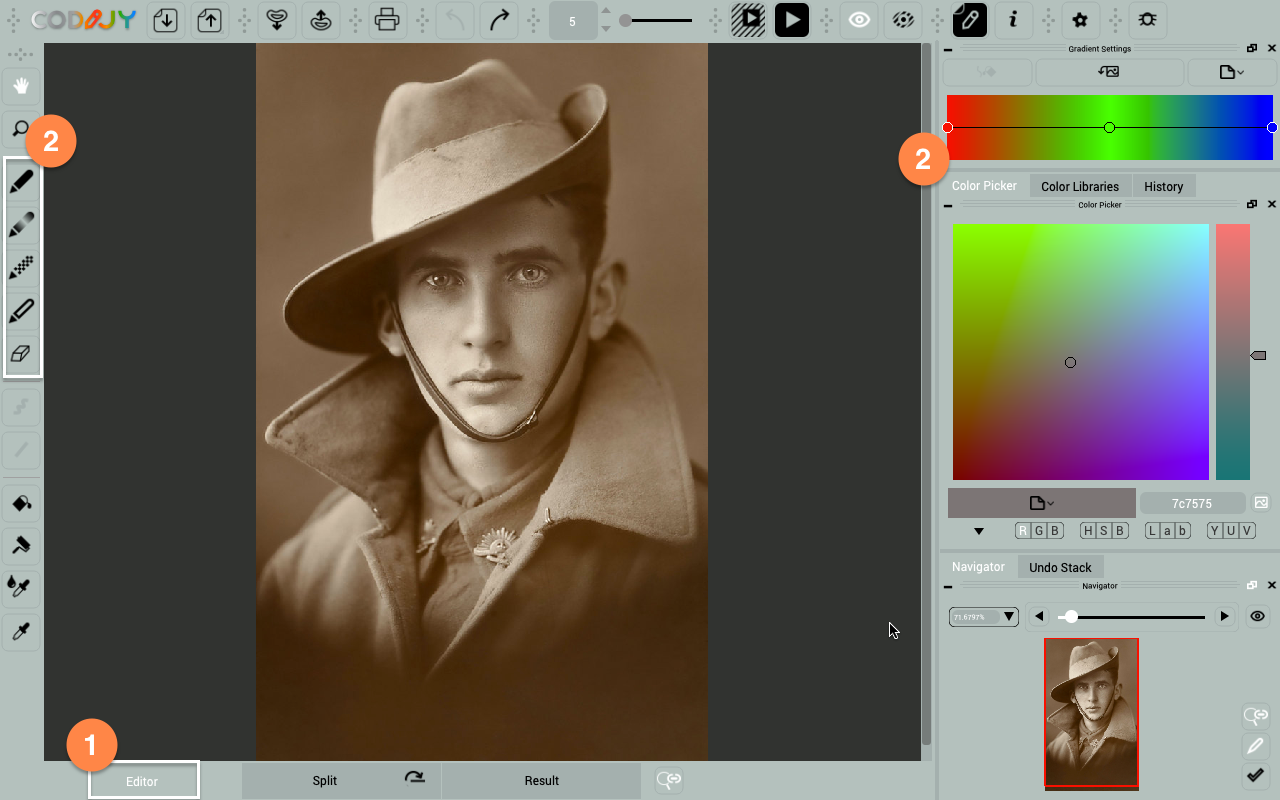
Open the saved file in CODIJY with a double click. CODIJY will start and open the photo in the Editor (1) and the drawing tools (2) get active.
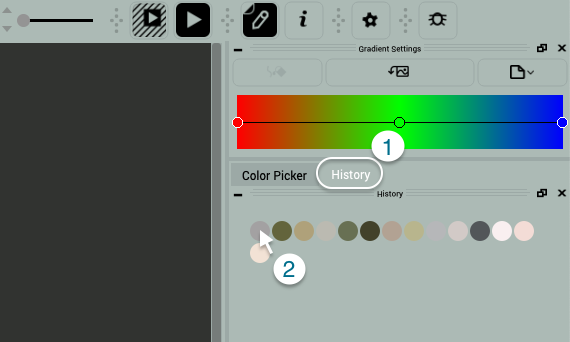
Open the ready colors (2) located under the History tab (1) on the right sidebar. Colors #2-9 are for uniforms and badges, #10-14 are for different face shades.
If the History tab is hidden, drag it to the top of sidebar.
2
Research colors
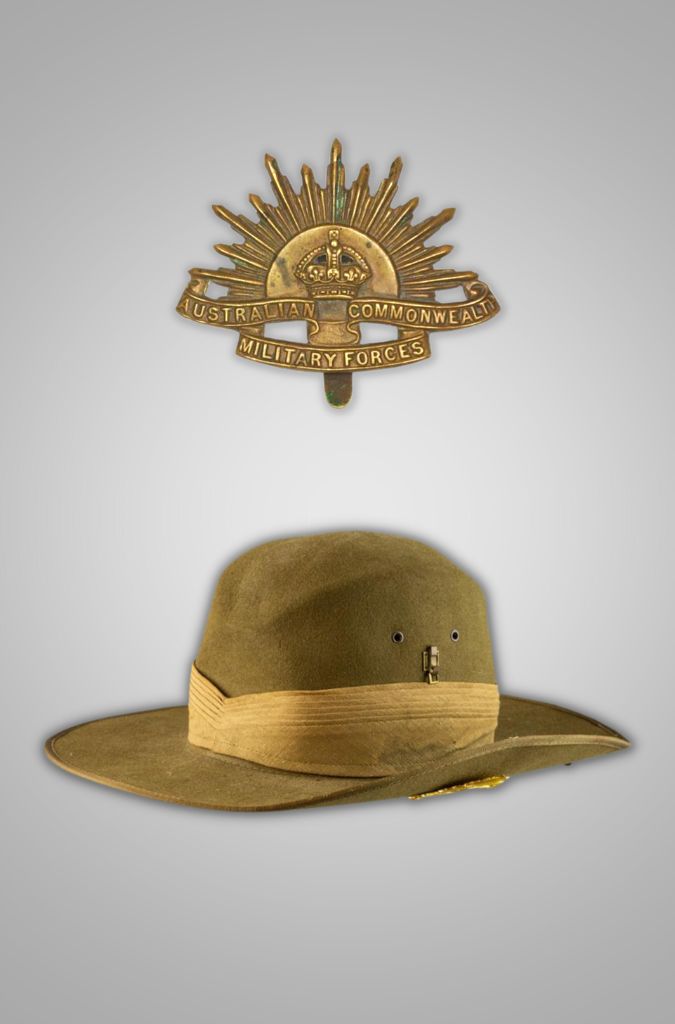
The feature of this photograph is the uniform of the Australian infantry. We should research its colors so that our colorization remains historically accurate.
Luckily we found some images from museums and collections.
Choose the color picking option
In most cases, the quick and reliable way to get historically accurate colors is to copy them with the Color Capture tool (Pro).
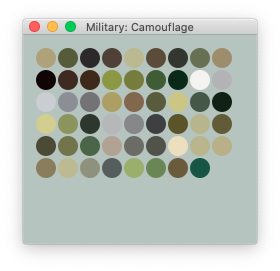
However, in this session we use a library of historical camouflage colors (available in Pro).
Note: Colorizer Pro includes several libraries of historically accurate colors, such as military colors or car paint from various time periods.
This exercise will expand your skills in color selection, as we pick colors for the slouch hat and the jacket, learn to deepen shades and choose the right tones for the metallic badges. Let’s move on to coloring.