![]()
![]()
![]()


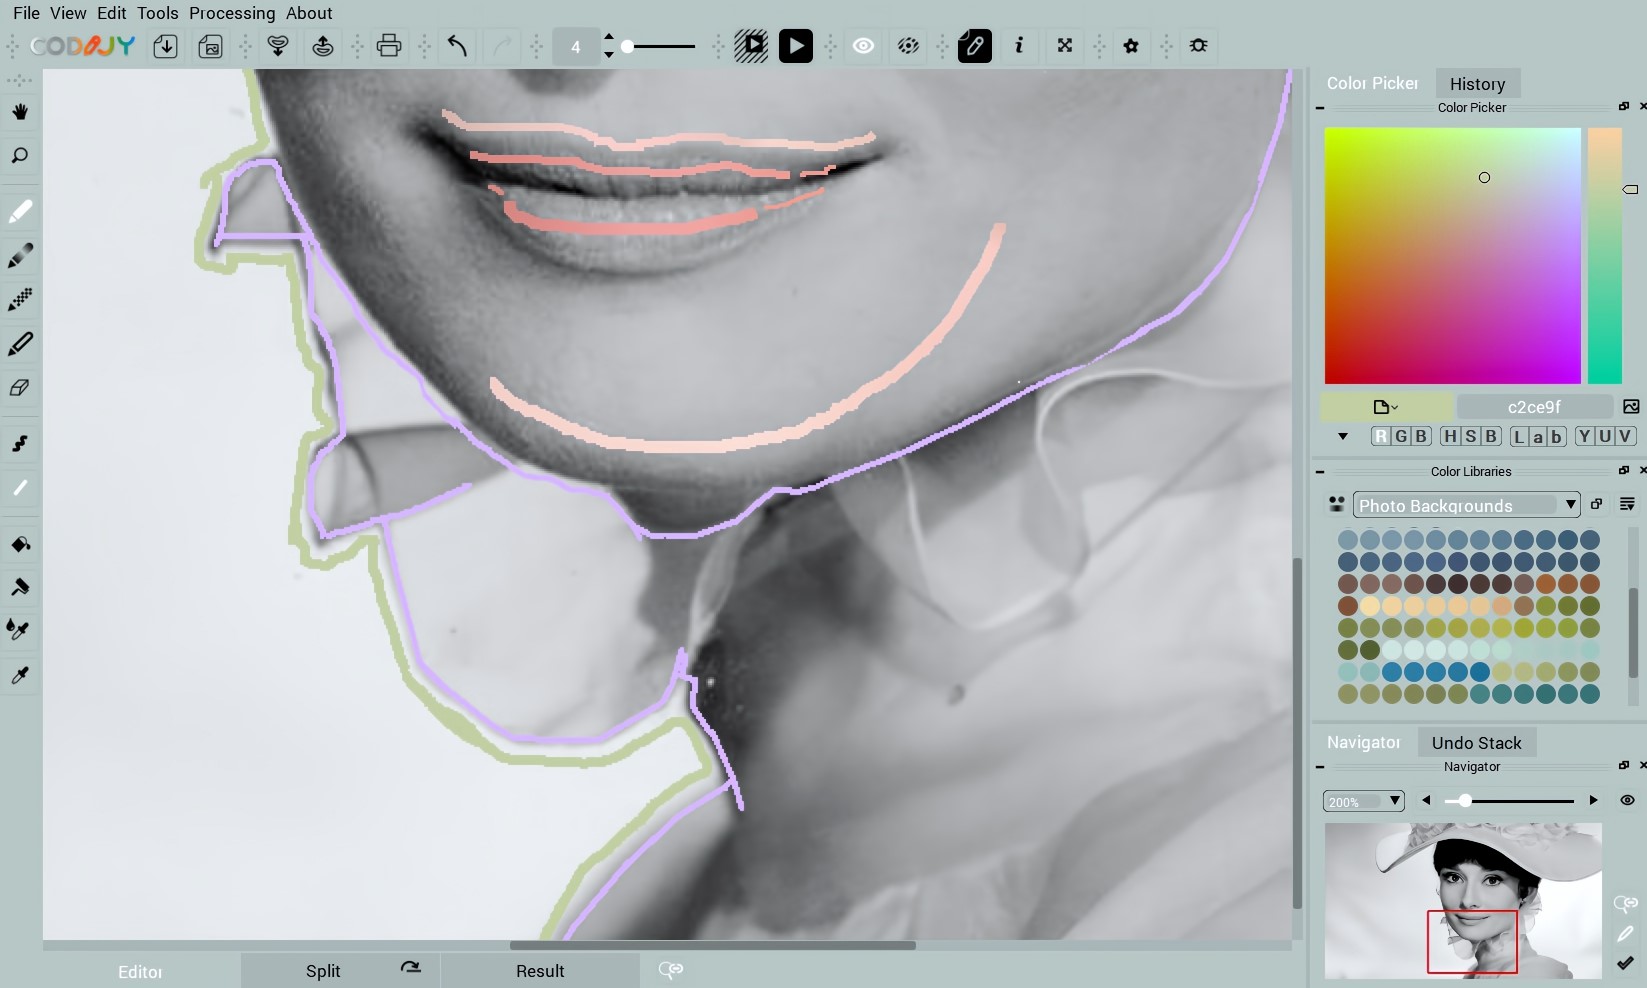
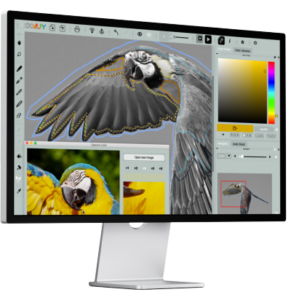
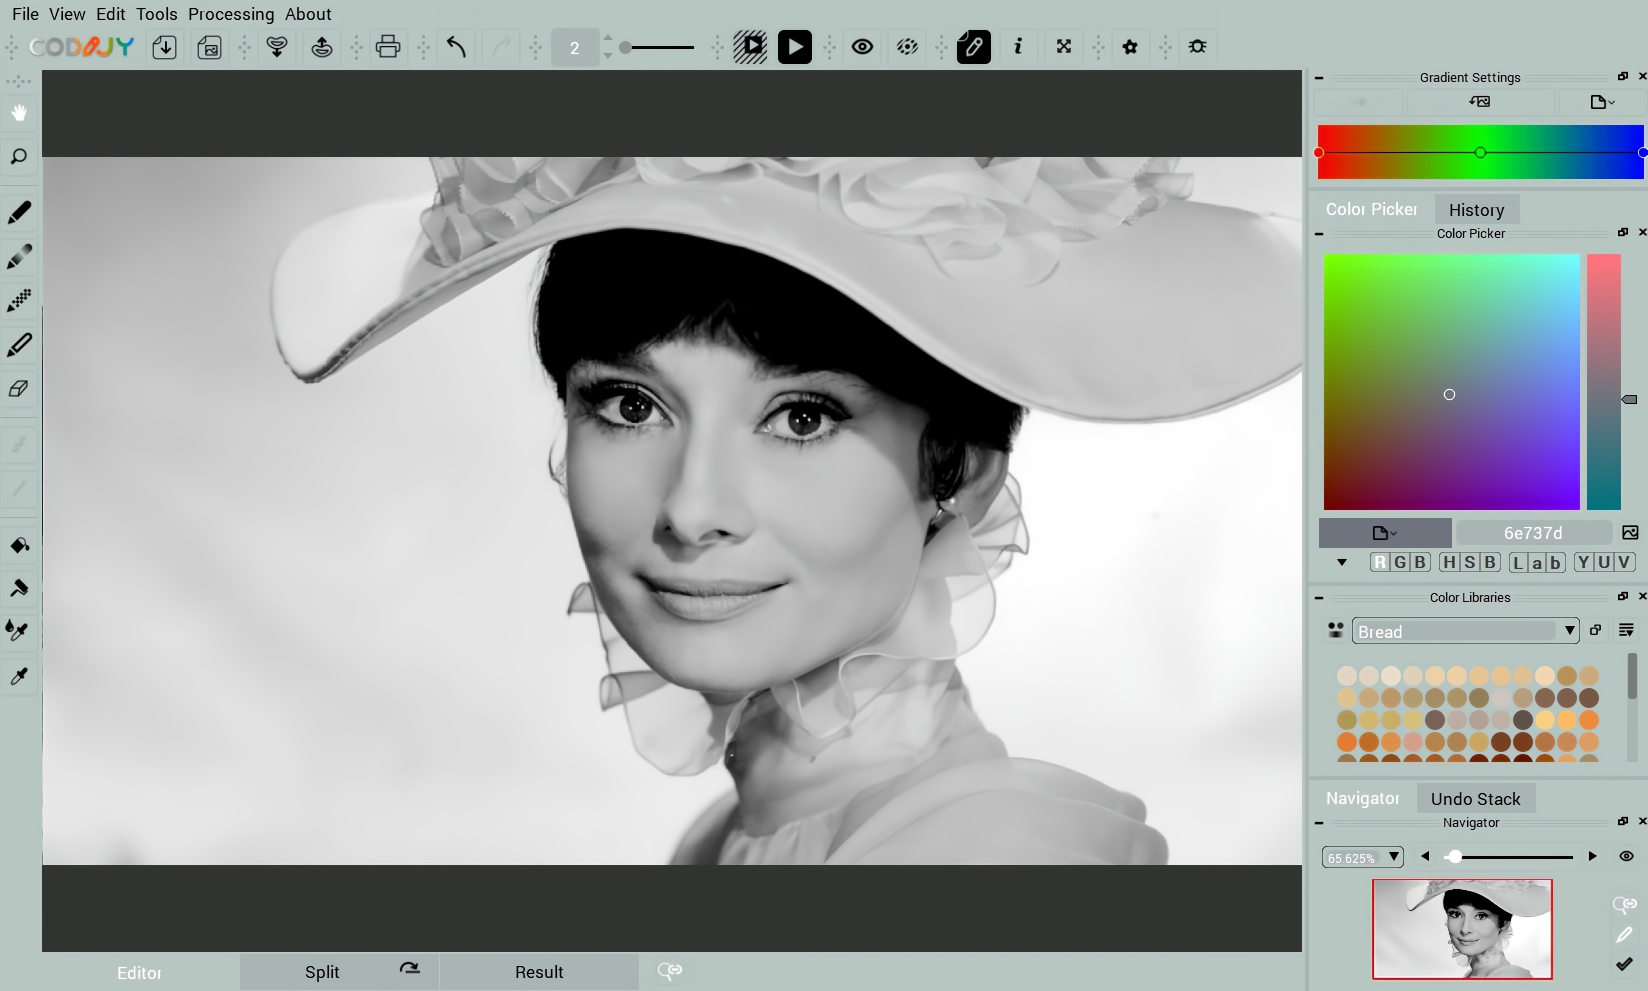
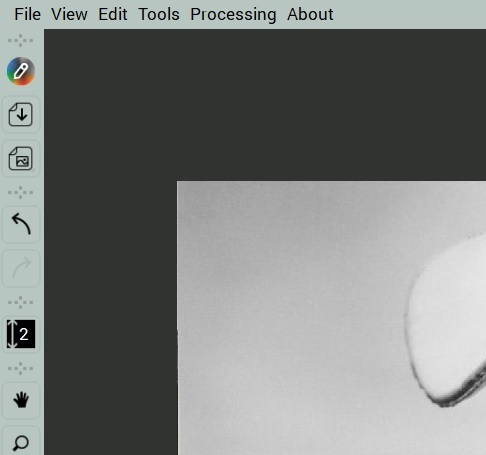
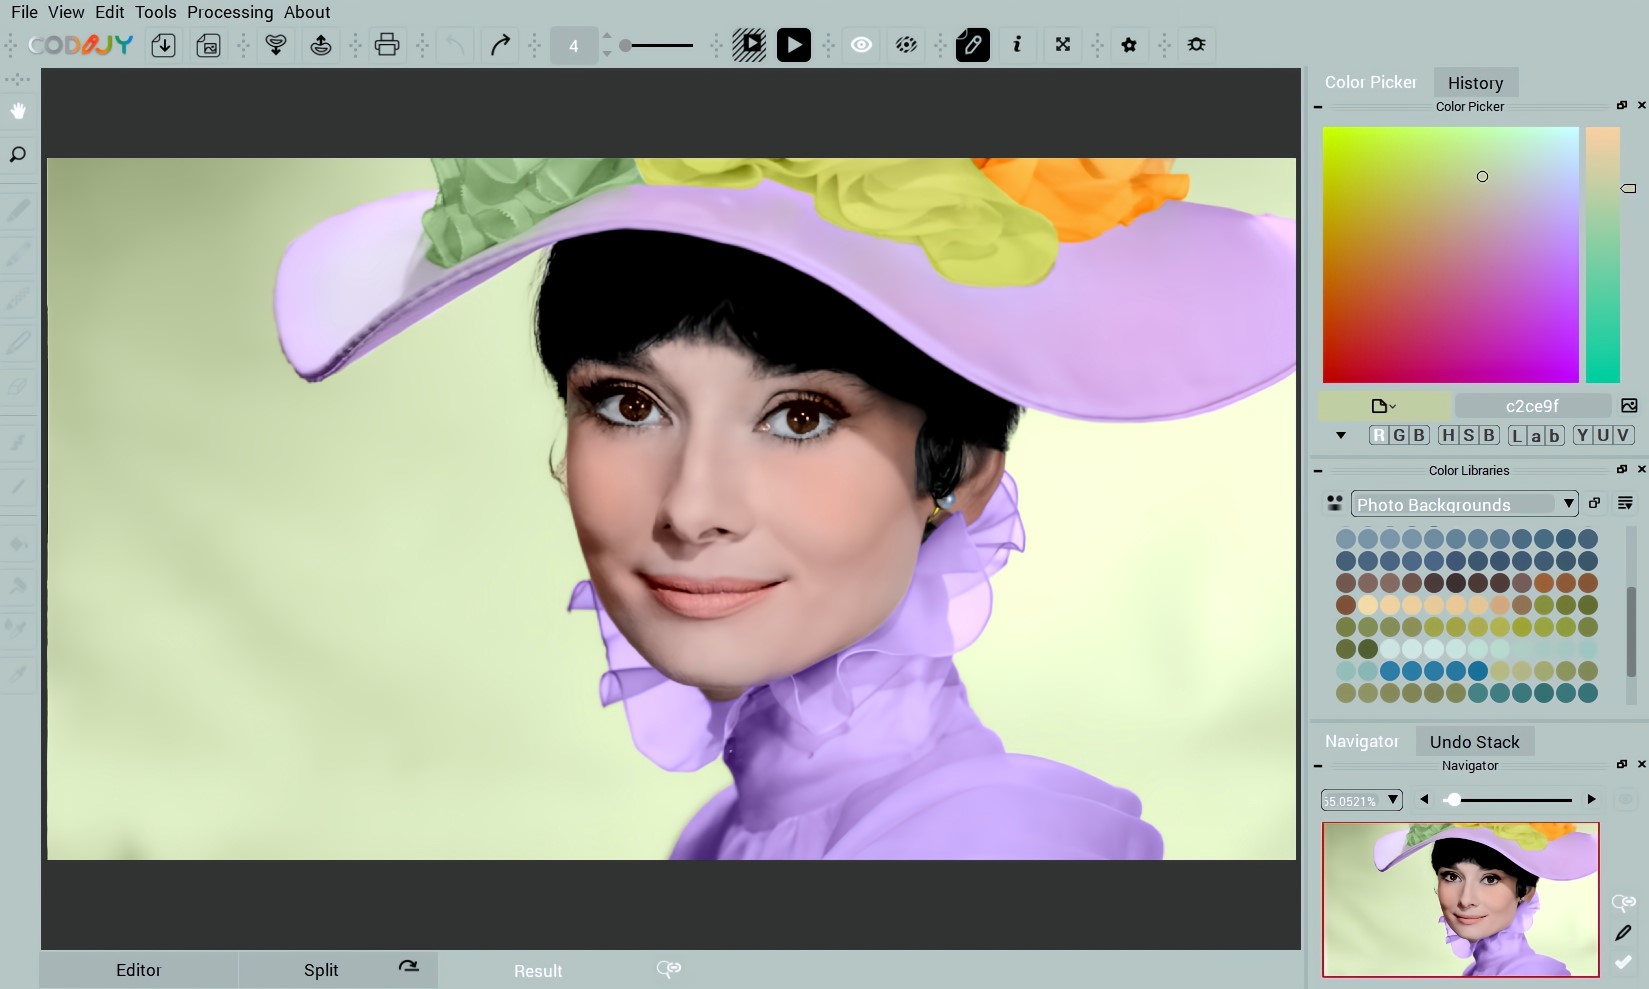
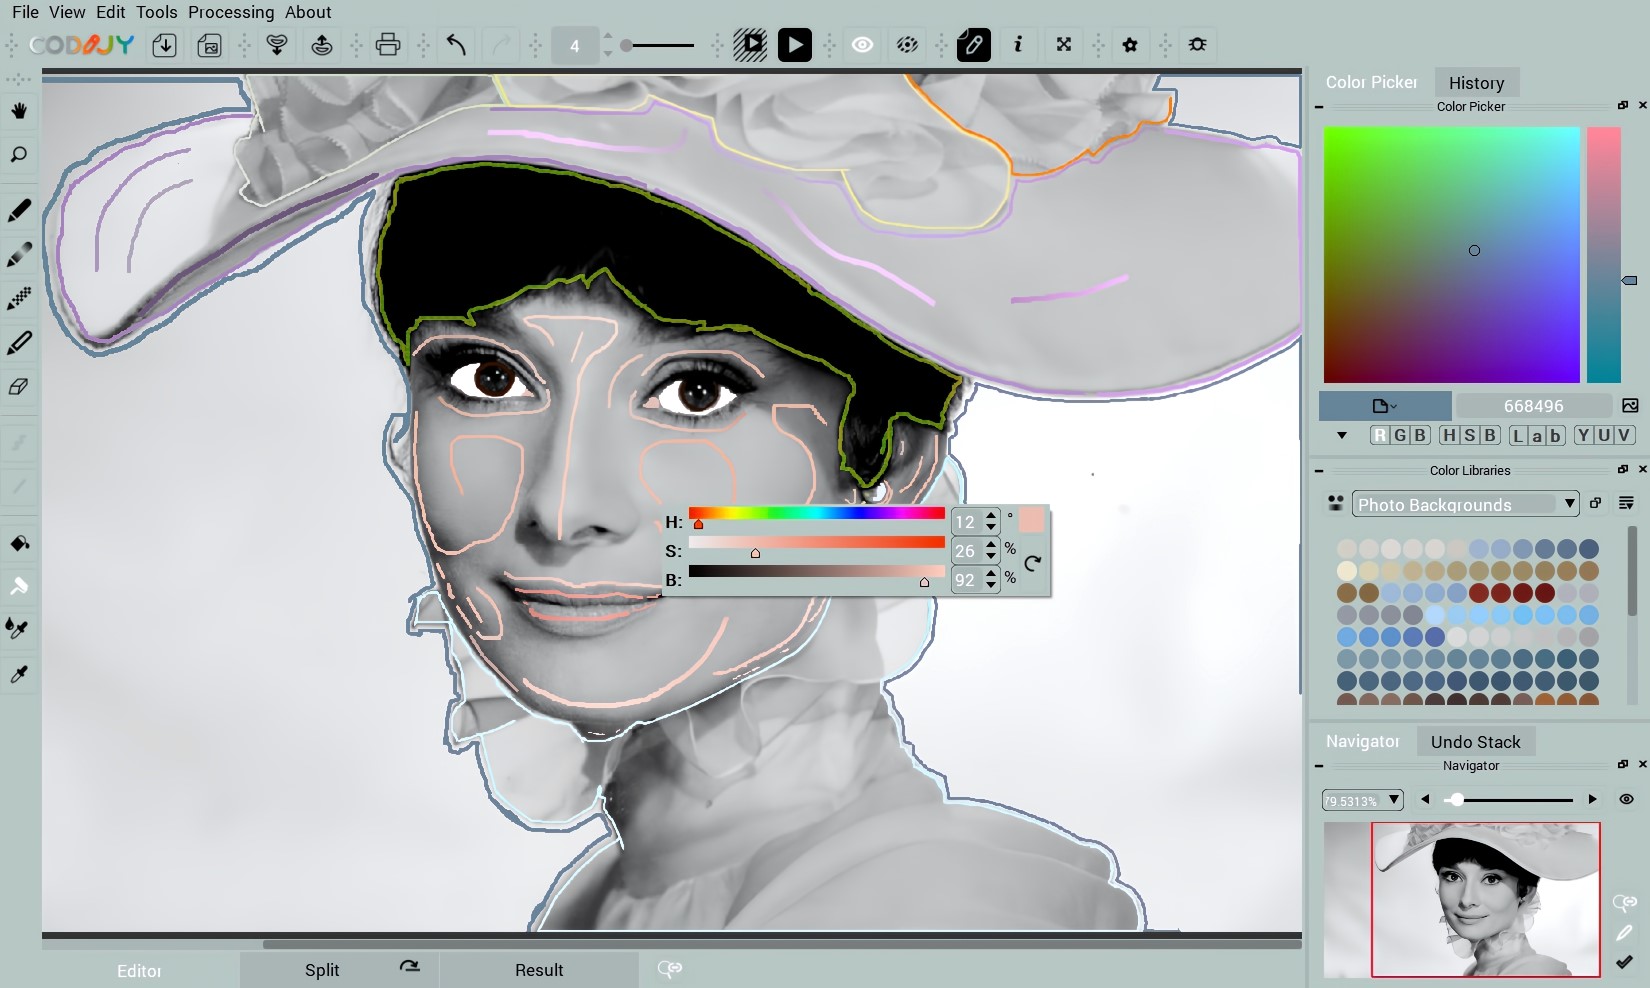
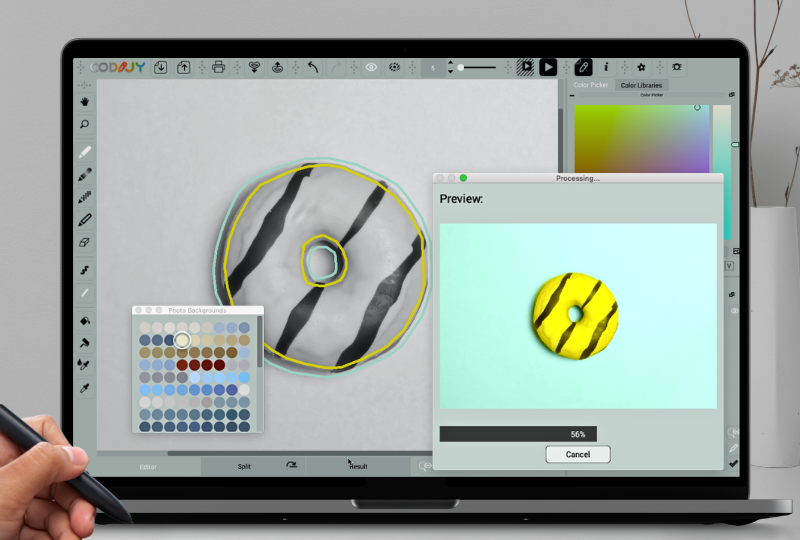
Click the Image Processing button ![]()
![]()
![]()
![]()
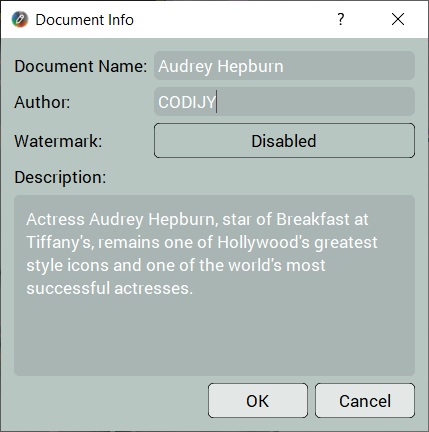
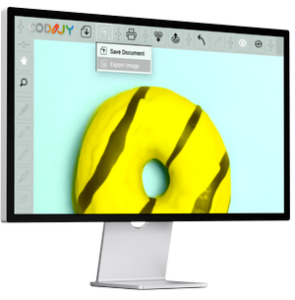
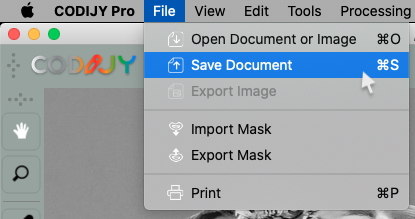
In the end, save your work to a CODIJY document:
Press Ctrl S/⌘S, click ![]() or open File->Save Document.
or open File->Save Document.
![]()
![]()
![]()
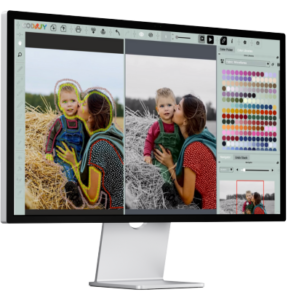
Click the Image Processing button ![]()
![]()
![]()
![]()
In the end, save your work to a CODIJY document:
Press Ctrl S/⌘S, click ![]() or open File->Save Document.
or open File->Save Document.