CODIJY Quick-Start Tutorial

Add Colors to a B&W Photo

In the first Quick Start tutorial you’ve made a brief acquaintance with CODIJY colorization technique. Now, let’s expand your coloring knowledge and skills with a more complex example!

About this tutorial

In about 30 minutes you will add colors to the birds colorful plumage.  This tutorial will teach you to:

  • how to organize CODIJY workspace before coloring,
  • select colors and apply color masks to a complex shaped areas,
  • edit masks colors. 

This tutorial uses tools available in Colorizer Pro!

1

Open the photo
Get the photo for practice

Save the black and white photo example to your disk.

Open the photo in the editor

Run CODIJY. Click the Open button in the Project Explorer. 

The image will open in the Editor.

Before adding colors, create a CODIJY document.

Create a CODIJY Document

To prevent the accidental loss of the current work, CODIJY automatically saves masks and used colors to an existing CODIJY document.  You can save the image to the new document from the File menu or the toolbar:

2

Organize Workspace

We are going to use the pens (1) and the color options (2).

Place all tools at hand

In the course of this colorization, you will need a quick access to:

Color Picker – this tool should always be at hand
Libraries – they help speed up color selection dramatically
Image Navigator – to scale and navigate the image  

If your screen is small, do the following to fit all these tools on the workspace:

Step 1. Close Gradient Options,
Step 2. Drop the Image Navigator over the work area,
Step 3. Place the Library panel below the Color Picker. 

To rearrange the panels, drag them by their header!

Open necessary libraries

Next, open “Sky: Clear” (Pro) and “Forest: Birds” (Pro) libraries in floating windows. 

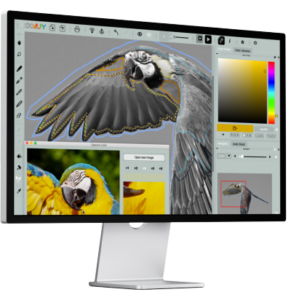
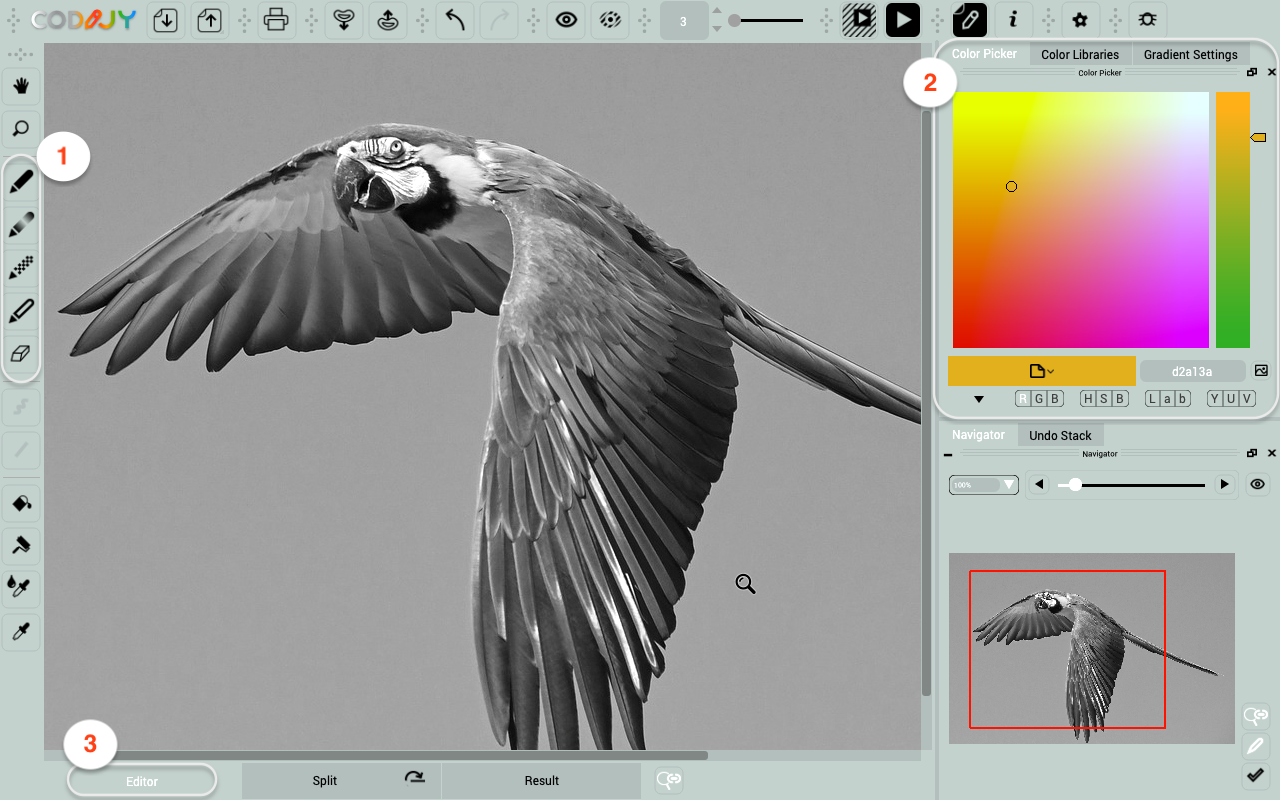
Step 1. Choose the library from the list
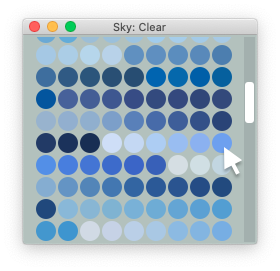
Step 2. Click   to open the library in the compact view
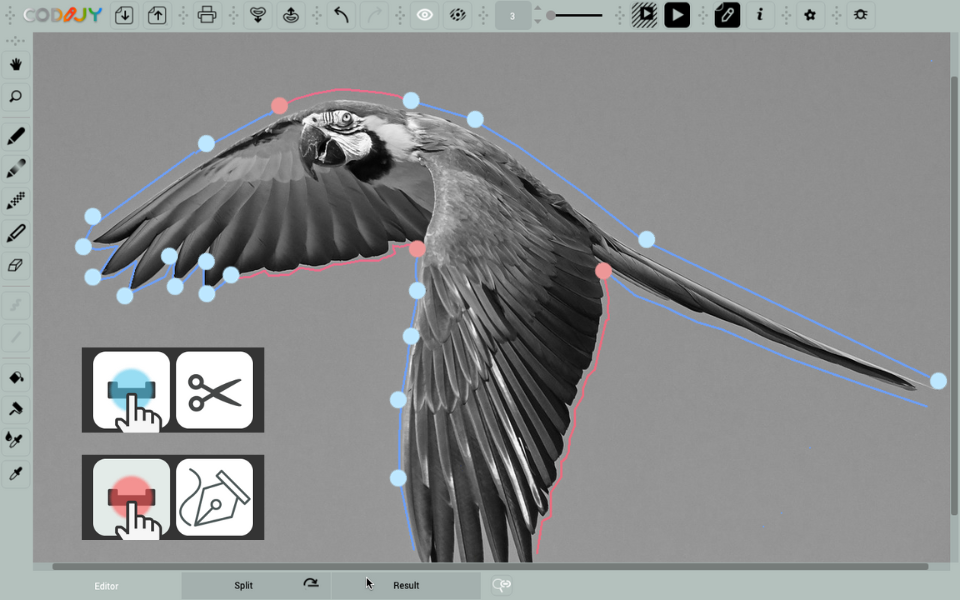
Let’s apply the first color. Start with the sky tone. 

In CODIJY, you apply colors using color strokes called masks. 

3

Set up the pen tool

To draw a mask, select the corresponding tool and set its parameters first.

Let’s go through the pen settings step by step:

Step 1. Select the first Pen from the drawing toolbar

Step 2. Switch to the Line mode 

Step 3. The 3-pixel strokes will fit nicely into the recesses

Step 4. Scroll down the library for a lilac shade [#6da0ef]

The pen settings are complete and we can start drawing.

4

Draw Sky mask

To add a celestial hue to the background, simply outline the parrot with your chosen shade on the outside.

If you draw this mask in the regular way, you’ll have to switch between lines and curves. To save time,  make use of the Quick-Draw shortcuts!

Quick-Draw shortcuts allow drawing complex shapes without releasing the mouse button!

Quick Draw shortcuts

When you finish the first liner stroke, keep the mouse button down.

    Press the Space key

to cut off the drawn line. Start drawing the next line. 

  Hold the Space key down

to outline the the curved edge. Release it to go back to lines. 

The drawing process should then look like the following:

In the scheme below, you can see all straight lines in blue and freehand strokes in red. 

Blue dots mark the end of the liner stroke, where we pressed the Spacebar. The red ones tell you  to hold down the Spacebar to draw curves. 

5

Add masks to the parrot

Next let’s add the mask to the plumage. Start with the outer coloring of the wing.

Get prepared

Zoom in the of the wing are using Navigator.

Step 1. Put the cursor over the center of the area in the thumbnail preview.
Step 2. Scroll the mouse wheel.  

The Navigator lets you navigate and zoom the image without quitting the editing mode!

Select plumage colors

For wings, head and breast, use colors from the  “Forest: Birds” library: 

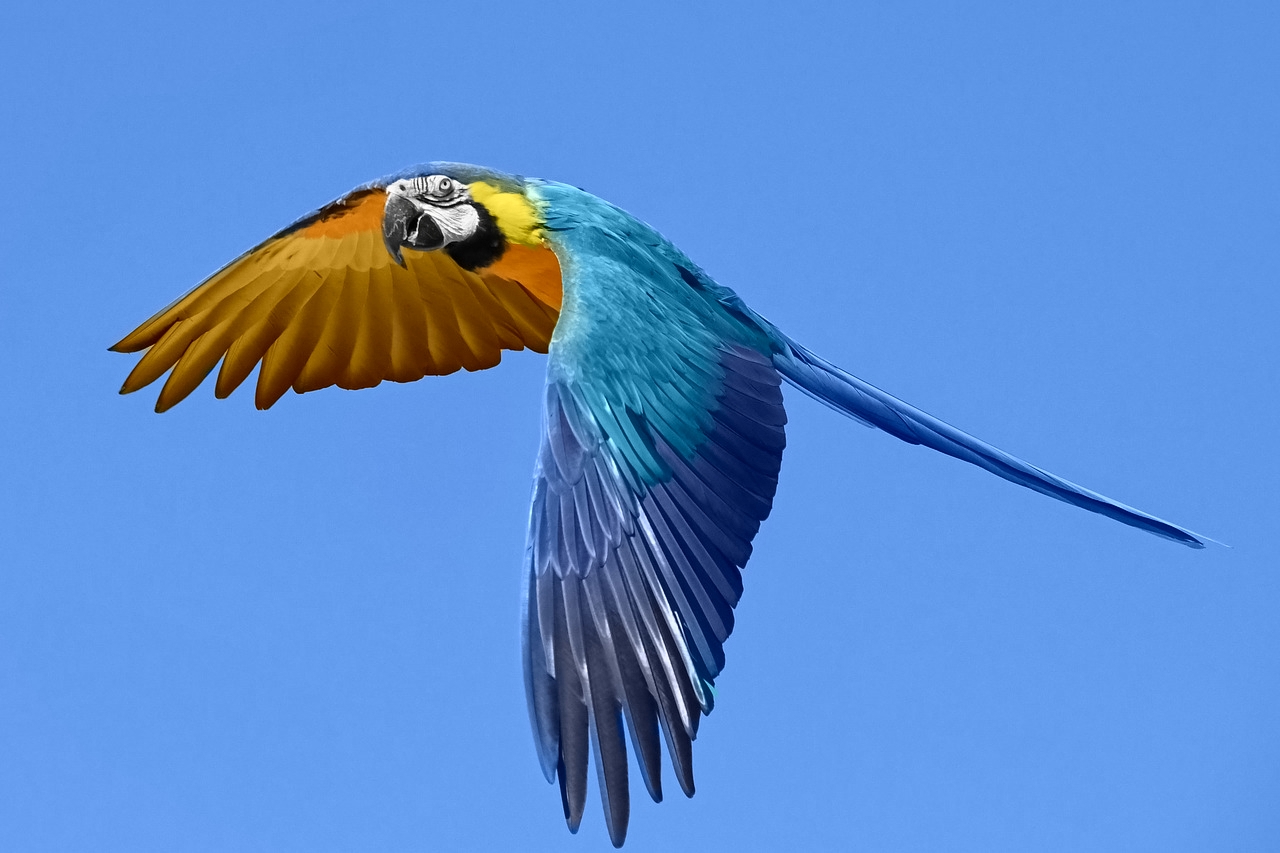
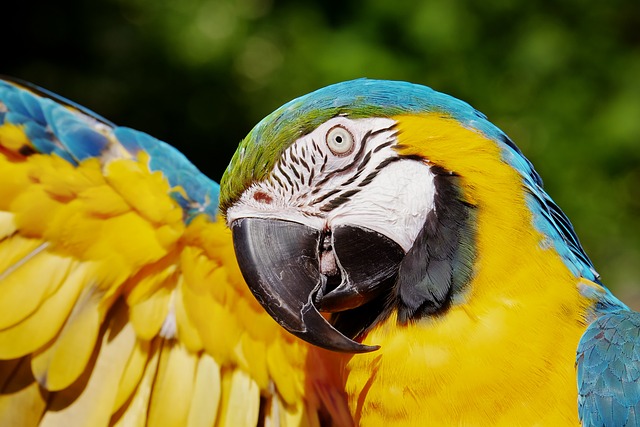
Scroll the library down. Choose colors in the order of use:
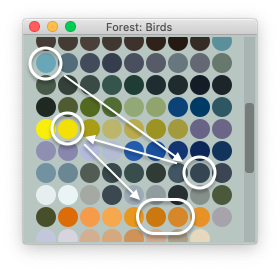
1. Teal/dark gray for the left wing
2. Lemon/orange shades for the breast and the right wing
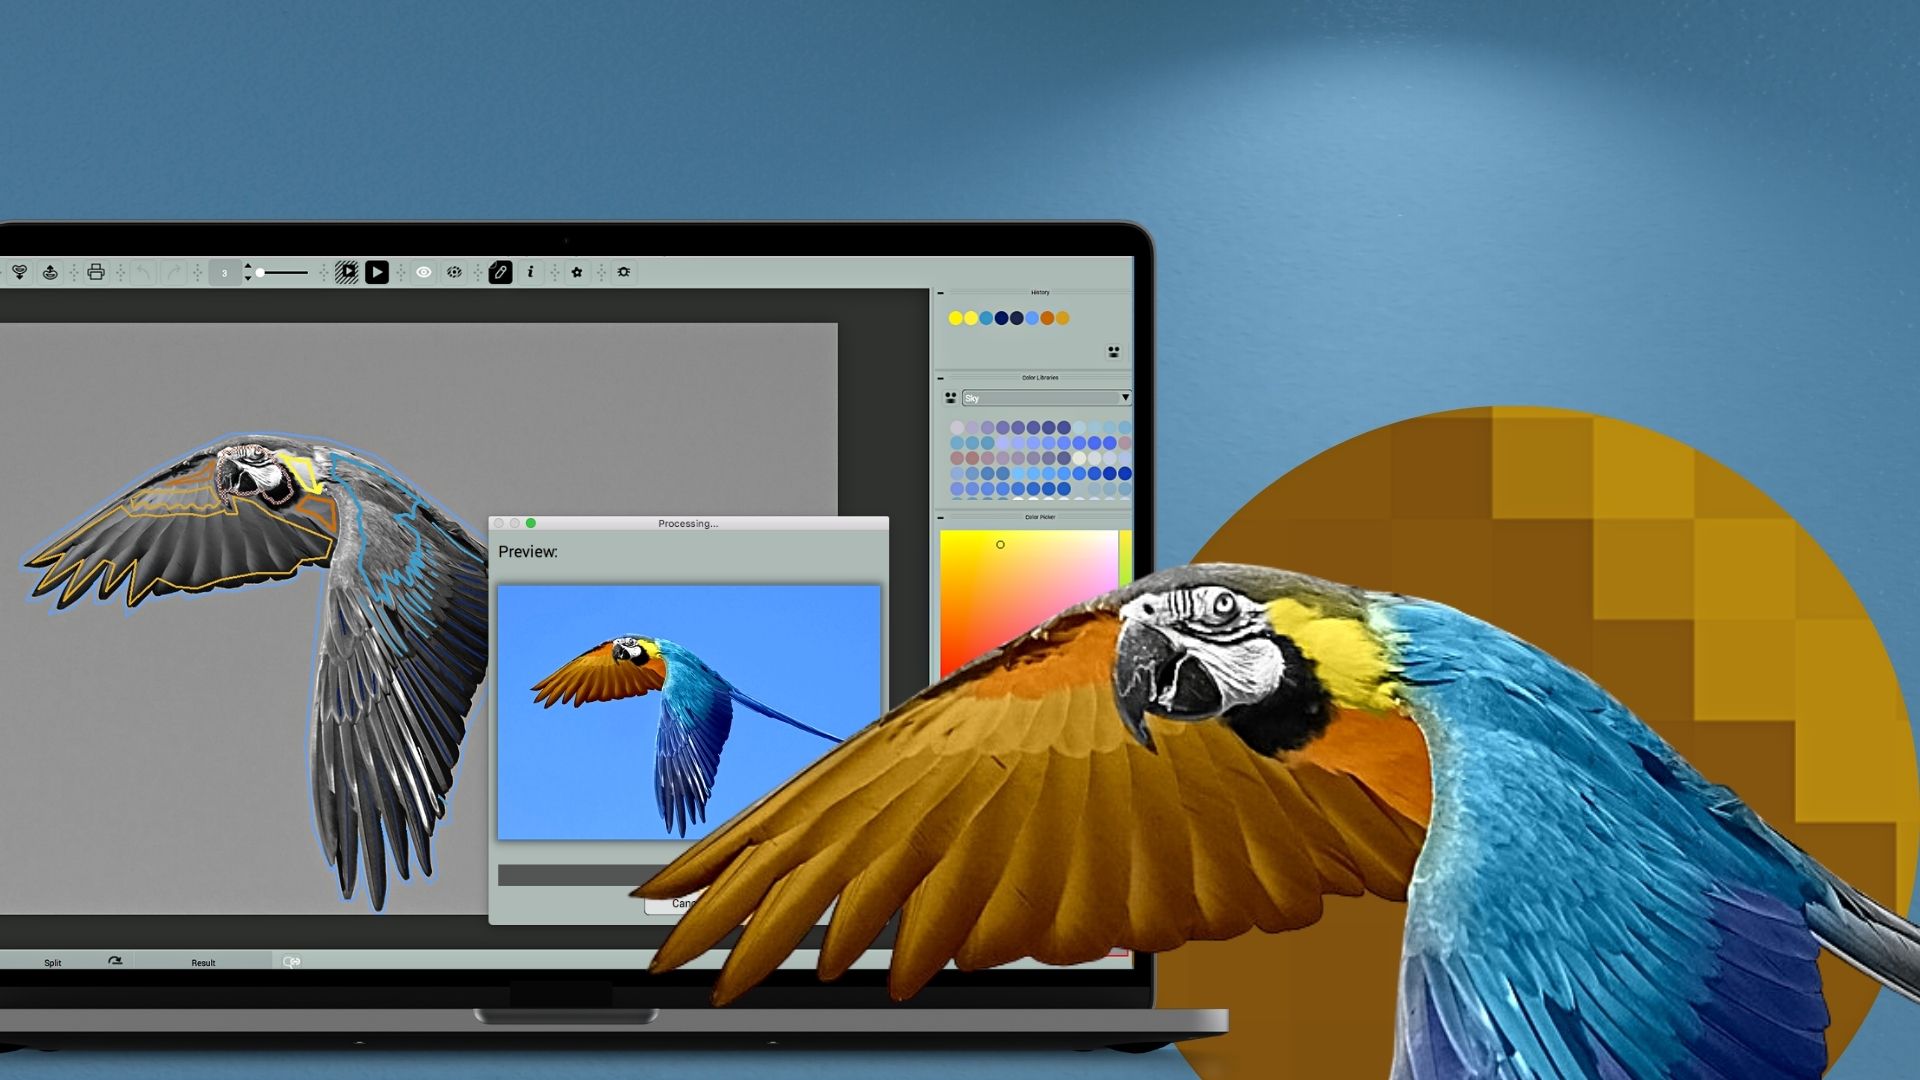
Add masks to the upper feathers

Select the teal tone and outline the upper feathers. Use Quick-Draw  shortcuts to outline large area. Next add a few strokes over feathers!

Add a mask to the lower feathers

Trace around the lower feathers with a dark-gray mask.

Apply colors to the breast and the wing

Step 1. Add a yellow mask to the head.

Step 2. Outline the breast and  upper feathers with an orange stroke.

Step 3. Apply and lighter orange tone to the lower feathers. 

6

Generate Preview

We have added mask to most of the areas. Before we move to the beak, let’s generate preview and check if all borders are clean:

Click  or press Ctrl R/⌘R. It will generate a full image preview.

7

Convert beak/eyes to monochrome

Since the eyes/beak area appears to be black and white,  we can simply apply the discoloration strokes to turn it pure grayscale:

Step 1. Switch to the the Decolor pen   (D)
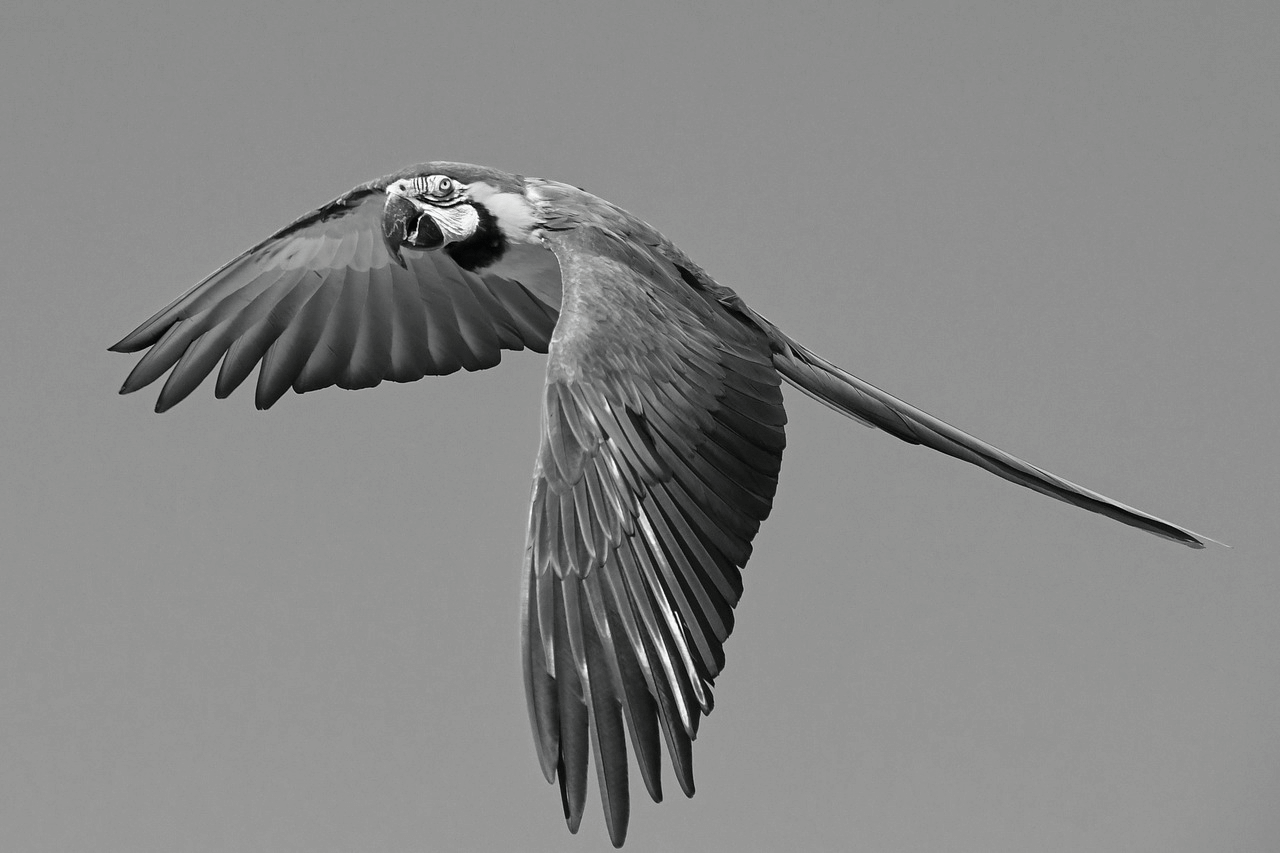
Step 2. Trace around the beak/eyes area. 

Generate the preview. If all edges are clean, let’s move on to adjusting some colors. 

8

Edit colors of the strokes

First, we will slightly desaturate the lemon yellow spot on the head.

To save time on multiple edits, let's enable Instant Preview for the area!

Enable instant preview

The checkbox that activates Instant Preview is available in the Partial Processing dialog in Colorizer Pro. 

Step 1. Click  or press Alt R/⌥R.
Step 2. Resize the selection box accordingly.
Step 3.  Check the Instant Preview box and click Instant Preview.

Repaint the yellow spot

The fastest way to edit the hue of a single stroke in CODIJY is to call the HSB dialog for it. 

Step 1.  Switch on the Roller  and click the stroke.
Step 2. Adjust the Hue, Saturation or Brightness parameters.
Step 3.  Click outside the dialog.

Repaint the wing

The lower part of the inner wing looks too orange. Let’s increase its contrast with a more yellow shade. 

To do this, we will select the mask with the “Group Repaint Color Picker” tool and pick a new shade using the Color Capture tool!

Step 1. Enable the Group Repaint Color Picker tool
Step 2. Click the mask

Next, save the picture below. We will use it to match colors.

Now let’s open the Color Capture tool and match a brighter shade. 

Step 1. Open Color Capture Dialog
Step 2. Open the saved image
Step 3. Now try a few new colors and check color preview!
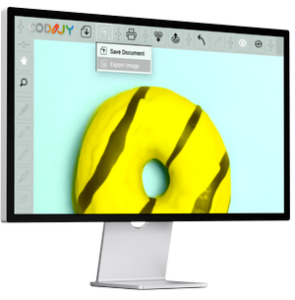
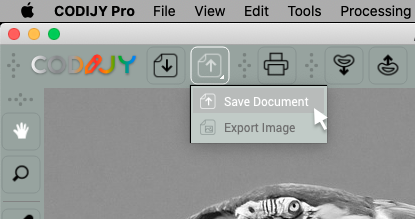
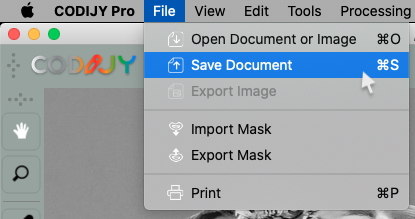
Generate final preview. Thanks to CODIJY technology, we obtained absolutely accurate, natural colors!  

9

Save and export to image

Save Document. Press Ctrl S /⌘S to save changes to CODIJY document.

Save and export to image  To export the preview to the image file: 

Step 1. Hold down the Save icon for a second. 
Step 2. Select Export to Image in the drop down menu. 
Step 3. Choose the preferred file format and click Save

What's Next?

Try a few new exciting coloring techniques. Learn manipulate colors of a color photo.

A kiss

Recolor this heart-warming color image into a vibrant masterpiece