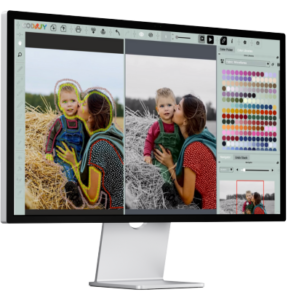
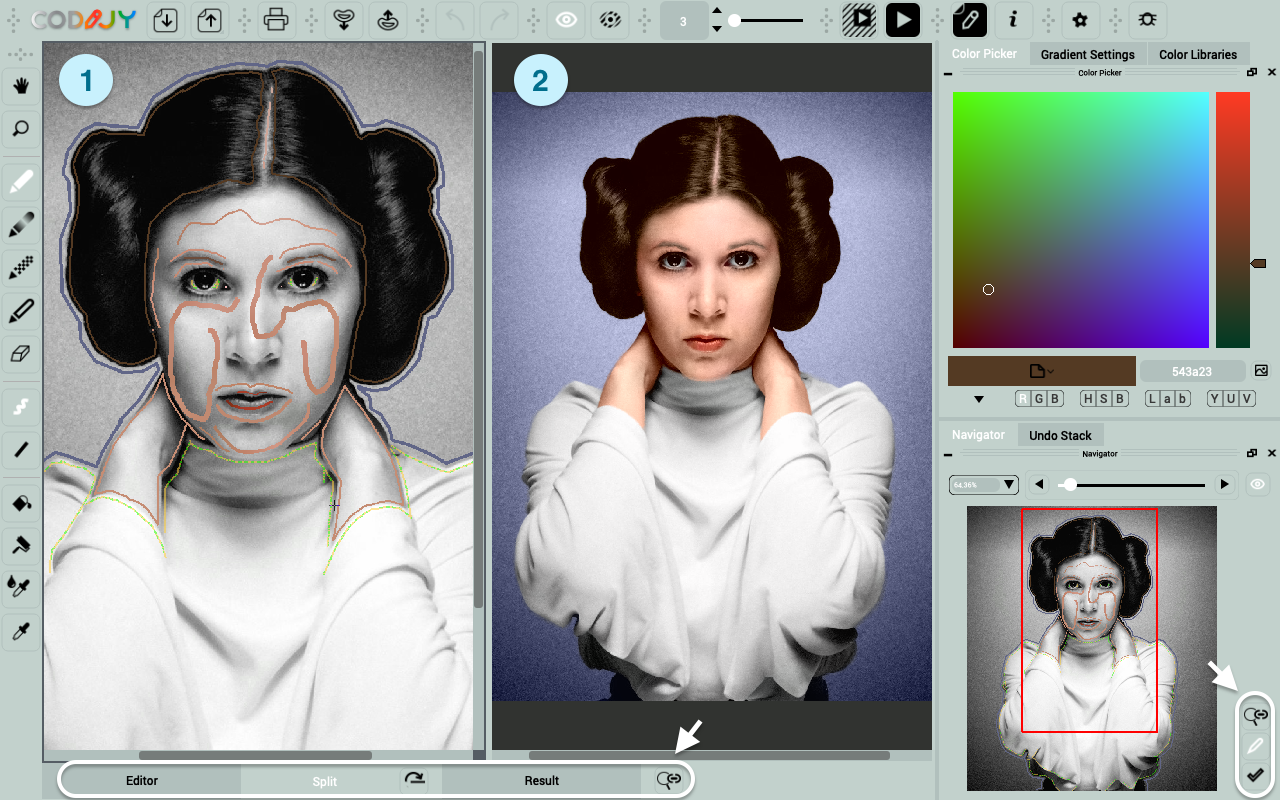
How to

Use CODIJY Interface

CODIJY interface presents a convenient workspace for manipulating photo colors.  It allows you to:

  • access all tools and features with ease
  • customize its colorization workspace to your needs

Start with watching a brief interface tour. 

Play Video

Now let’s look at the interface step by step!

Table of Contents

Main Window

The program opens the image in the Editor. Explore the position of the main tools and controls:

Now, lets’ learn their role in the colorizing process:

(1)  Views
      switch between Editor, Result and Split views
(2)  Drawing tools
       switch on the Pen tool, Gradient, Decolor or Color Protect pens
(3)  Color Picker
       choose colors, call Color Capture tool, add colors to libraries
(4)  Image Navigator
       navigate & zoom the image, switch views
(5)  Image Processing buttons 
       call partial processing dialog/start image processing

Now, we move on to studing these interface element n details.

Views

CODIJY interface has two main views – the Editor (1) and the Result (2)  

Editor opens the image for adding-editing colors
Result opens the result after CODIJY generates preview
Split View is enabled when you activate the Instant Preview (Pro)

Note: You can switch among these views using either:

Option 1. Tabs at the lower part of the window.
Option 2. Buttons in the lower right corner of the  Navigator. 

The two buttons on the Tabs panel help manage the view:

   lets you switch portrait/landscape orientation in the Split view

    disables/enables synchronization between editor and result
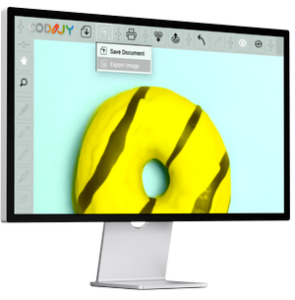
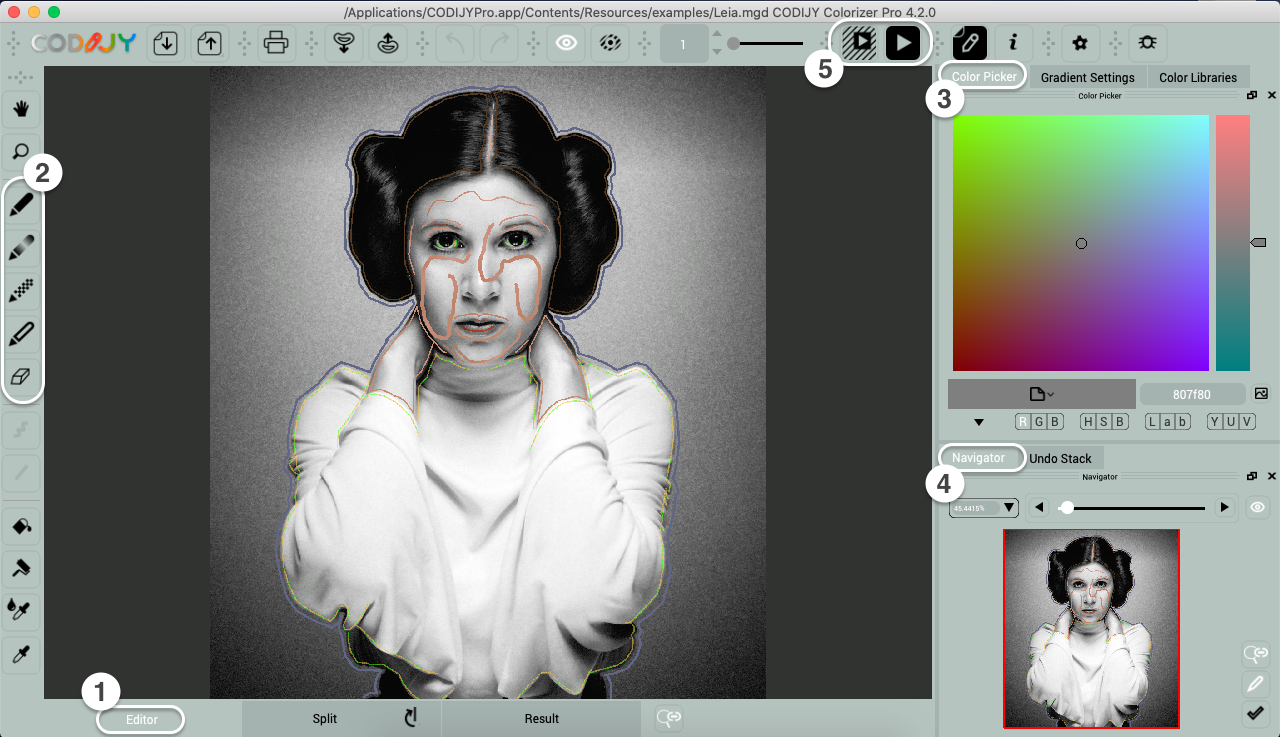
Toolbars

The Tools toolbar

The main toolbar with drawing and repainting tools is usually docked to the left or, as in some layouts, top sidebar. 

It hosts 4 main sets of tools:

(1) Arm & Magnifier Glass  for navigation and zoom
(2) Pens & Eraser for drawing/deleting masks
(3) Line & Freehand drawing modes 
(4) Repainting tools for editing colors of the strokes

Other toolbars

Other toolbars are in most layouts docked to the top. They include:

     Open / Save Document / Export Image  
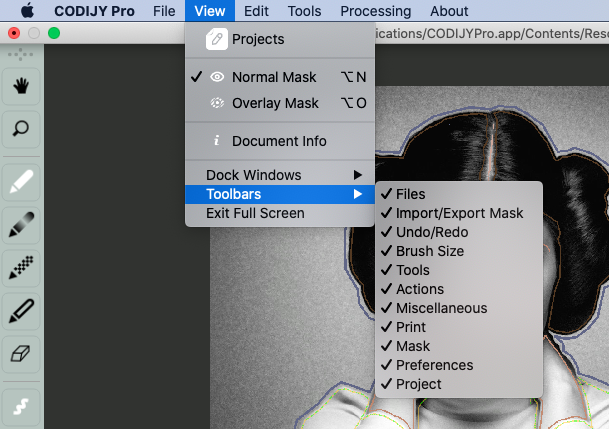
     Normal/Overlay masks
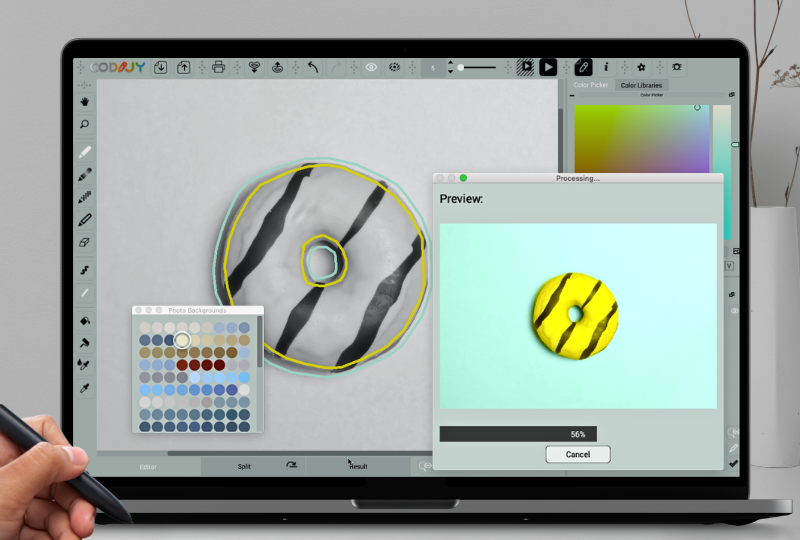
     Partial/Full Image Processing

     Project Explorer / Document info 

     Masks Import/Export

Dock windows

Main dock windows

Dock windows are located on the right sidebar.  The main windows are:

  • three color selection options
  • Image Navigator

For compact placement, the dock windows can be tabbed. You can 

  • bring any of the windows to the foreground
  • make them float over the work area with the image. 
Undo Stack  

The dock window with the stack of undo commands, often tabbed under the Navigator.  

Enable/disable interface elements

Toolbars/Dock Windows menu

You may enable toolbars or dock windows from the View menu.

Activate tools from the context menu

The context menu over an empty toolbar area is another quick way to activate or disable unnecessary interface elements. 

What's Next?

Get your first colorization skills with a simple 5-minute coloring exercise:

Quick Start

Learn selection colors and drawing color masks. Get a neat, vibrant result in minutes!