Flight of the Sparrowhawk: Restore Colors

Airfield & Pilot

In the final part we will use the libraries and pre-defined colors to colorize the airfield and the figure of the pilot.  

Switch to the “Editor” tab in the lower left corner of the program window.

7

Add color to the Moffett field

We’re done with the details that required historical accuracy. Let’s go back to using ready-made colors.

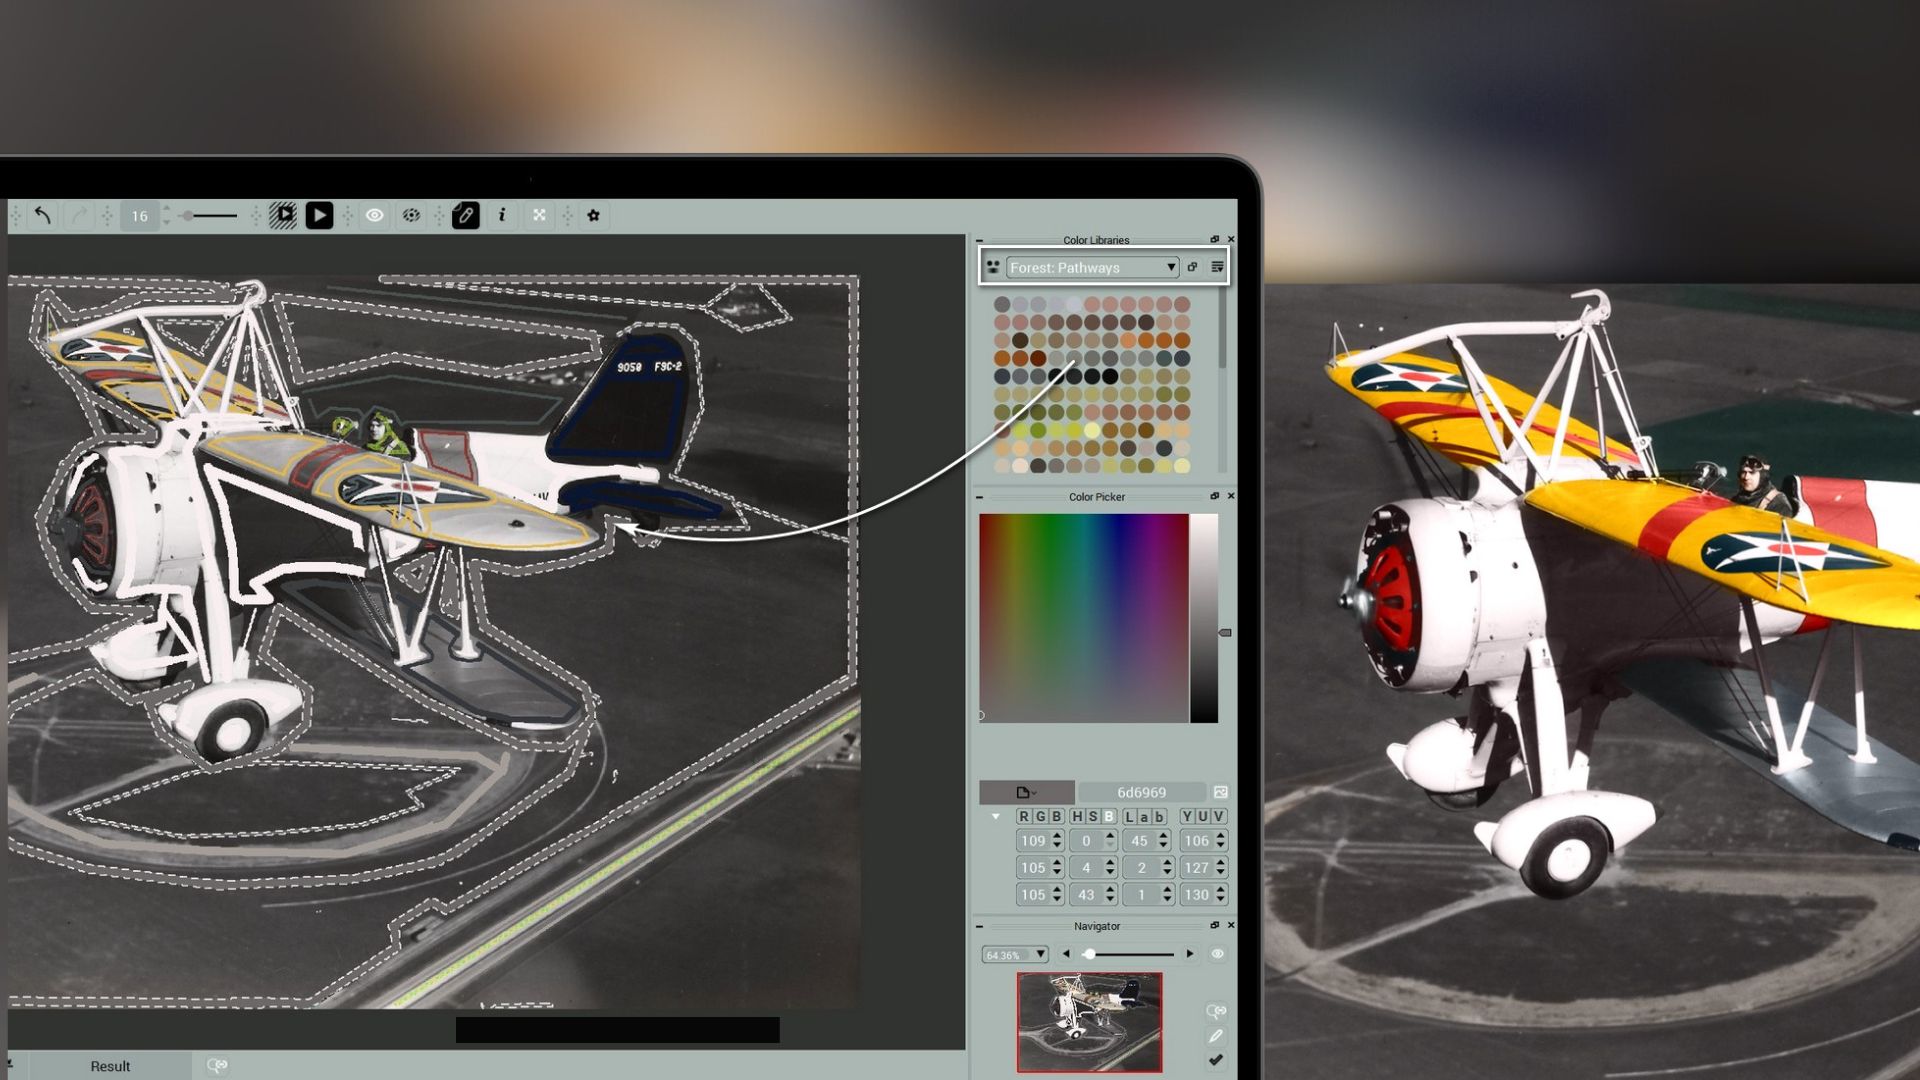
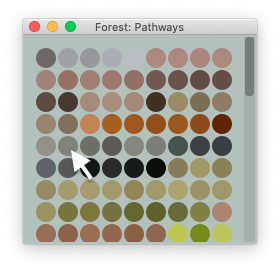
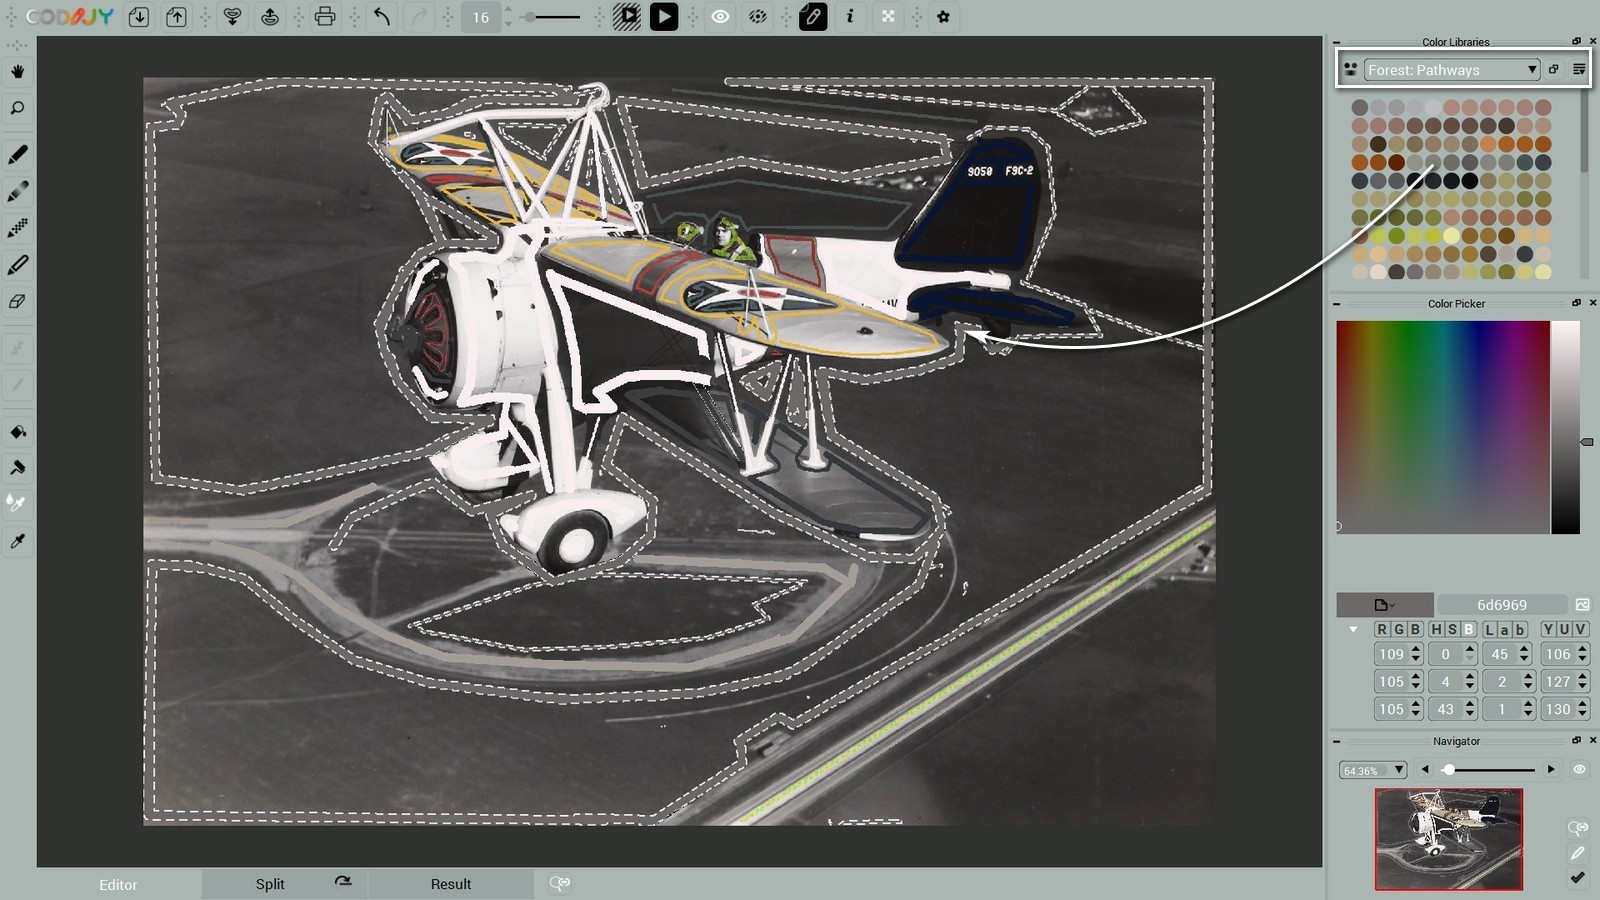
To convey the tone of a dusty airfield, open the Forest: Pathways library and select a light hazelnut shade to tone the ground.

Outline the airfield. 

Add a touch of bottle green shade to highlight the area of the field behind the pilot. This will liven up the look of the terrain.

Look at the result. Now the biplane stands out even brighter on a neutrally colored airfield.

8

The figure of the pilot

We are left to color the figure of Lieutenant Harold B. Miller. Luckily, the quality of the photo allow us to even distinguish the facial features.

Use the double tone technique to colorize faces wherever the image quality allows it.

Prepare to work on the tiny details.

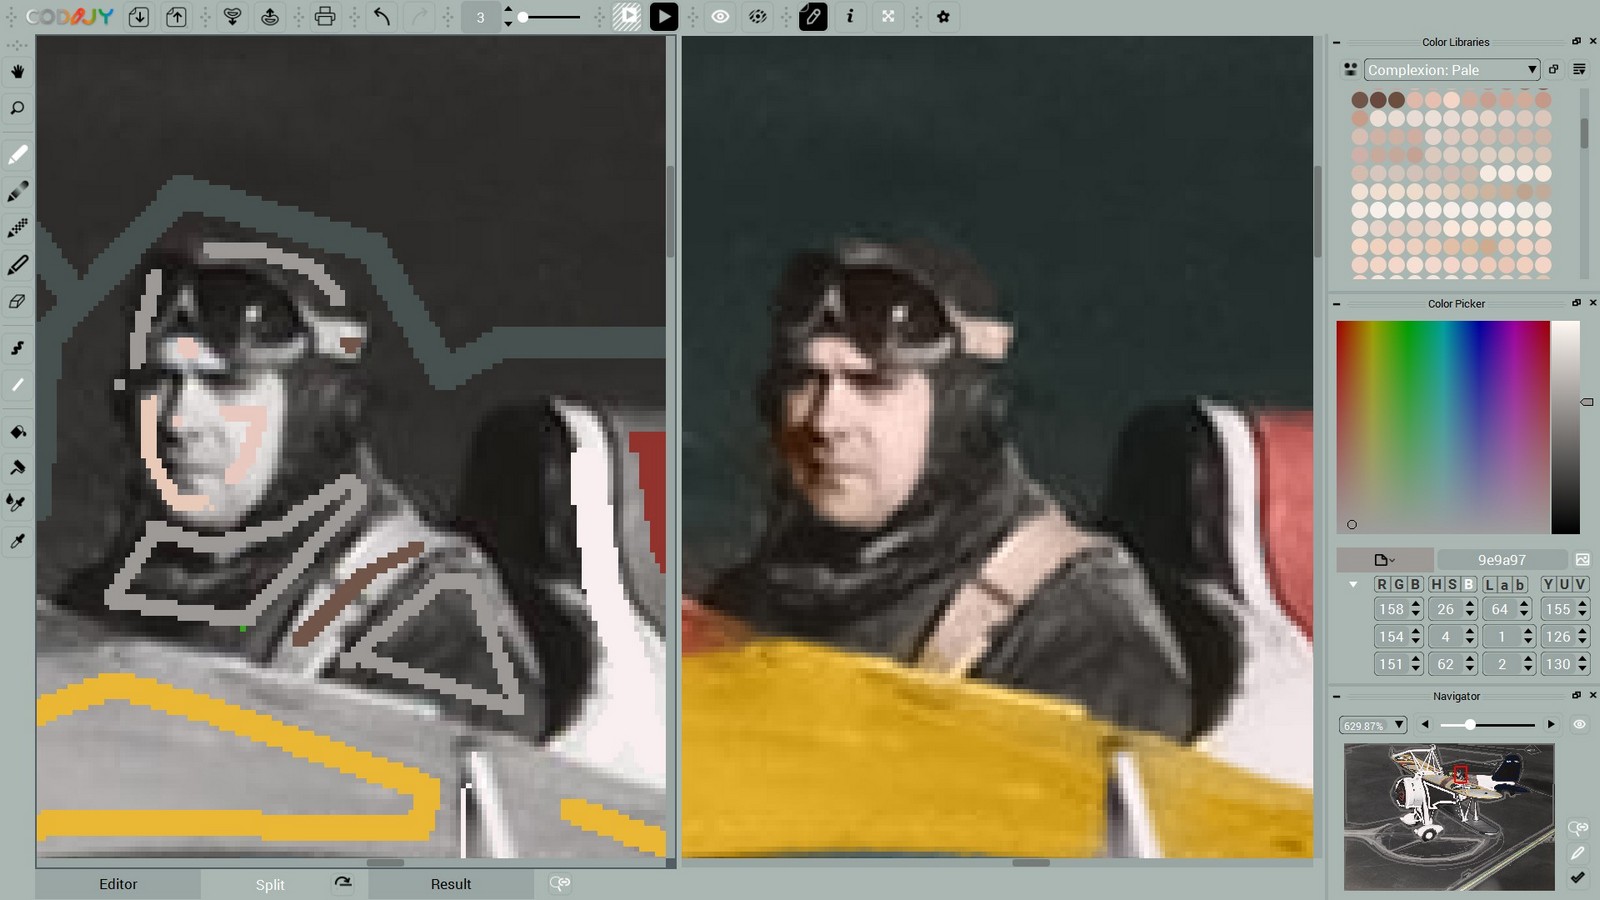
Step 1. Zoom in on the image.

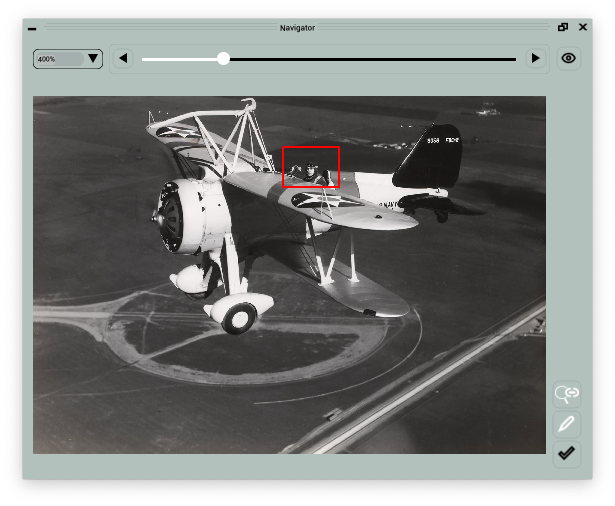
Step 2. Reduce the brush size to 3 px.

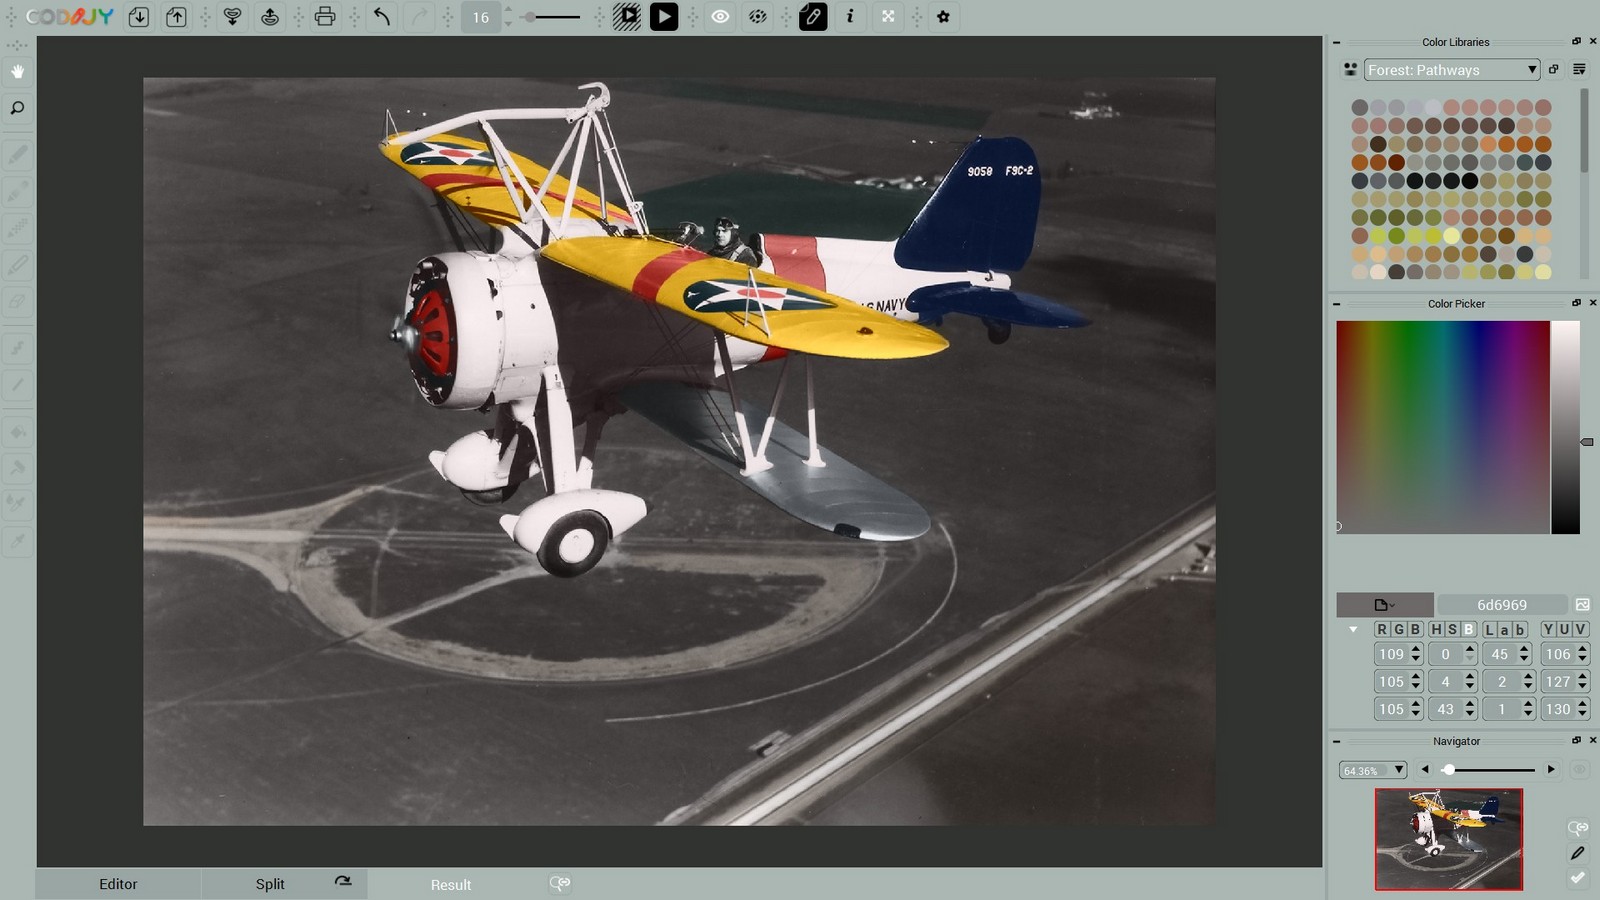
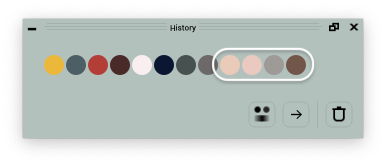
Complete the colorization using the last four hues in History. 

Use tones #1-2 for the left (shadowed)/right (illuminated) sides of the face. Next use # 3 for the jacket and #4 to emphasize the belt. 

Restore 100% scale and generate the preview. 

9

Save your work & export the result

All details look bright, crisp and realistic, highlighting the striking beauty of this aircraft. 

You can export the final preview to the image format of your choice. Remember to save your work to a CODIJY Document.

Congratulations!

You have completed 3rd class of CODIJY Colorizing Course! 

This class was delivered to you by:

Vira Zvereva

Colorist & CODIJY Instructor

Vira has been training new colorists since founding the CODIJY community in 2015. She supports aspiring colorists in exploring their personal creative style.