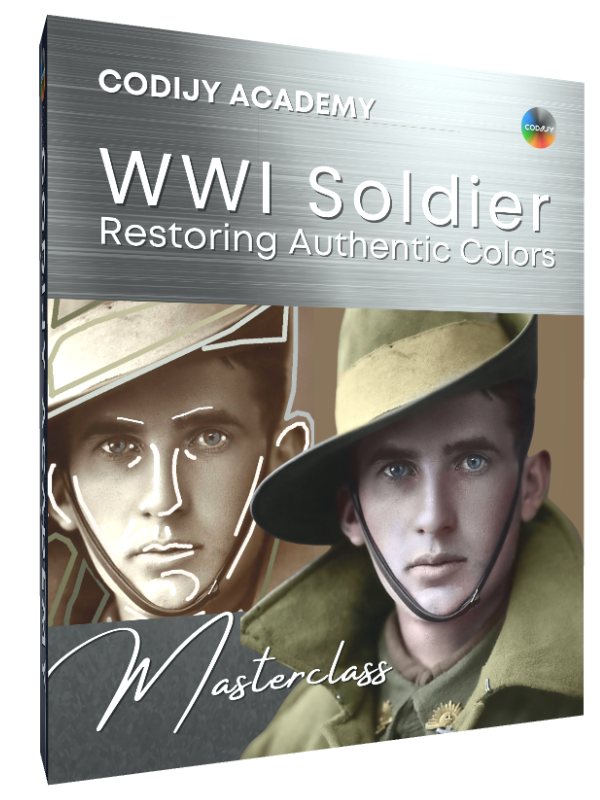
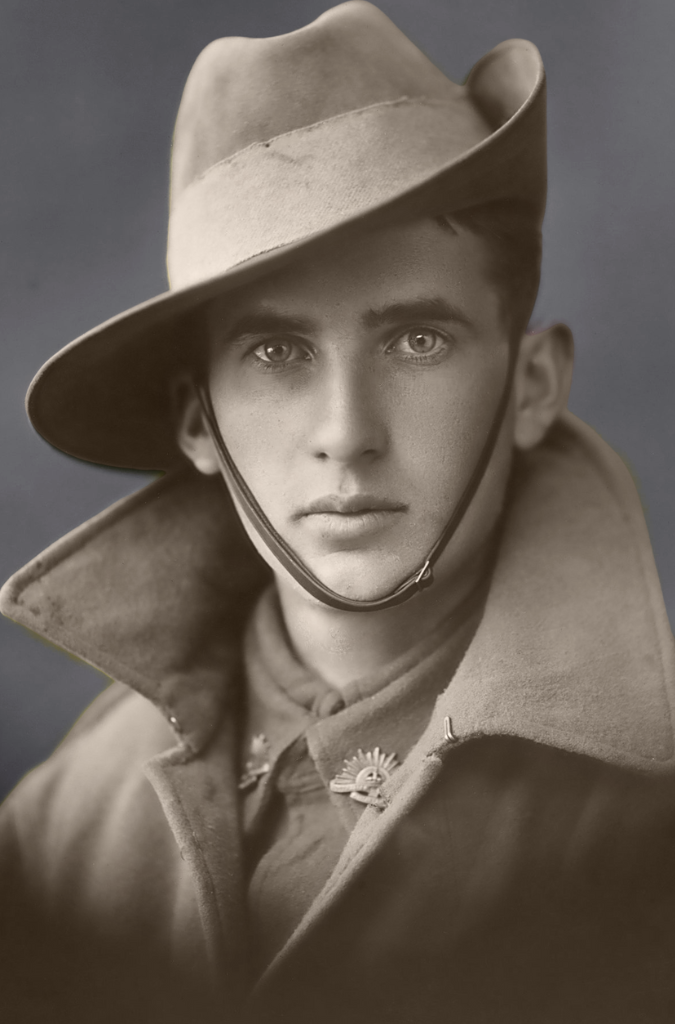
Australian Infantryman: Colorizing a Portrait

Military Uniforms

In the second part of this class we will add colors to the backdrop, the hat, jacket, shirt and badges. 

You will get to know how to pick colors from the Military: Camouflage color library, tint the shadows and color the metallic elements.

Table of Contents

However, before move on to the uniforms, let’s add the background tone.

3

Add color to background

The French grey ( an unsaturated magenta shade) will add depth and contrast to the background.

To pick this tone, open the Photo Backgrounds library (Pro).

Now let’s remember how to draw a color mask. 

Step 1. Enable the Pen tool. Select the Line mode. Set brush size to 3 pixels. 

Step 2. Pick a gray shade (#a3a1a2) as shown below.

Step 3. Outline the figure of the soldier. Remember to use Quick Draw keys. 

Use shortcuts to outline background

Start drawing. After you finish the fragment, do not release the mouse button.

    To cut off the line –  press the Space key. 
   Hold the Spacebar down to go around the curve. When you reached the straight segment, release the key. 

This technique will save you a lot of time in the future! Now lets move on to the uniforms.

4

Apply colors to the Slouch hat

The slouch hat requires three (!) tones. First, an olive tone for the top and a sandy hue for the band. In the end, we’ll tint the shaded lower part of the hat’s brim with an pale olive shade.

Open the “Military: Camouflage” library in the floating window and place it on the side.

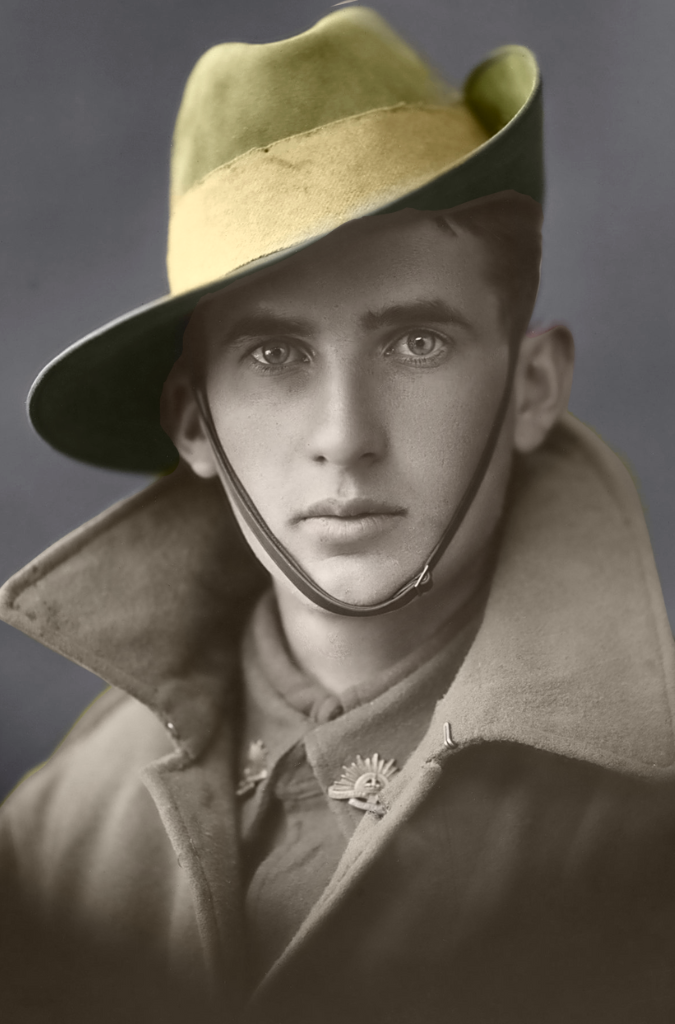
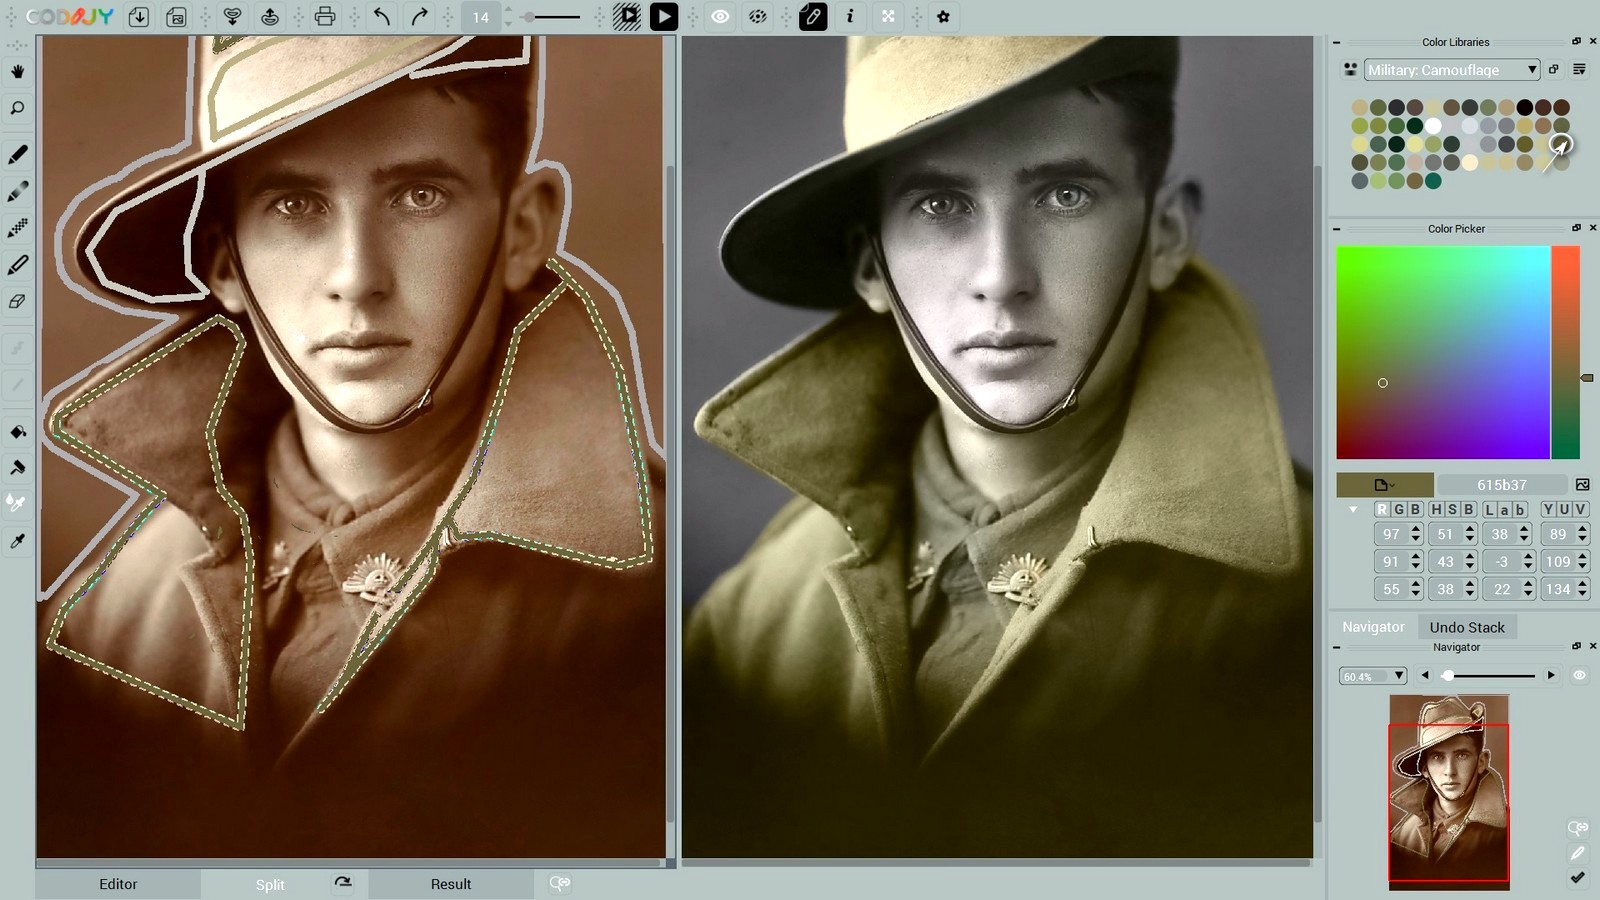
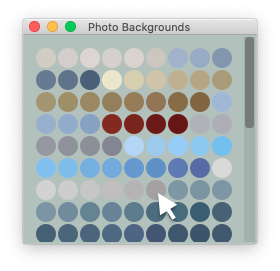
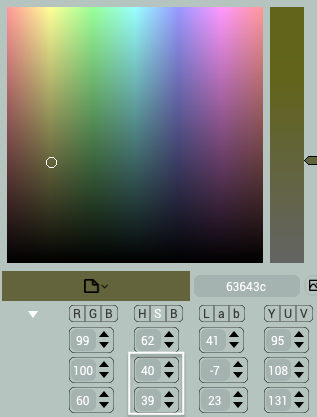
Top of the hat. Select the olive shade #63643c (1). This saturated shade let us bring the relief and the texture of the hat out. 

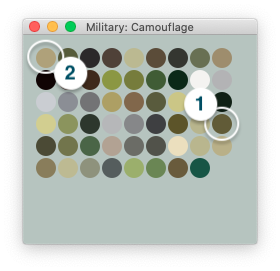
Hat Ribbon. Choose the sandy shade #afa17a (2) to match the authentic color.

Shaded brim. We are left to tone down the bottom of the brim.

 Note: The olive tone will increase the brightness of the  its dark pixels.

This can make the brim of the hat look too green. To delicately tint this area, we need an unsaturated light version of olive (#bbbab1).

To get this shade, outline the area with an olive tone. Then use the HSB Repaint tool to decrease its saturation and increase its brightness.

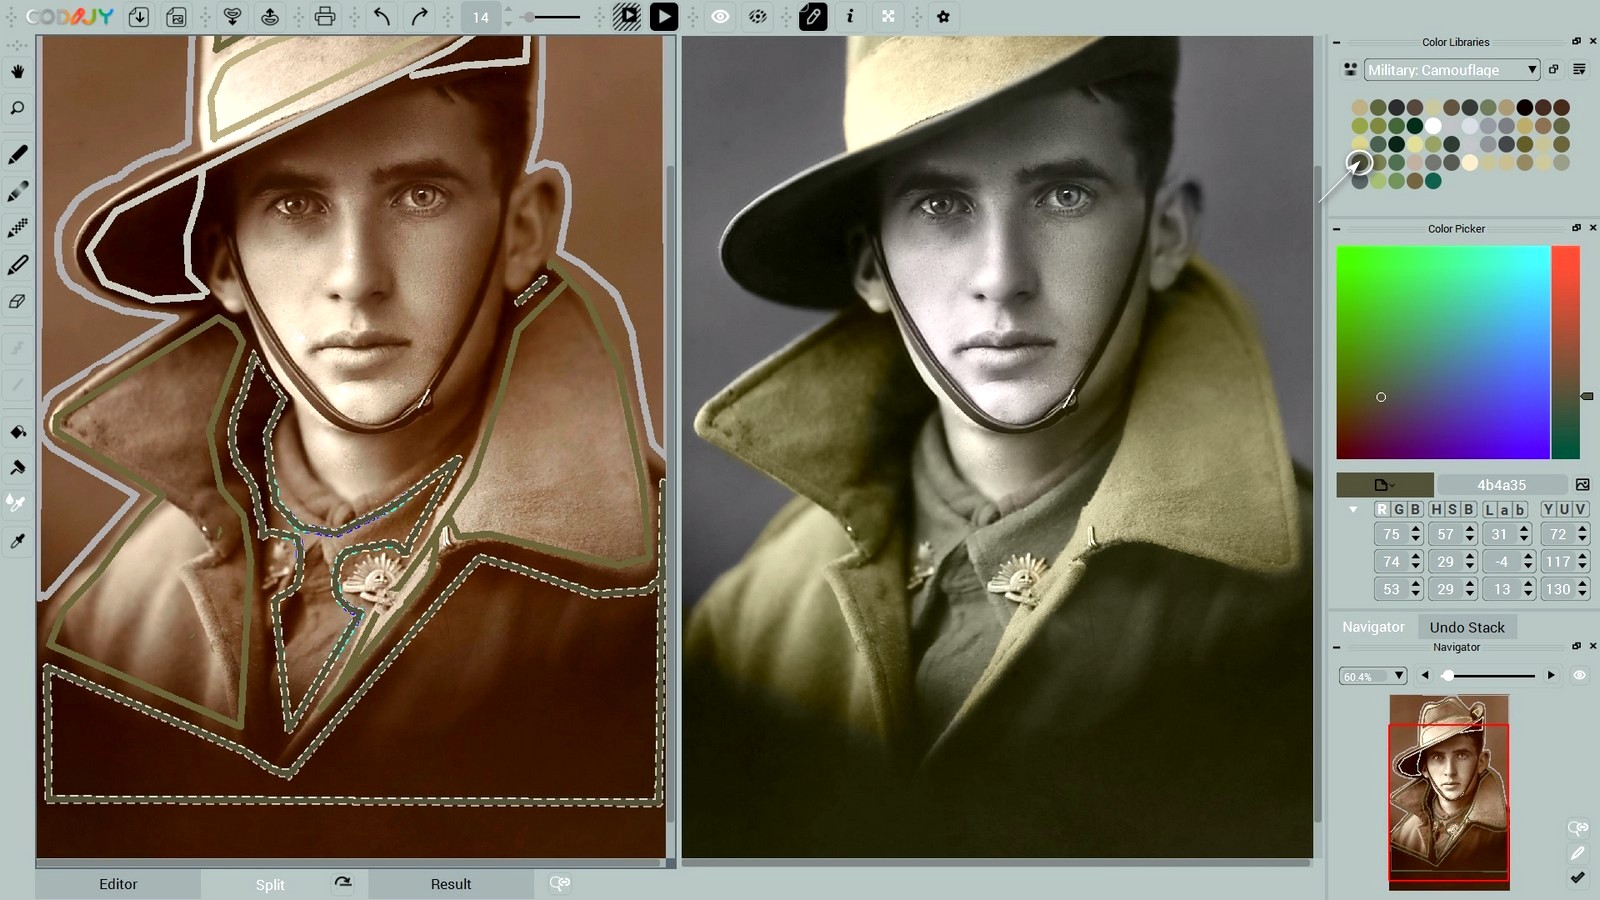
    • Click the roller icon  on the toolbar.
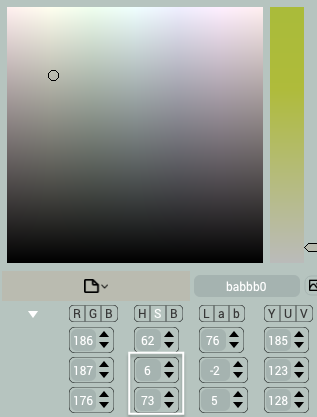
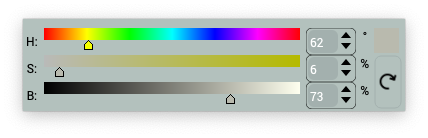
    • Click the stroke to call the HSB Repaint dialog.
    • Adjust: (S) -> 6 and (B) -> 73  

Now generate the preview and check the result.

Click Full Preview  on toolbar or press Ctrl R /⌘R. 

Note that the color from the hat may spill over the face at this point. If the hat looks great, switch back to the Editor and move on to the overcoat.

5

Colorize the overcoat

Light areas of the coat. Choose the olive tone again. Outline the collar lapels and the light area of the shoulder.

Avoid shadowed parts. The olive tone is too vivid for the dark areas. 

Shadows & Tunic. Choose the shade that comes next to the olive tone in the palette (#42412a).

Trace around the tunic and the shadows avoiding badges and the hooks. 

This green hue should enhance the contrast of the tunic and bottom shadow against the light zones!

After we finish these masks, proceed to the three remaining elements.

6

The Rising Sun badges & hooks

Badges. We tried a pale olive shade (#b8b58d), and it gave the Rising Sun badges the natural shine.

Refrain from choosing yellow shades when coloring gold-tinted metals.

Last, add a touch of gray to the hook.

Undershirt. Draw a line of beige (#868789) along the collar top and generate preview. 

All uniforms details are completed. The overcoat, tunic, undershirt, emblems and hooks have created a balanced ensemble of tones!

Time to move on to the main part of the portrait – the facial features of the young man.