


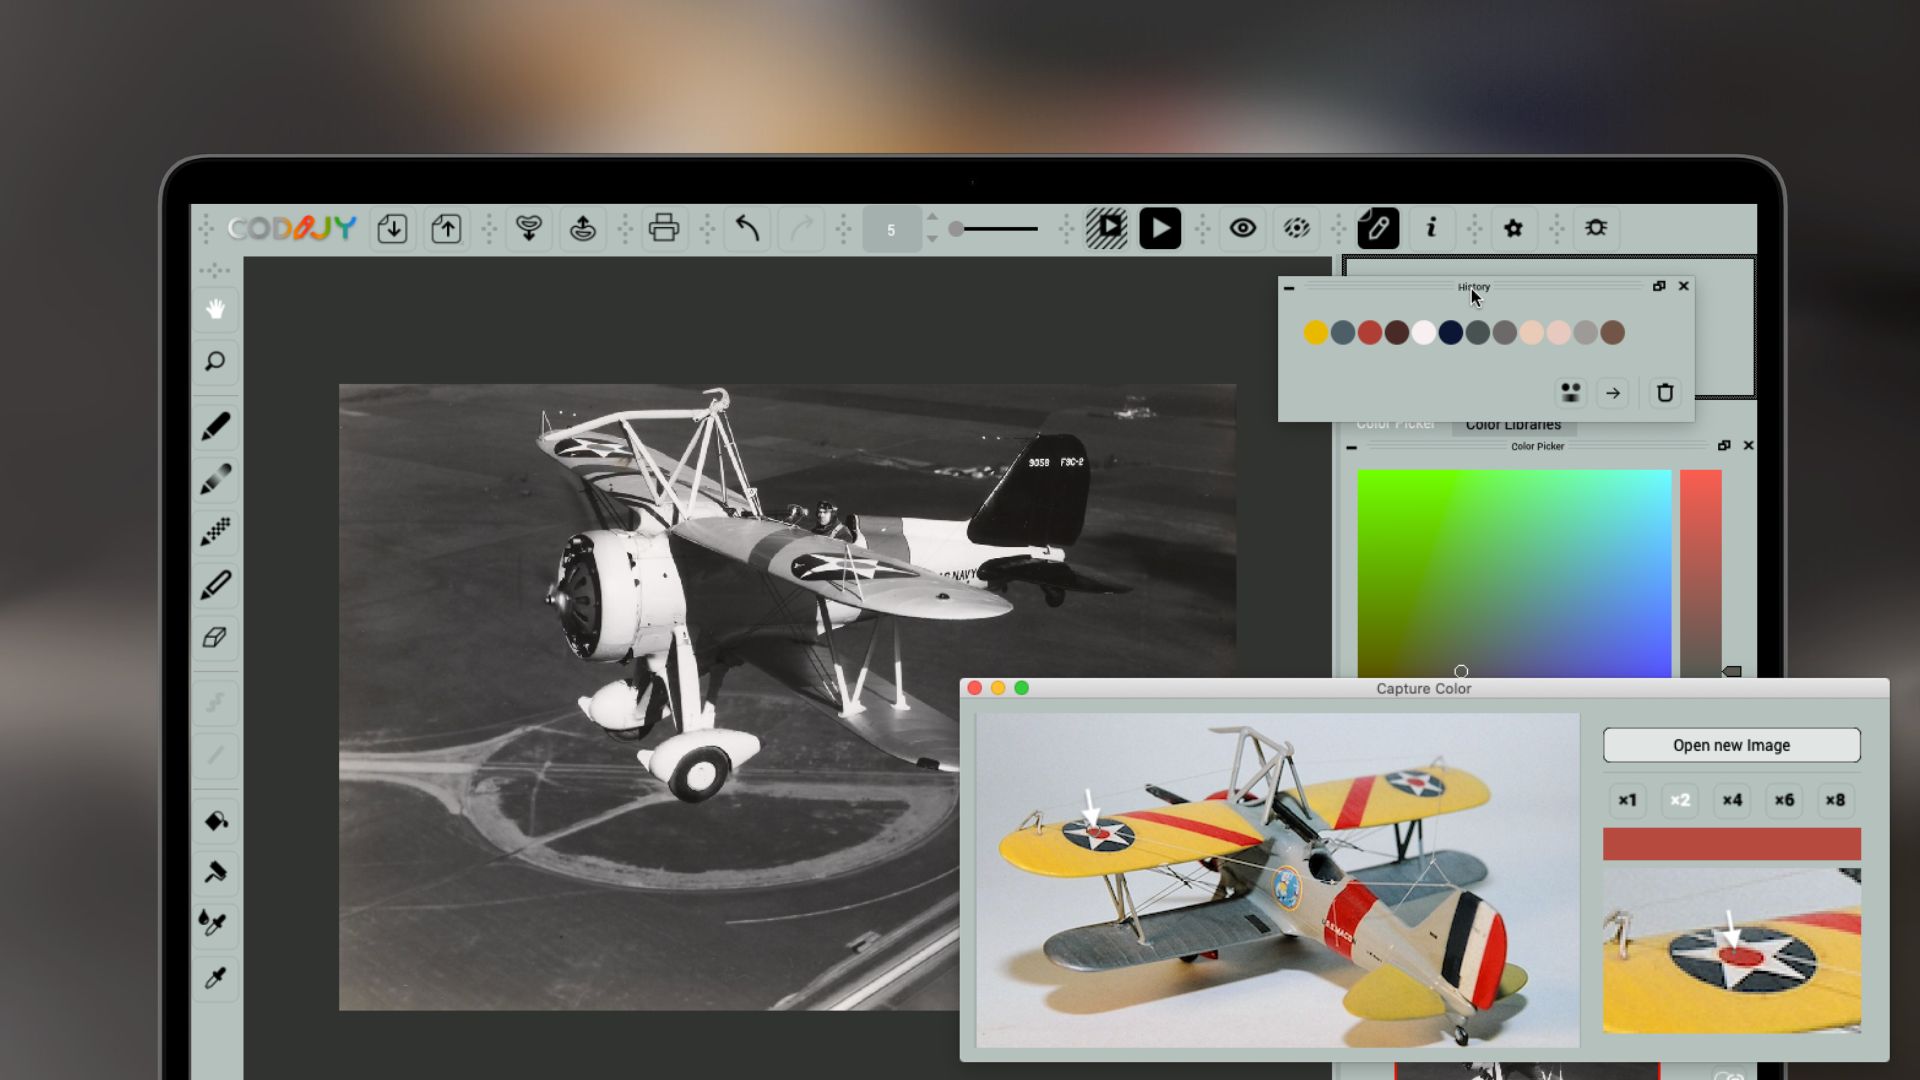

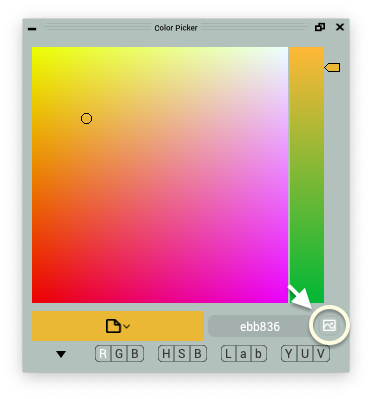
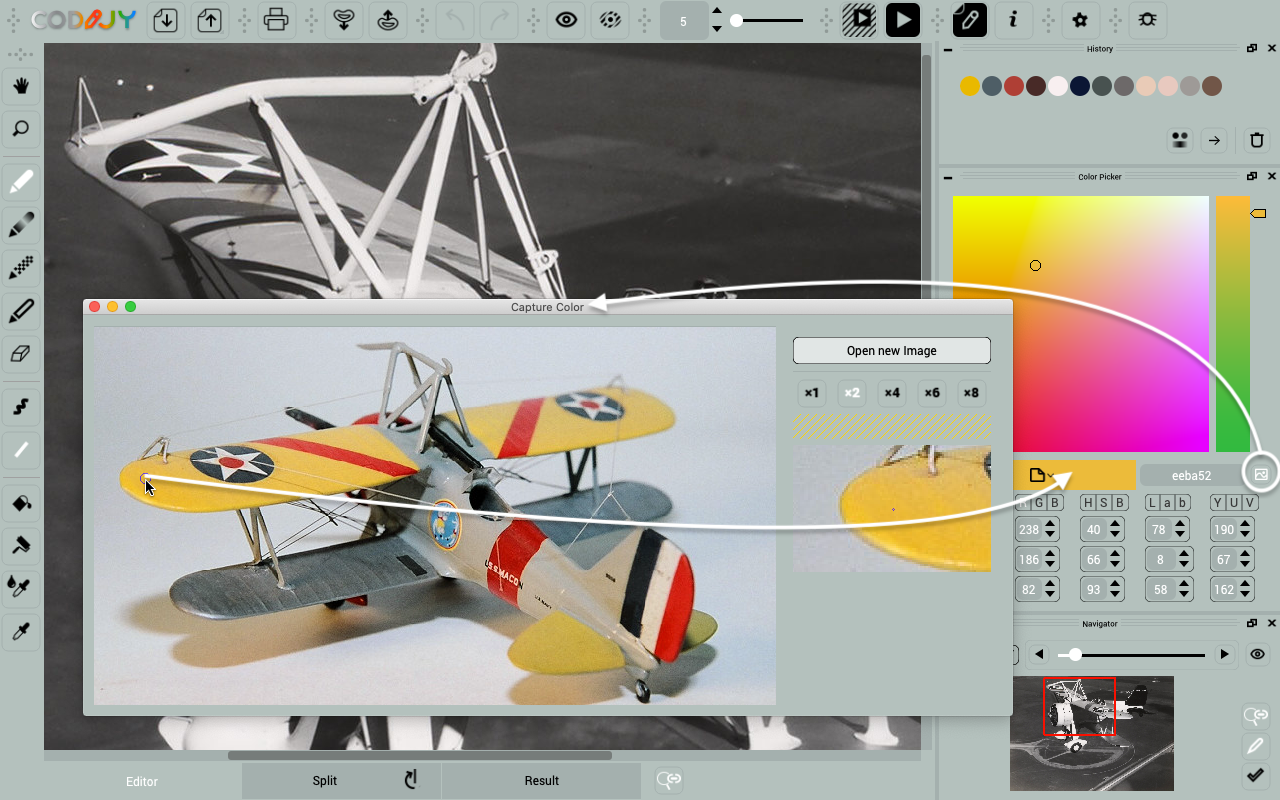
Step 2. Call the Color Capture dialog (Pro version) from the Color Picker.
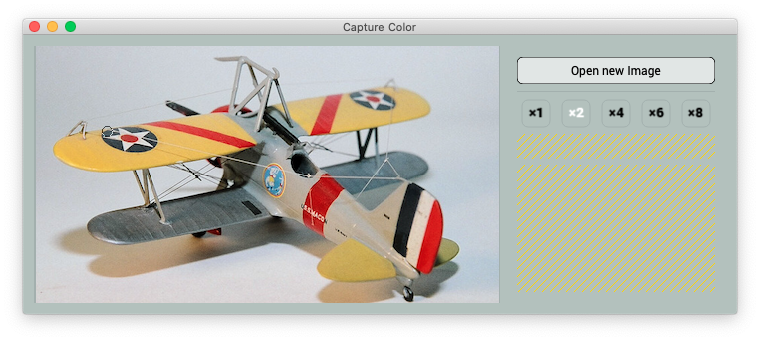
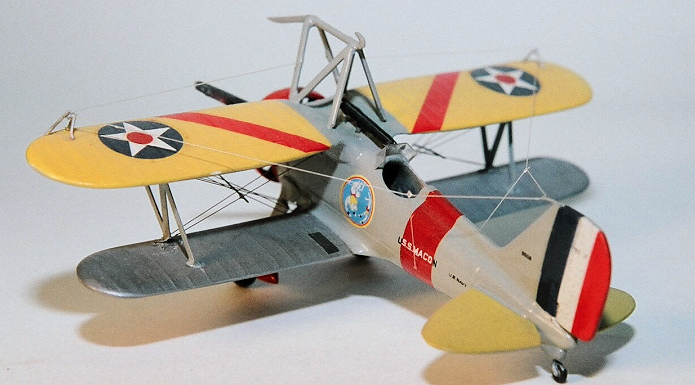
 Step 3. Open model-1.png using the Open button.
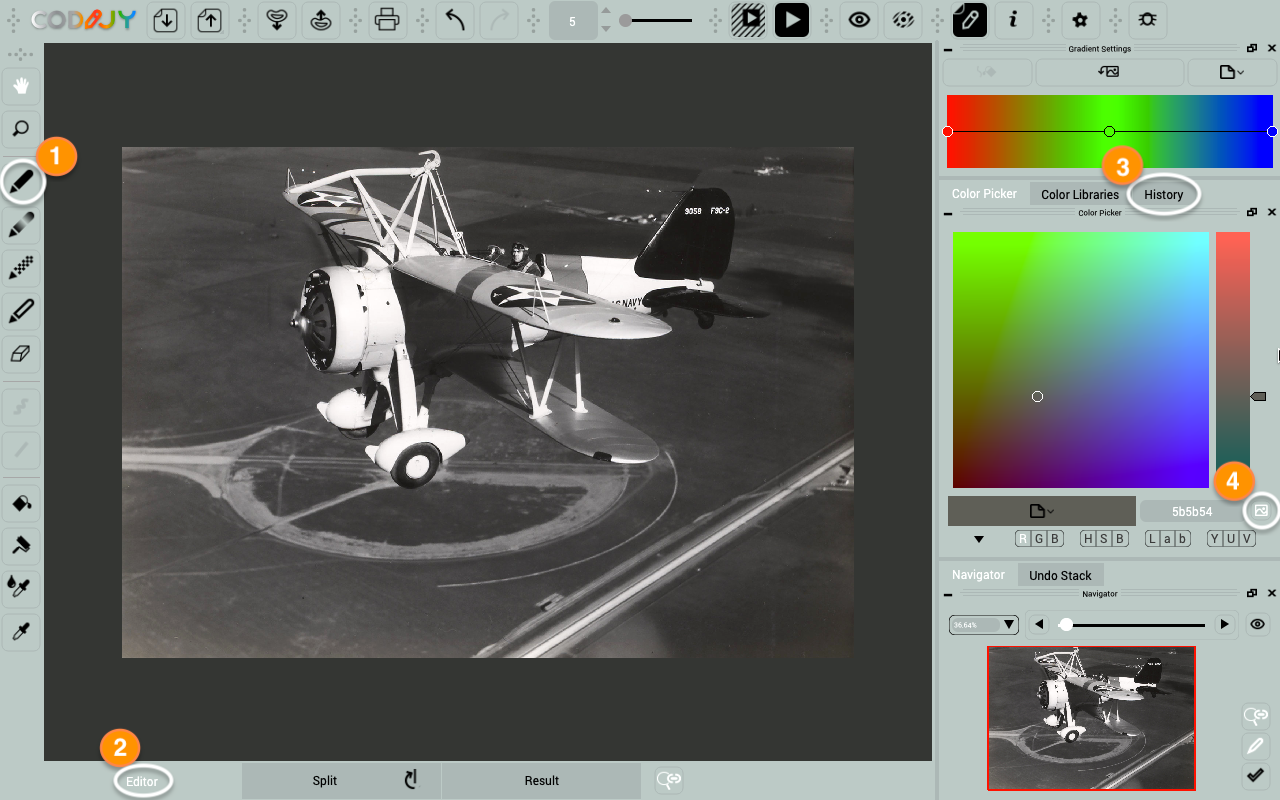
Step 2. Call the Color Capture dialog (Pro version) from the Color Picker.
Step 3. Open model-1.png using the Open button.


