


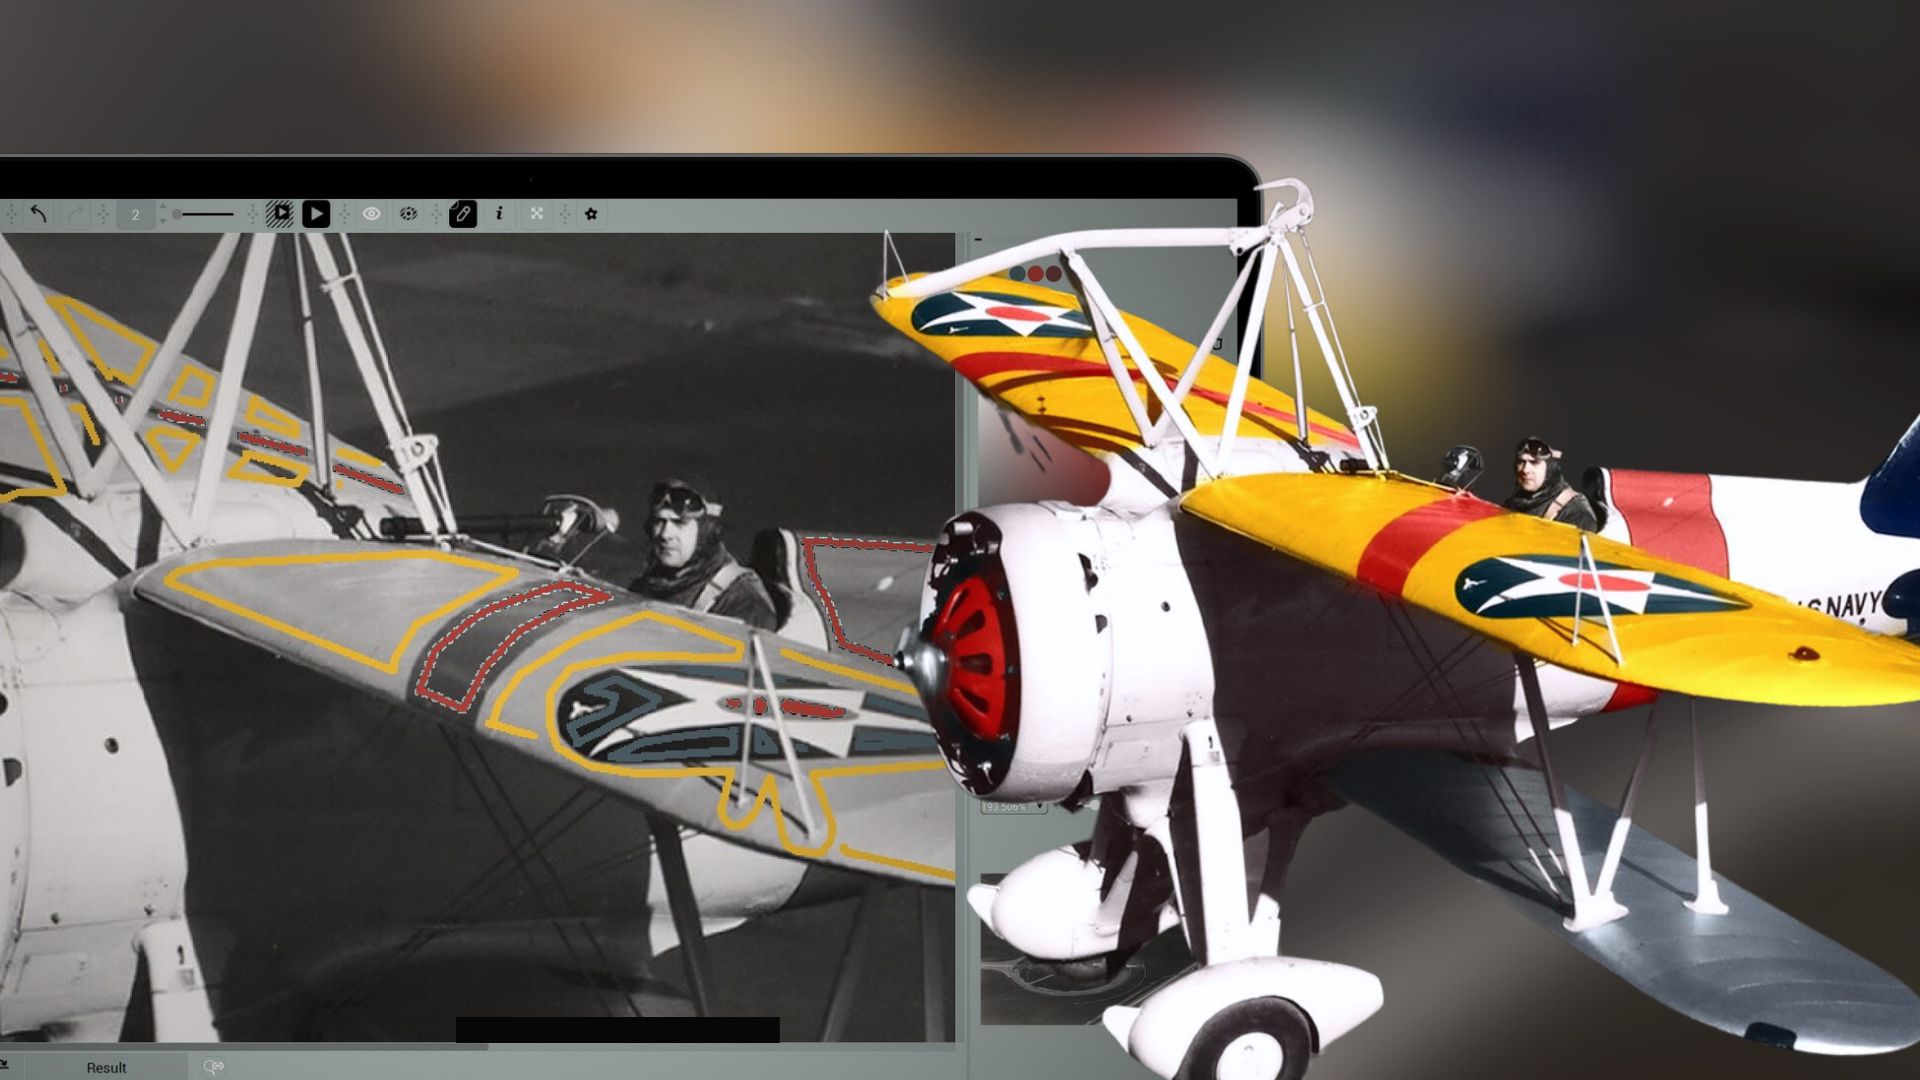
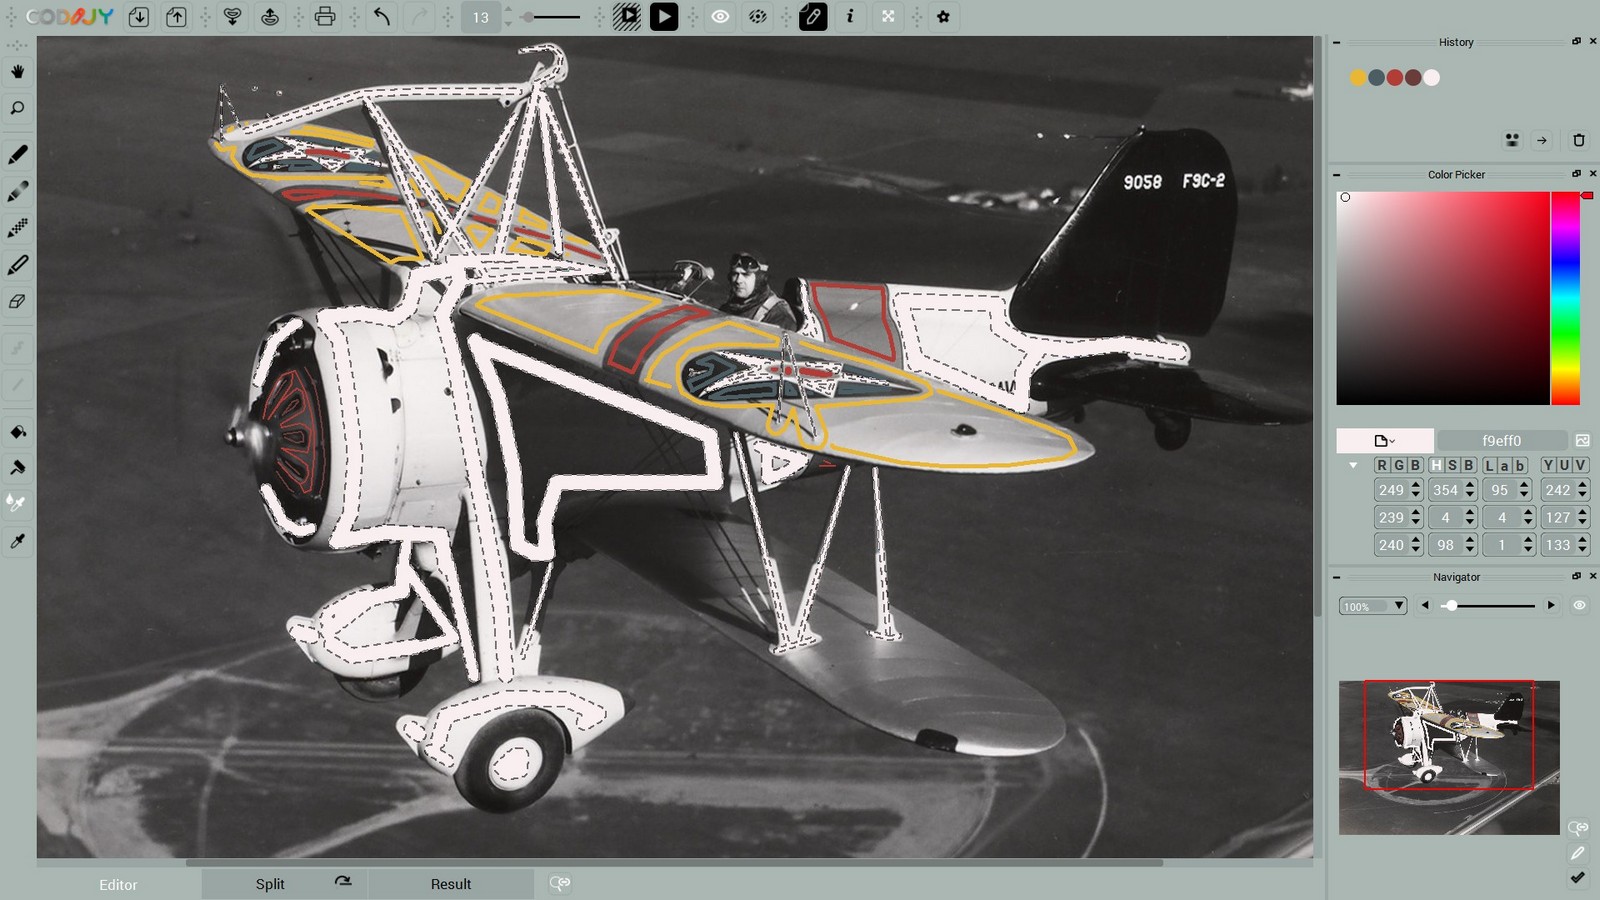
![]() Press the space bar at the end of each cutoff and change direction!
Press the space bar at the end of each cutoff and change direction!
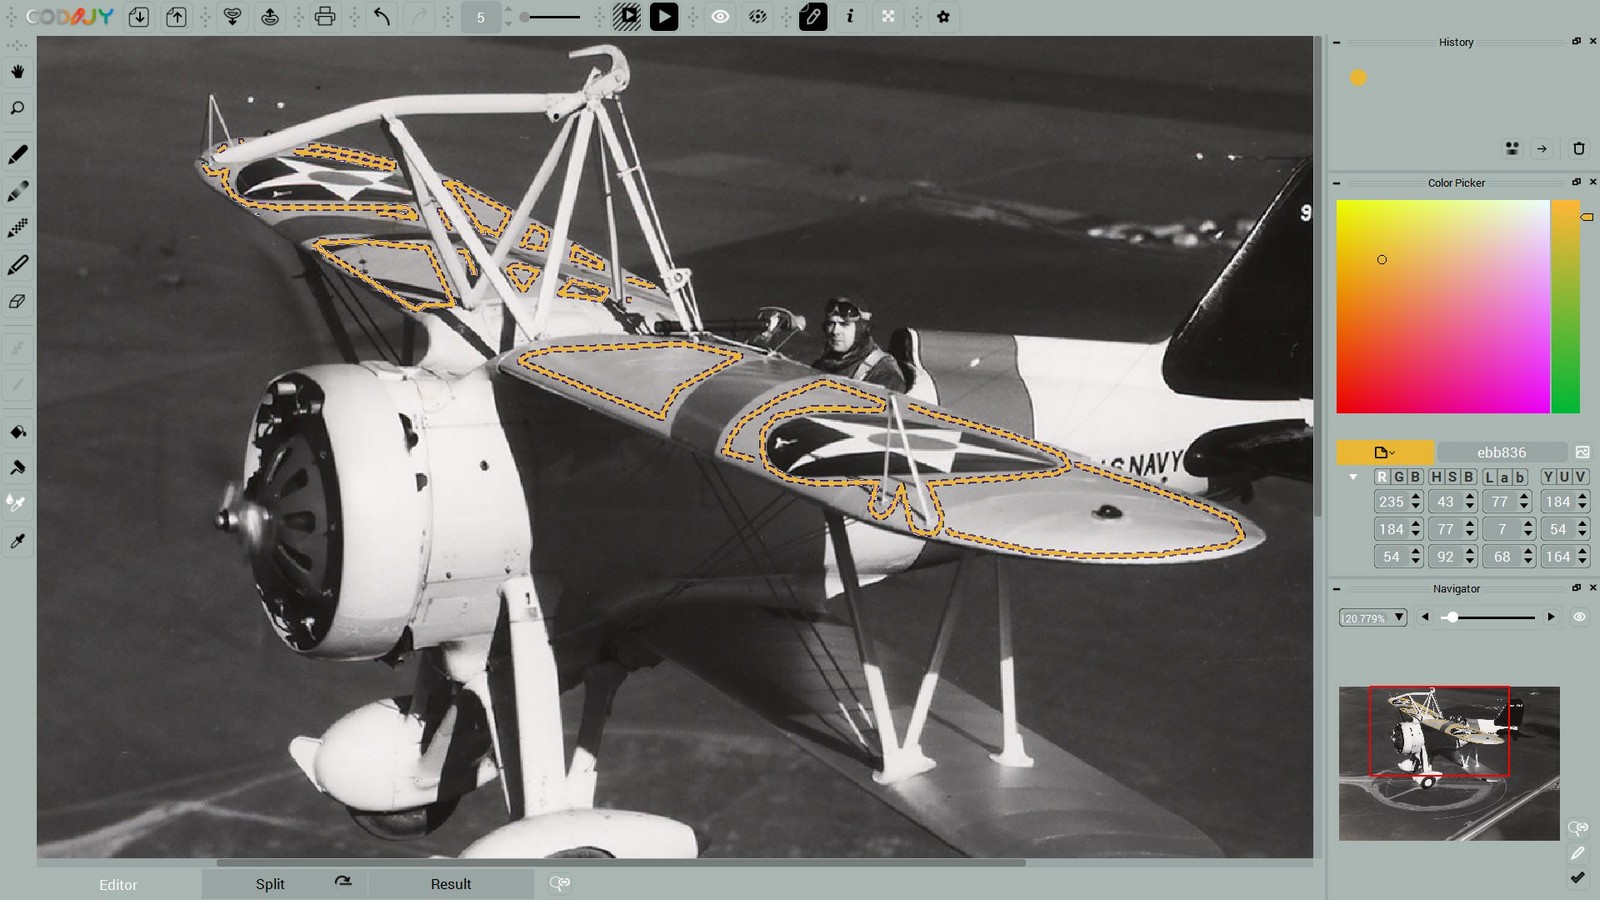
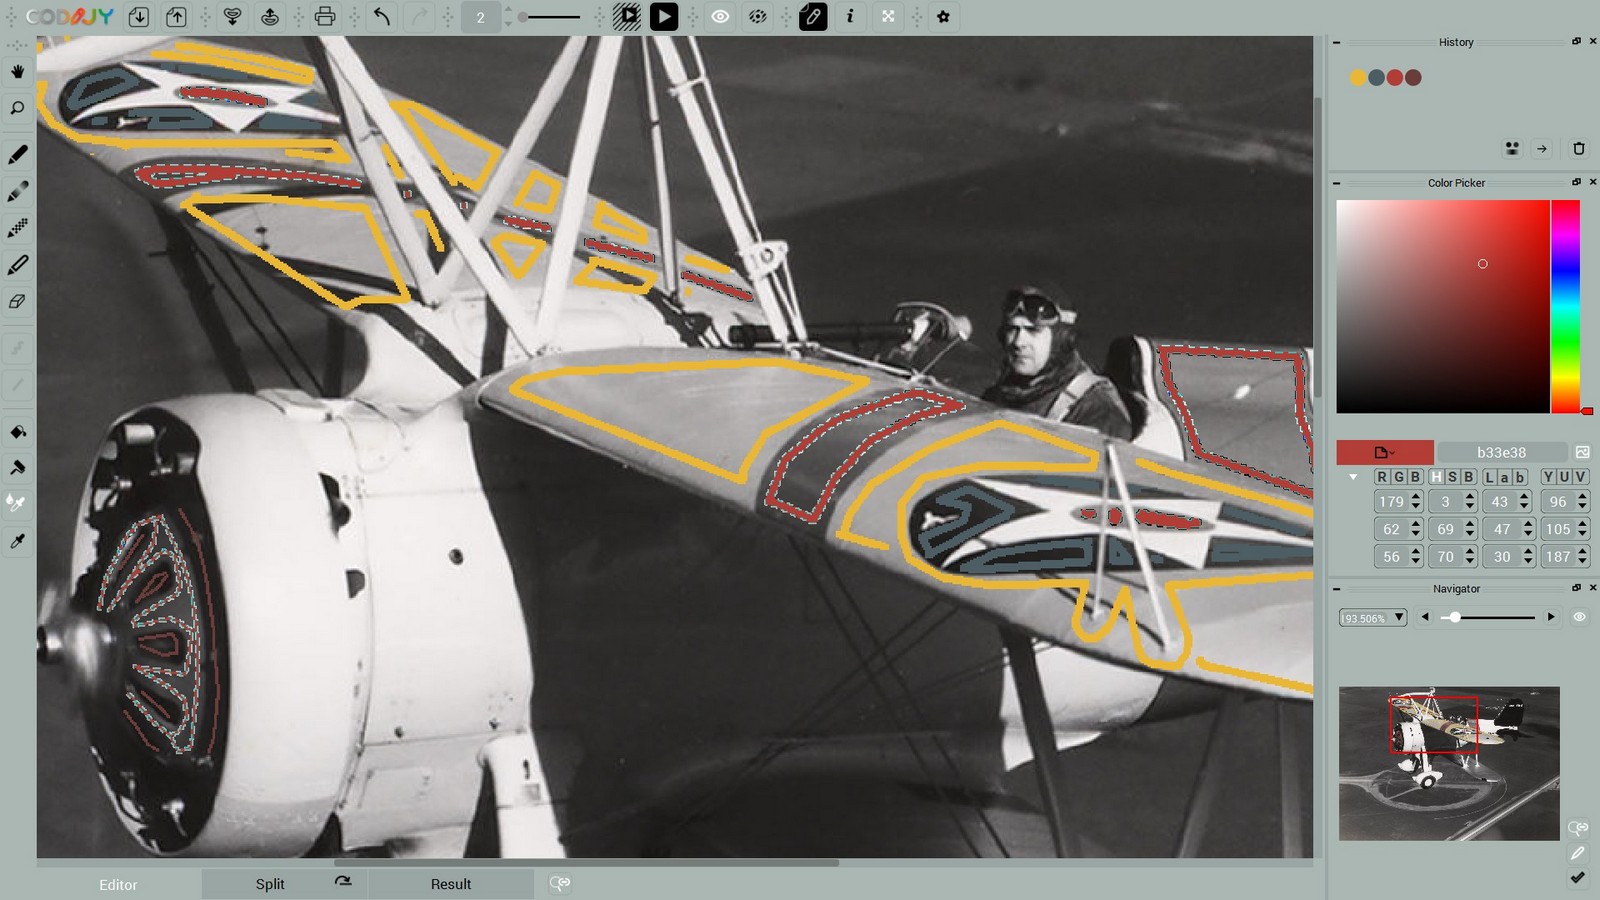
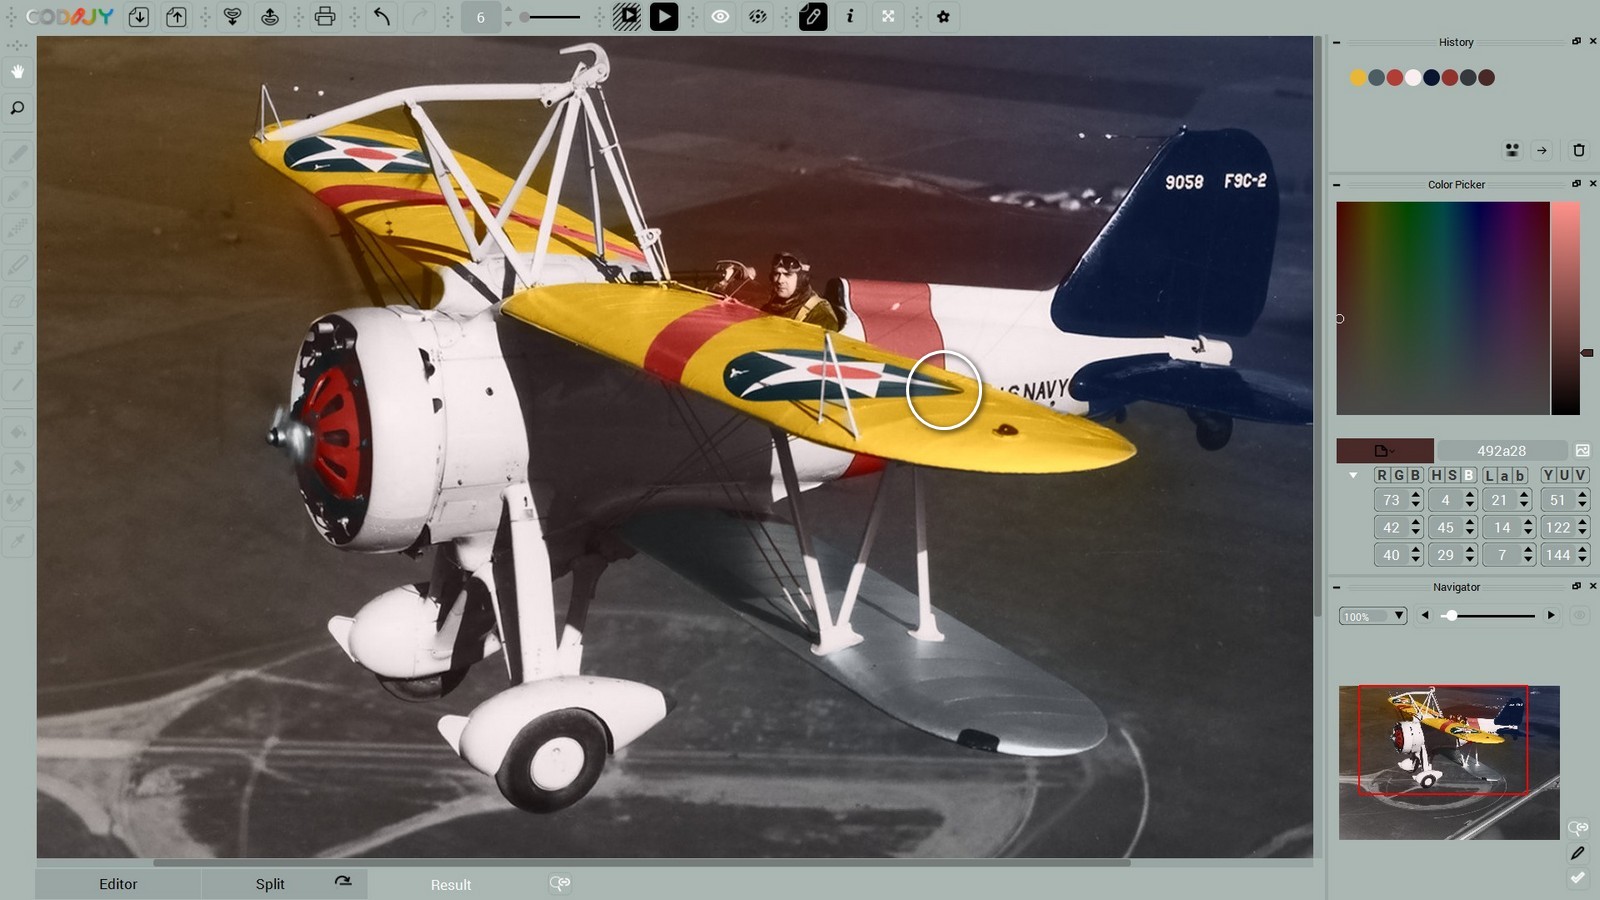
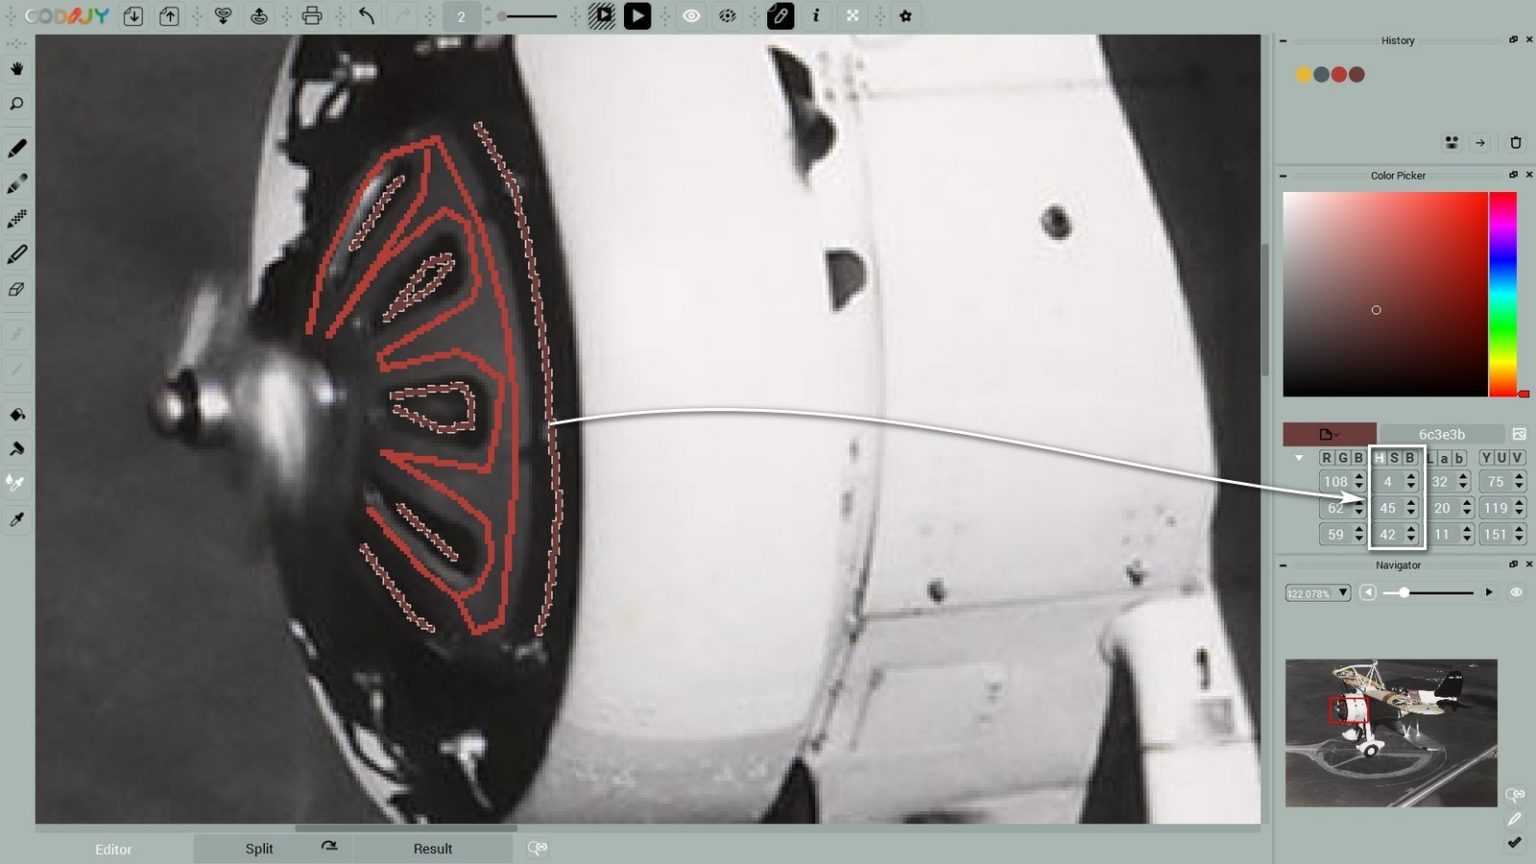
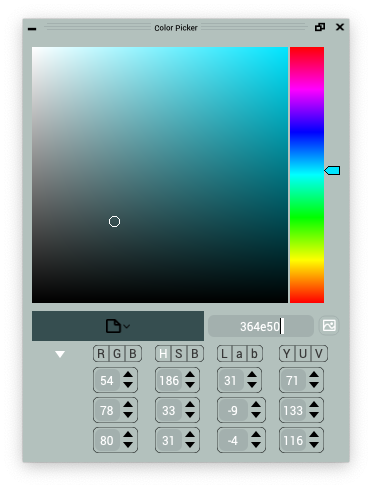
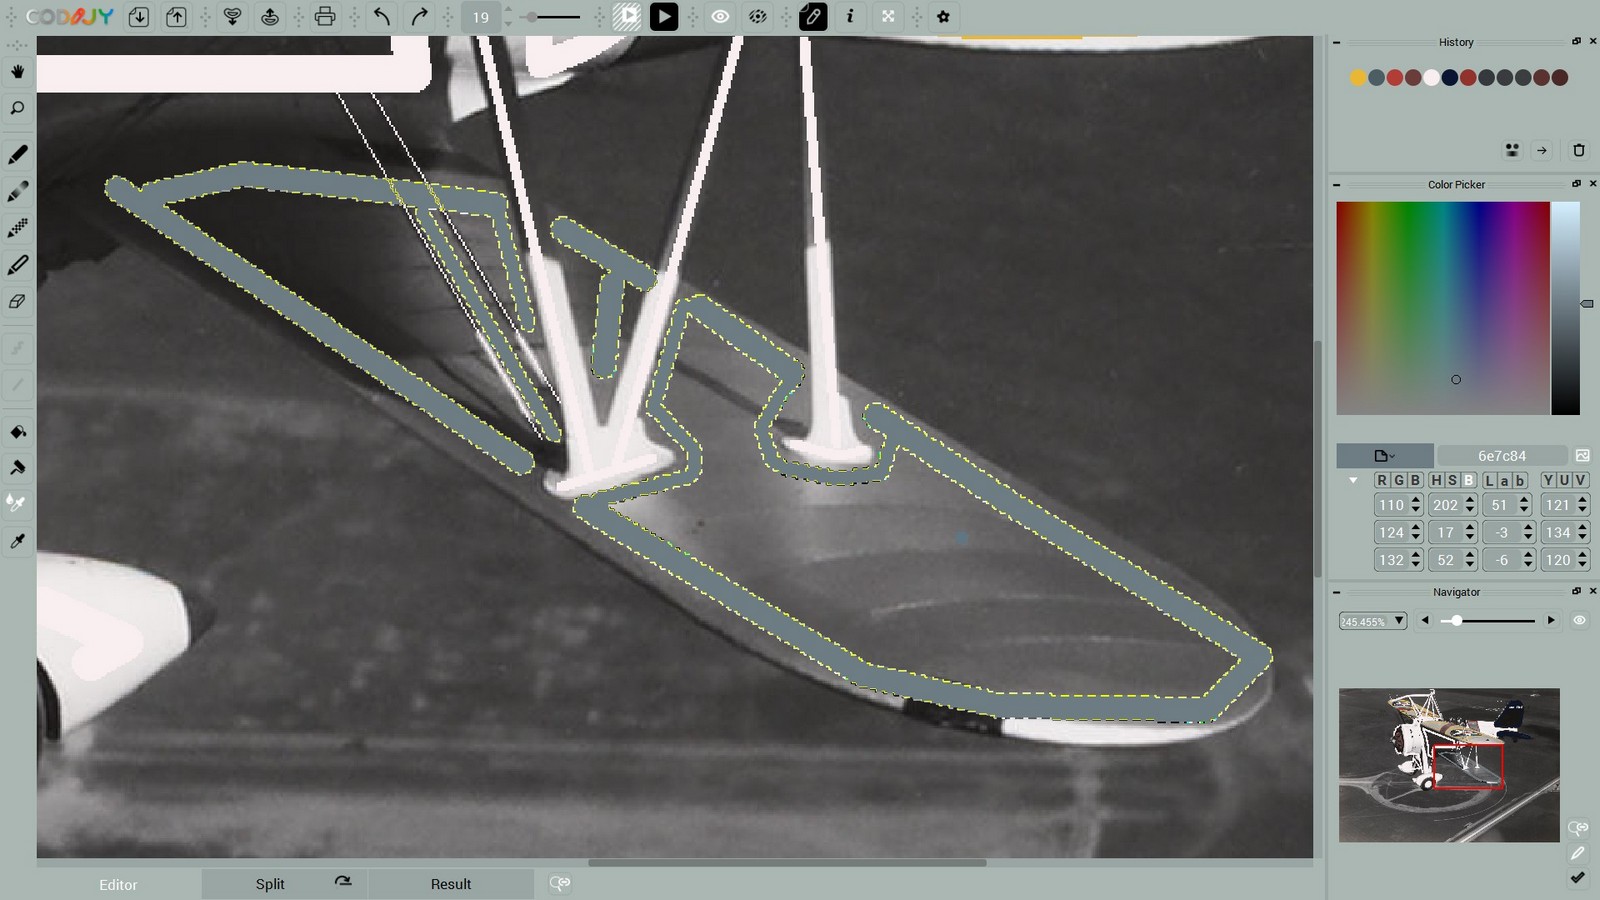
Select the Roller ![]() and click the mask. Decrease S and B values.
and click the mask. Decrease S and B values.
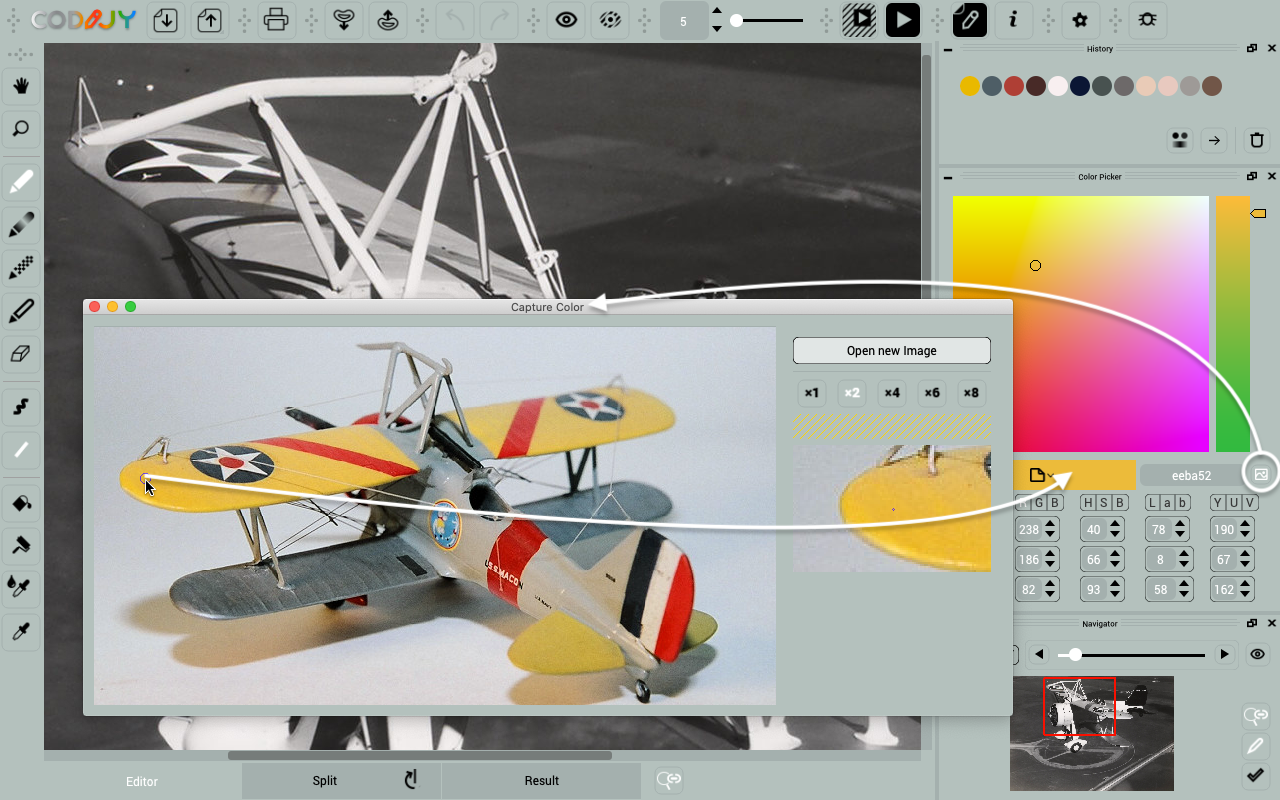
Select the tone ![]() and add it to the other strokes with the Bucket
and add it to the other strokes with the Bucket ![]()
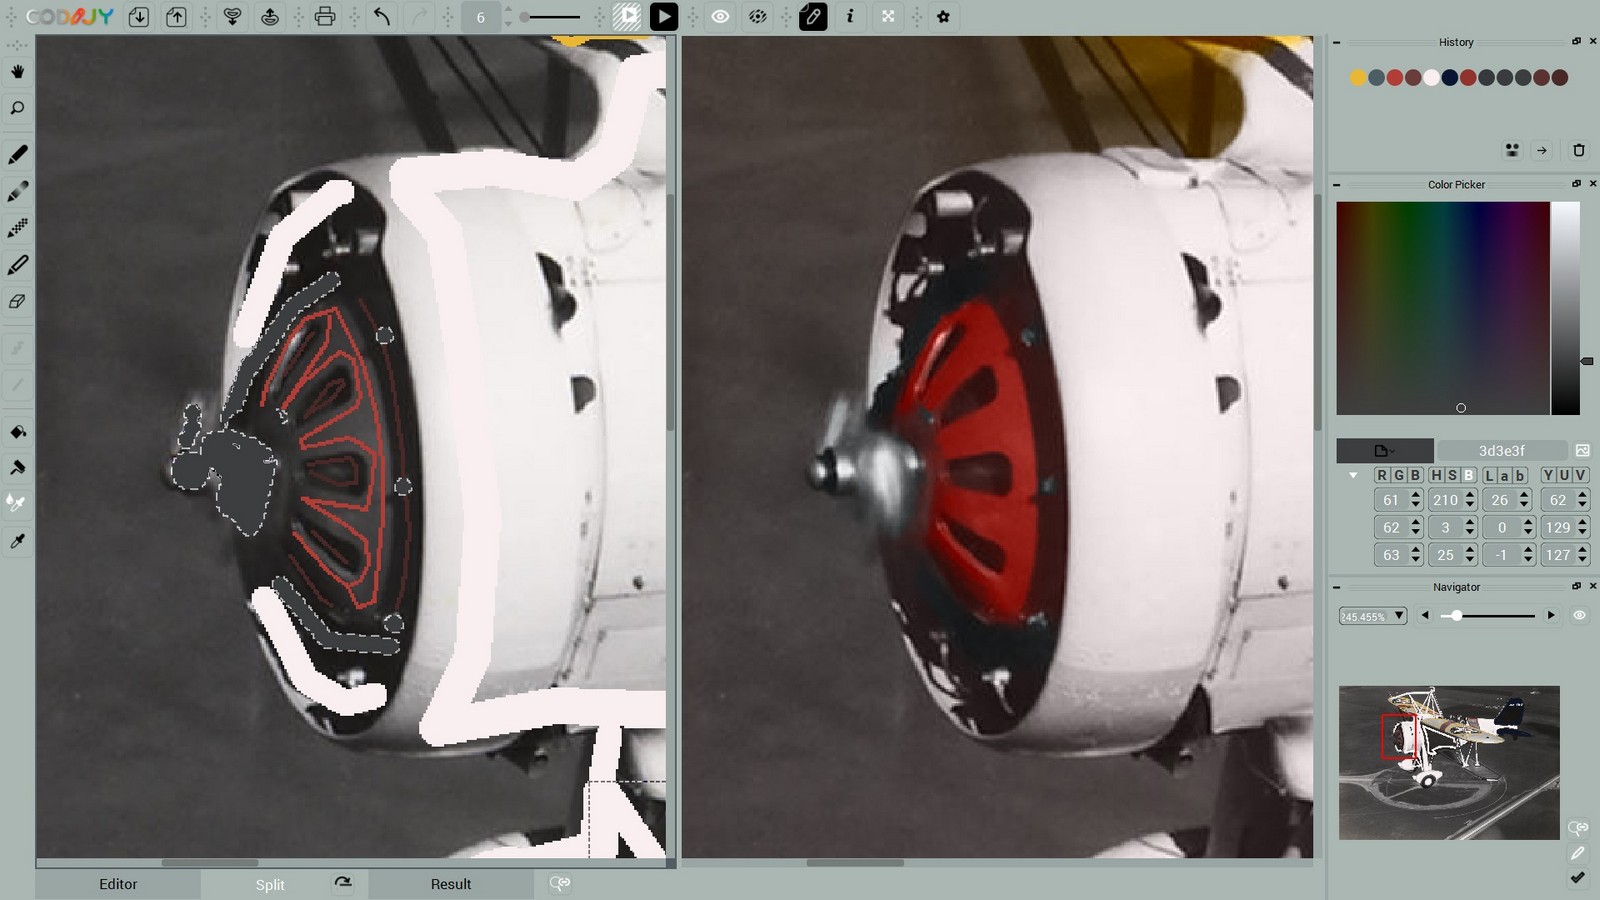
Run Full Image Processing ![]() (Ctrl R/ ⌘R)
(Ctrl R/ ⌘R)