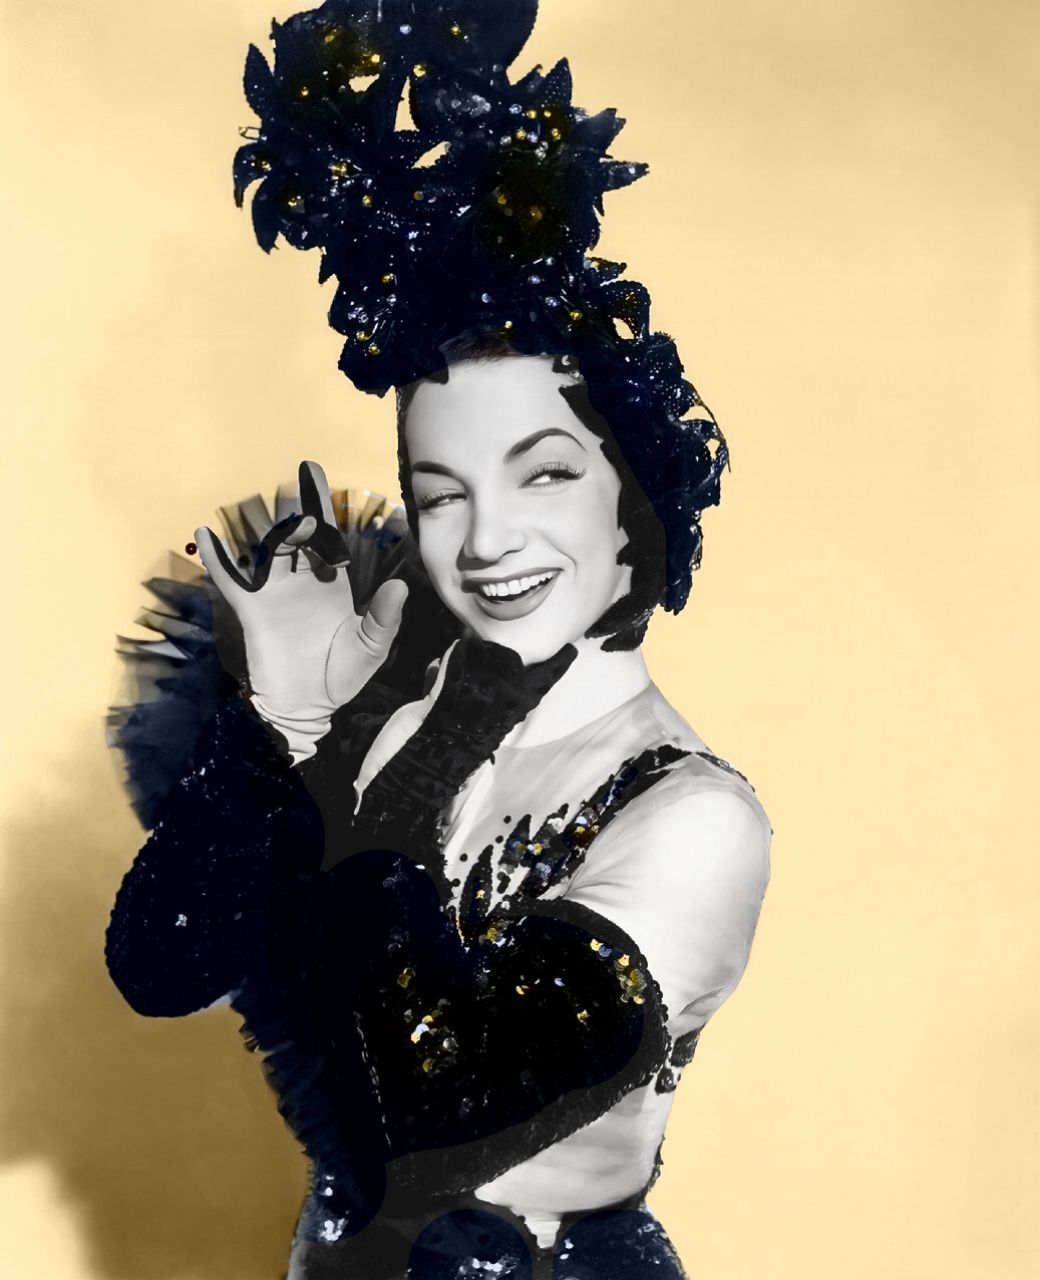
Carmen Miranda: Colorizing a Portrait

Glamorous Outfit

In the second part of Carmen Miranda tutorial, you’ll learn how to colorize Carman’s glamorous outfit.

To start, we’ll color the background a warm yellow (1) and then enhance the glitter of the sequins with darker shade of blue (2).

Reminder: To add color in CODIJY we mark an area with a color stroke called masks

Carmen Miranda: Part 2

4

Add a vibrant hue to the backdrop

Let’s prepare to applying the yellow shade to the backdrop.

Set the Pen tool

We are going to outline the background area with 6 pixel wide lines of Mocha shade. For this, activate the Pen tool and set its parameters:

Step 1. Enable the Pen tool (P). 

Step 2: Select Line (L) mode to outline straight edges.

Step 3: Set the Brush Width to 6 pixels to make the mask visible.

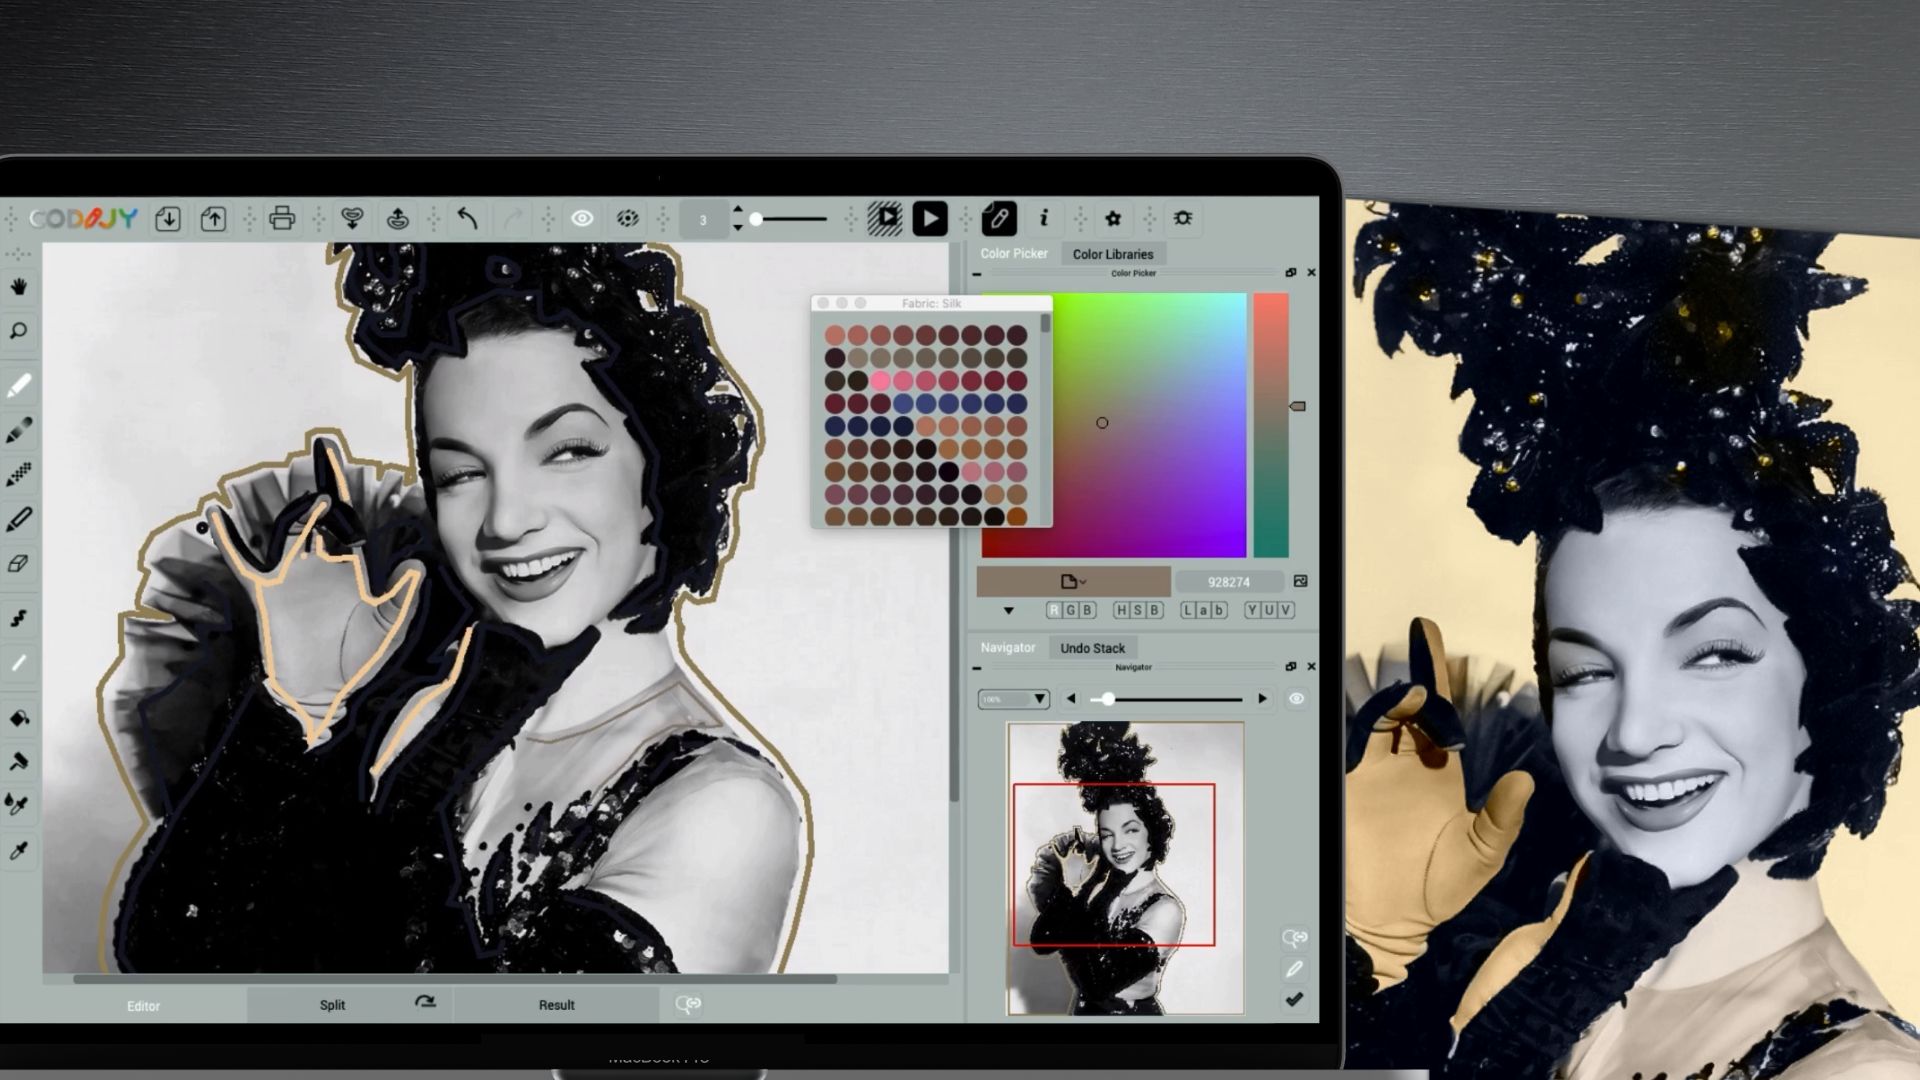
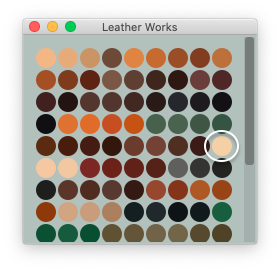
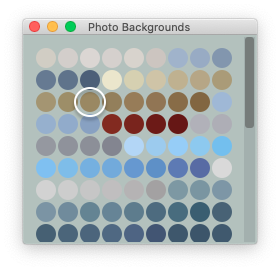
Step 4. Pick a Mocha tone (# 9a8862) from the Photo Background library!

Remember that CODIJY does not apply the color as it is.

CODIJY’s colorization algorithms use the chosen hue to calculate the shade matching the brightness of the backdrop pixels.

This way a darker saturated mask color ensures a more expressive tone than yellow!

Convert white backdrop to a vibrant shade

Now outline the backdrop, indenting a few pixels from the edge. 

To trace each recess with less effort, use Quick Draw shortcuts!

Draw the mask with Quick Draw shortcuts

Quick Draw shortcuts let us draw irregular shapes without releasing the mouse button. Just keep your finger on the Spacebar and: 

Press the Spacebar to cut the line/change direction!

Hold the Spacebar down to draw a curved segment. 
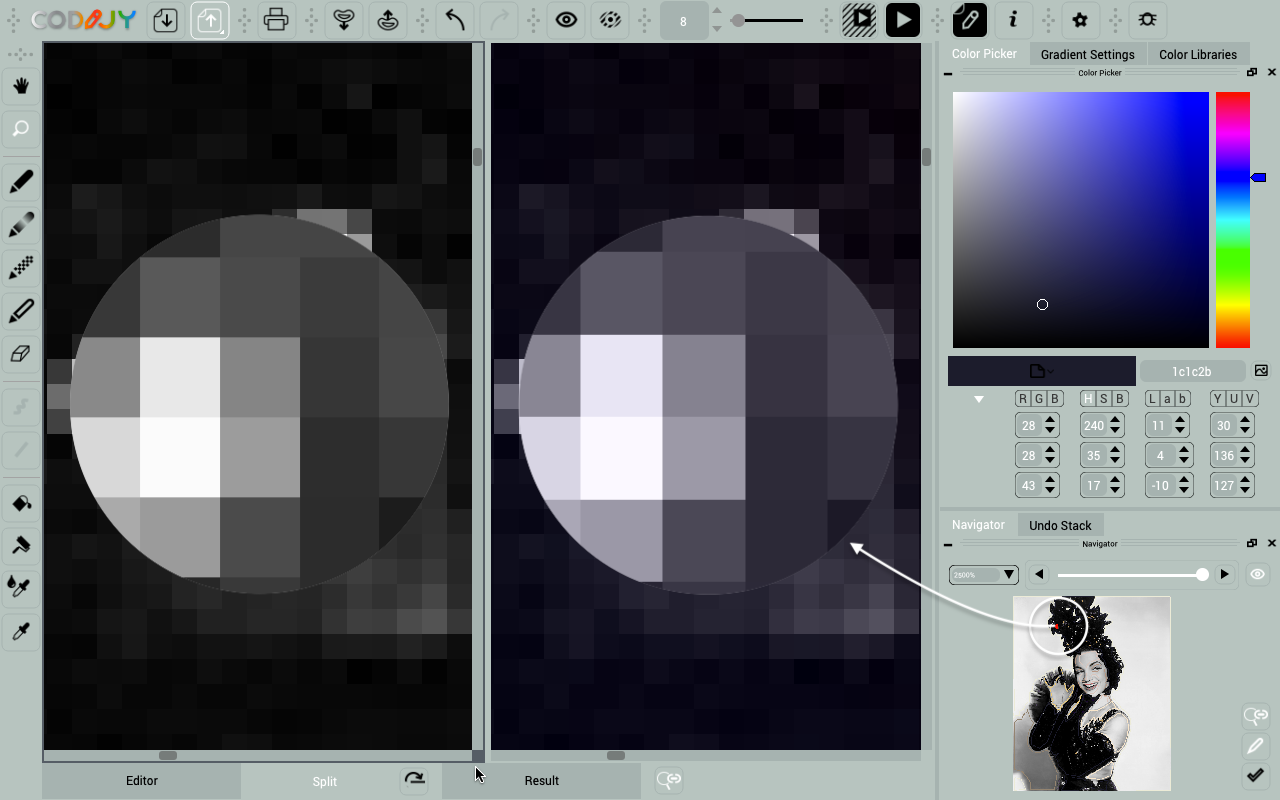
Now hold down the mouse button and draw the contour pressing and releasing the Space key wherever necessary: 

Lines draw faster and allow you to better control the distance from the edge.

With a bit of practice, this technique will take the hassle out of drawing and start to be fun!

5

Enhance the outfit glitter

We move on to coloring the magnificent sequined outfit. 

Open the Fabrics: Jeans library and choose the darkest shade of blue (# 121825). Contour the black elements along the edges and around gaps. 

Now let’s look at the color result!

Generate colorized result

Click the Image Processing  or press Ctrl R /⌘R

You can ignore the spreading of colors in the neck and face area for now. Instead, check the neatness of the borders between the dress and the background. 

Look how cool the blue hue makes the outfit stand out! Let’s compare the result with the B&W original in pixel scale:

Obviously, colored pixels look brighter than their gray counterparts. 

That said, the darker shade of blue does a great job of preserving the “black” pixels!  

6

Tone the glove and the transparent top

Add natural tones to gloves and transparent top

Now open the Leather Works (Pro) and Fabric: Satin libraries. 

#f5d0a4

# 928274

Choose a bright sandy shade for the gloves and a light coffee tone for the sheer top of the dress.  

Minimize the brush size to 3 pixels in the the context menu to fit the mask into the recesses.

Note how stunningly natural the textures of both objects look in color!